Description
🏡 Store Smart, Live Clutter-Free: The Ultimate Outdoor Shed Upgrade
- TRASH BIN READY - Includes a dedicated trash bin opening kit for seamless waste management
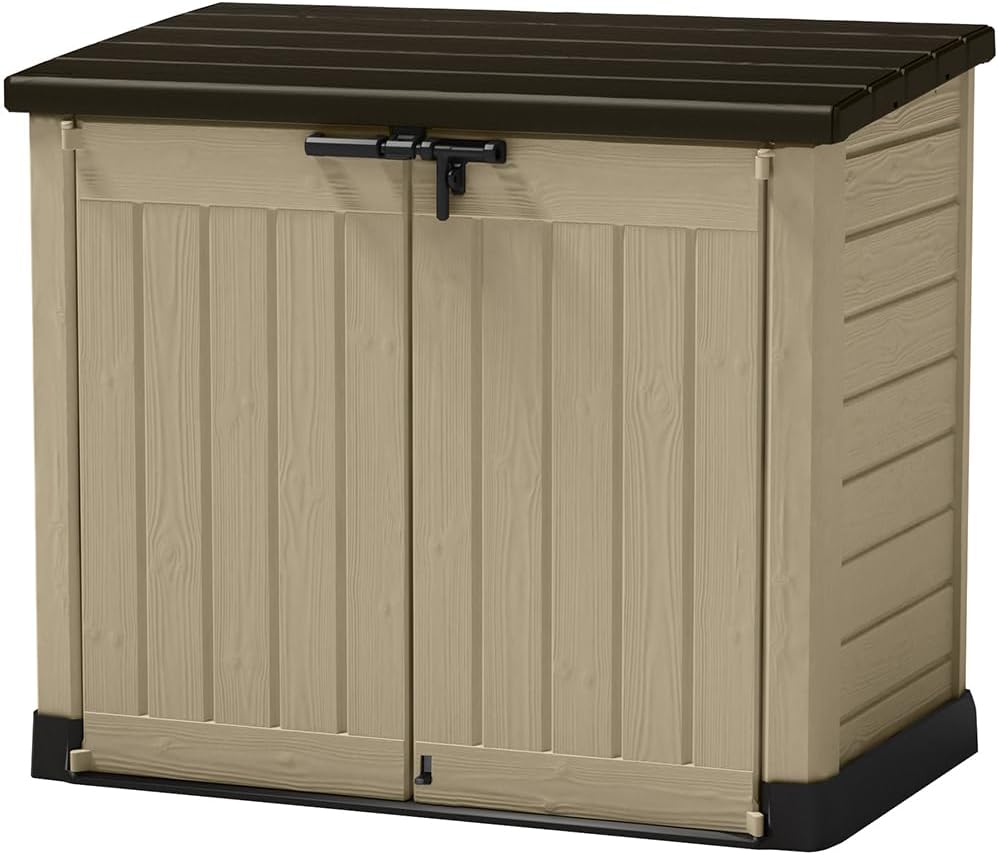
- COMPACT YET MIGHTY - Optimized 57in W x 32in D x 49in H footprint fits snugly in any outdoor space
- SMOOTH ACCESS LID TECH - Hydraulic pistons ensure effortless, quiet opening and closing every time
- BUILT TO BRAVE THE ELEMENTS - Crafted from weatherproof resin and steel for ultimate durability—no peeling, rust, or rot
- SPACIOUS STORAGE POWERHOUSE - Generous 42 cubic feet fits garden tools & two 63-gallon bins with ease
The Keter Store-It-Out MAX is a durable, weather-resistant outdoor storage shed offering 42 cubic feet of space. Made from polypropylene resin with steel reinforcement, it resists peeling, rust, and rot. Its hydraulic pistons provide smooth lid operation, and it includes a trash bin opening kit, making it perfect for organized garden tool and waste storage.