


Color:Red-left | Size:X-Large Main Features: - Environmental friendly - Decorate your room, an ideal way to personalise your home in a very affordable way - A piece of art to bring happiness, harmony and romantic touch to your home decor - For TV setting wall, sofa wall exhibition, dining room, bedroom, freezer, cabinet and so on - Can be applied to any smooth and clean surface such as wall, door, window, plastic, metal, ceramic tile, etc Install Steps 1. Open the package 2. Check all of the items 3. Fix the paper on the wall with double-sided adhesive. 4. Pick up the stickers in order and paste them according to the template postion 5.Tear off the paper after paste the stickers 6.Tear off the coating protection plastic gently and then finish 7.If there is still any problem please check the product picture which will show you how to do it with pictures and words. 8.If there is smell when open the package, please air dry them for one day. The products are environmentally-friendly with no any smell. Package List 1 set Notice: Please allow 1-3mm error due to manual measurement and make sure you do not mind before ordering We are waiting for your contact within 24 hours and will give the best solution for you,any question pls email or call us directly
A**R
Definitely worth the money if not more 😁
I was slightly hesitant ordering this online with worries the material wouldn't stick well to my walls. I read the reviews and people seemed to really like this product. So I decided to purchase it. We just put it up over the weekend. Let me tell you, it was very easy to set up on the wall. I didnt use the wall map it included. I basicalled put the map on the floor in front of the wall I was using and built off the visual. Very easy! Now that it's up, I am so so happy with the results!! I just LOVE how it looks. I also like how I can add additional photos anytime. Even my boyfriend like it! ;) The product is very sticky and holding well on my wall. This is definitely a great buy!
J**N
TAKES TIME AND PATIENCE, BUT IT'S WORTH IT
You have to be really organized before you put this thing together, I recommend you to put al the pieces in order, by number, then follow the guide, Me and my kids had a lot of fun (some times a little frustrating lol) putting this together, after around 3 hours we're glad of the results.
T**R
Came out beautiful, well worth it.
At first the amount of products inside were extremely intimidating. Once we started going, the project got easier and easier, it was actually very enjoyable to do. Everything came out great and the quality of the materials were excellent for the price! This is the "large size" option for this application and it was a perfect fit for our basement walls. Very satisfied. Have patience and be prepared to commit a few hours of time . Well worth it.
P**C
So Many Compliments!!
I love this wall art and I have received so many compliments on it - I couldn't be more pleased! I made a few changes - replaced the frames with real 3 x 5 frames and matted the photos, and I think this made a huge difference. I also changed the original design a little to fit my wall.I imagine I might have a little drywall patching to do when I pull this off, but I don't care. It'll be up for a long time because we love it AND we can change out the photos.I think I spent a few days on this, but I took my time and got it the way I wanted it. I had planned on just buying a framed picture or set of pictures for above the couch but I'm so glad I didn't. Even if I found something I loved, I'd eventually get tired of it. I think this will be up for awhile. Not to mention, this cost about 10% of the cost of the framed pictures I had been considering.
R**G
Amazing - Here’s a better HOW TO
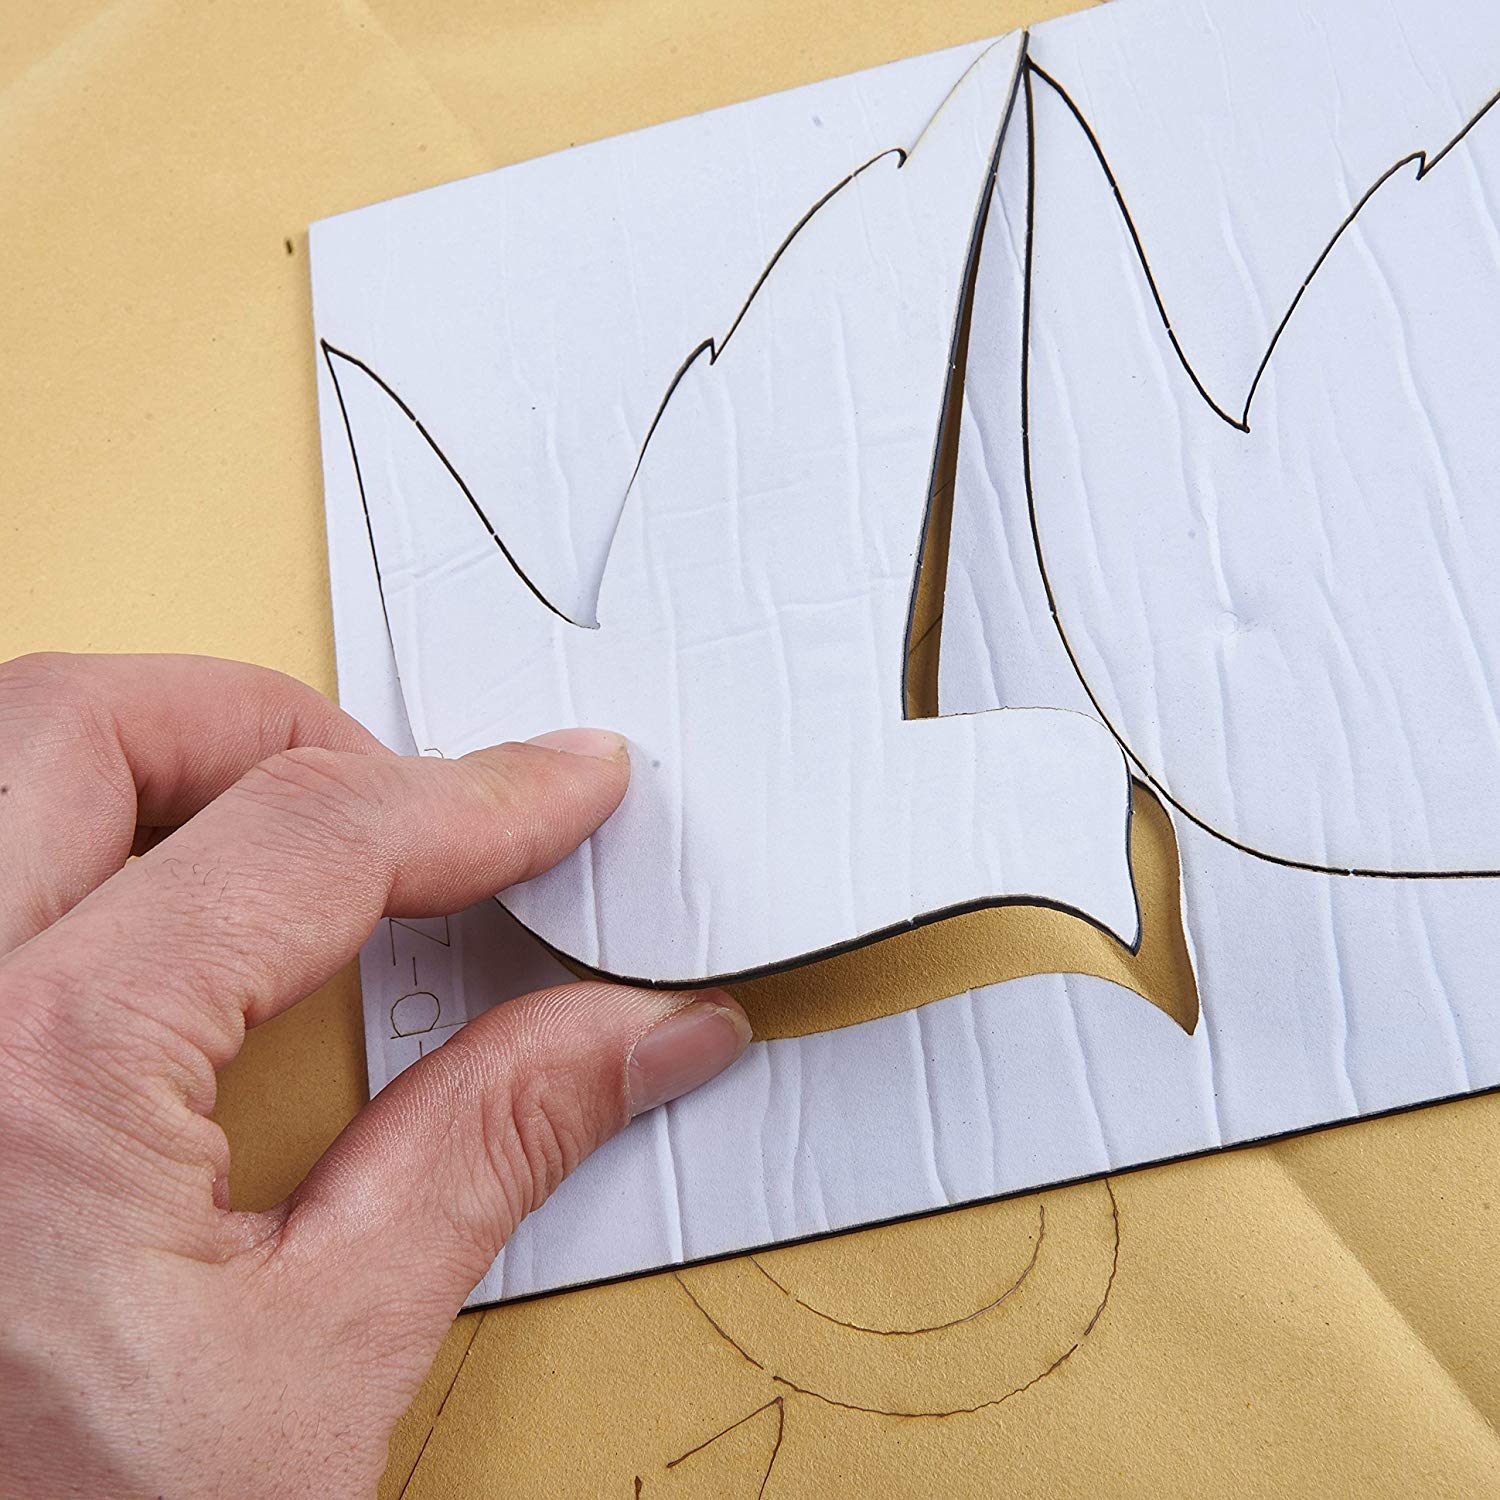
Took me about 5 hours to do this by myself. Would be a cute/ fun project to do with a friend or partner.I didn’t like the steps included in the package. I felt like they weren’t detailed enough so for those reading: 1 - use some tape to attach each sheet to the wall. This is the template.2 - detach the removable pieces one by one, and paste the matching vinyl in place 2b - remove the brown paper side of the vinyl first. Don’t remove the white side unless you’re ready to attach to the wall. It is VERY sticky and may break if you to remove it from a surface it is attached to.
C**L
Beautiful
This came out absolutely beautiful! The longest part was putting together the first two sections. After those were complete it was a piece of cake 🙃
D**M
Take your time
Love it! It did take about 4 hours but well worth it ! I would definitely buy again
K**S
Lovely accent to a plain wall!
Super cute! I was looking for something interesting to hang behind the couch. My wall has a support beam that makes anything centered above the couch look odd. This arrived well packaged, each piece clearly labeled, and covered in paper so the acrylic didn’t scratch during installation. Foam adhesive covers the back of each piece for maximum adhesion. Pieces were VERY sticky! The assembly took more than 3 hours but I was diligent in lining everything up.Recommendations:1. Flat/eggshell painted walls. I can see where adhesion problems would happen with gloss/semi-gloss walls. If I ever decide to remove this, I will need to replace my wall. It’s THAT well adhered.2. Peel back the brown paper covering the acrylic from the edges you need to align. There were a few pieces where I did not do this and there were little gaps once the paper was removed.3. If you aren’t sure of placement, remove only a small portion of the adhesive backing. Once placed, these don’t come off!4. A helper handing you the next number cuts installation time! I would have been there 5 hours without help!
Trustpilot
1 month ago
3 days ago