

🔧 Upgrade Your Ride with Authenticity!
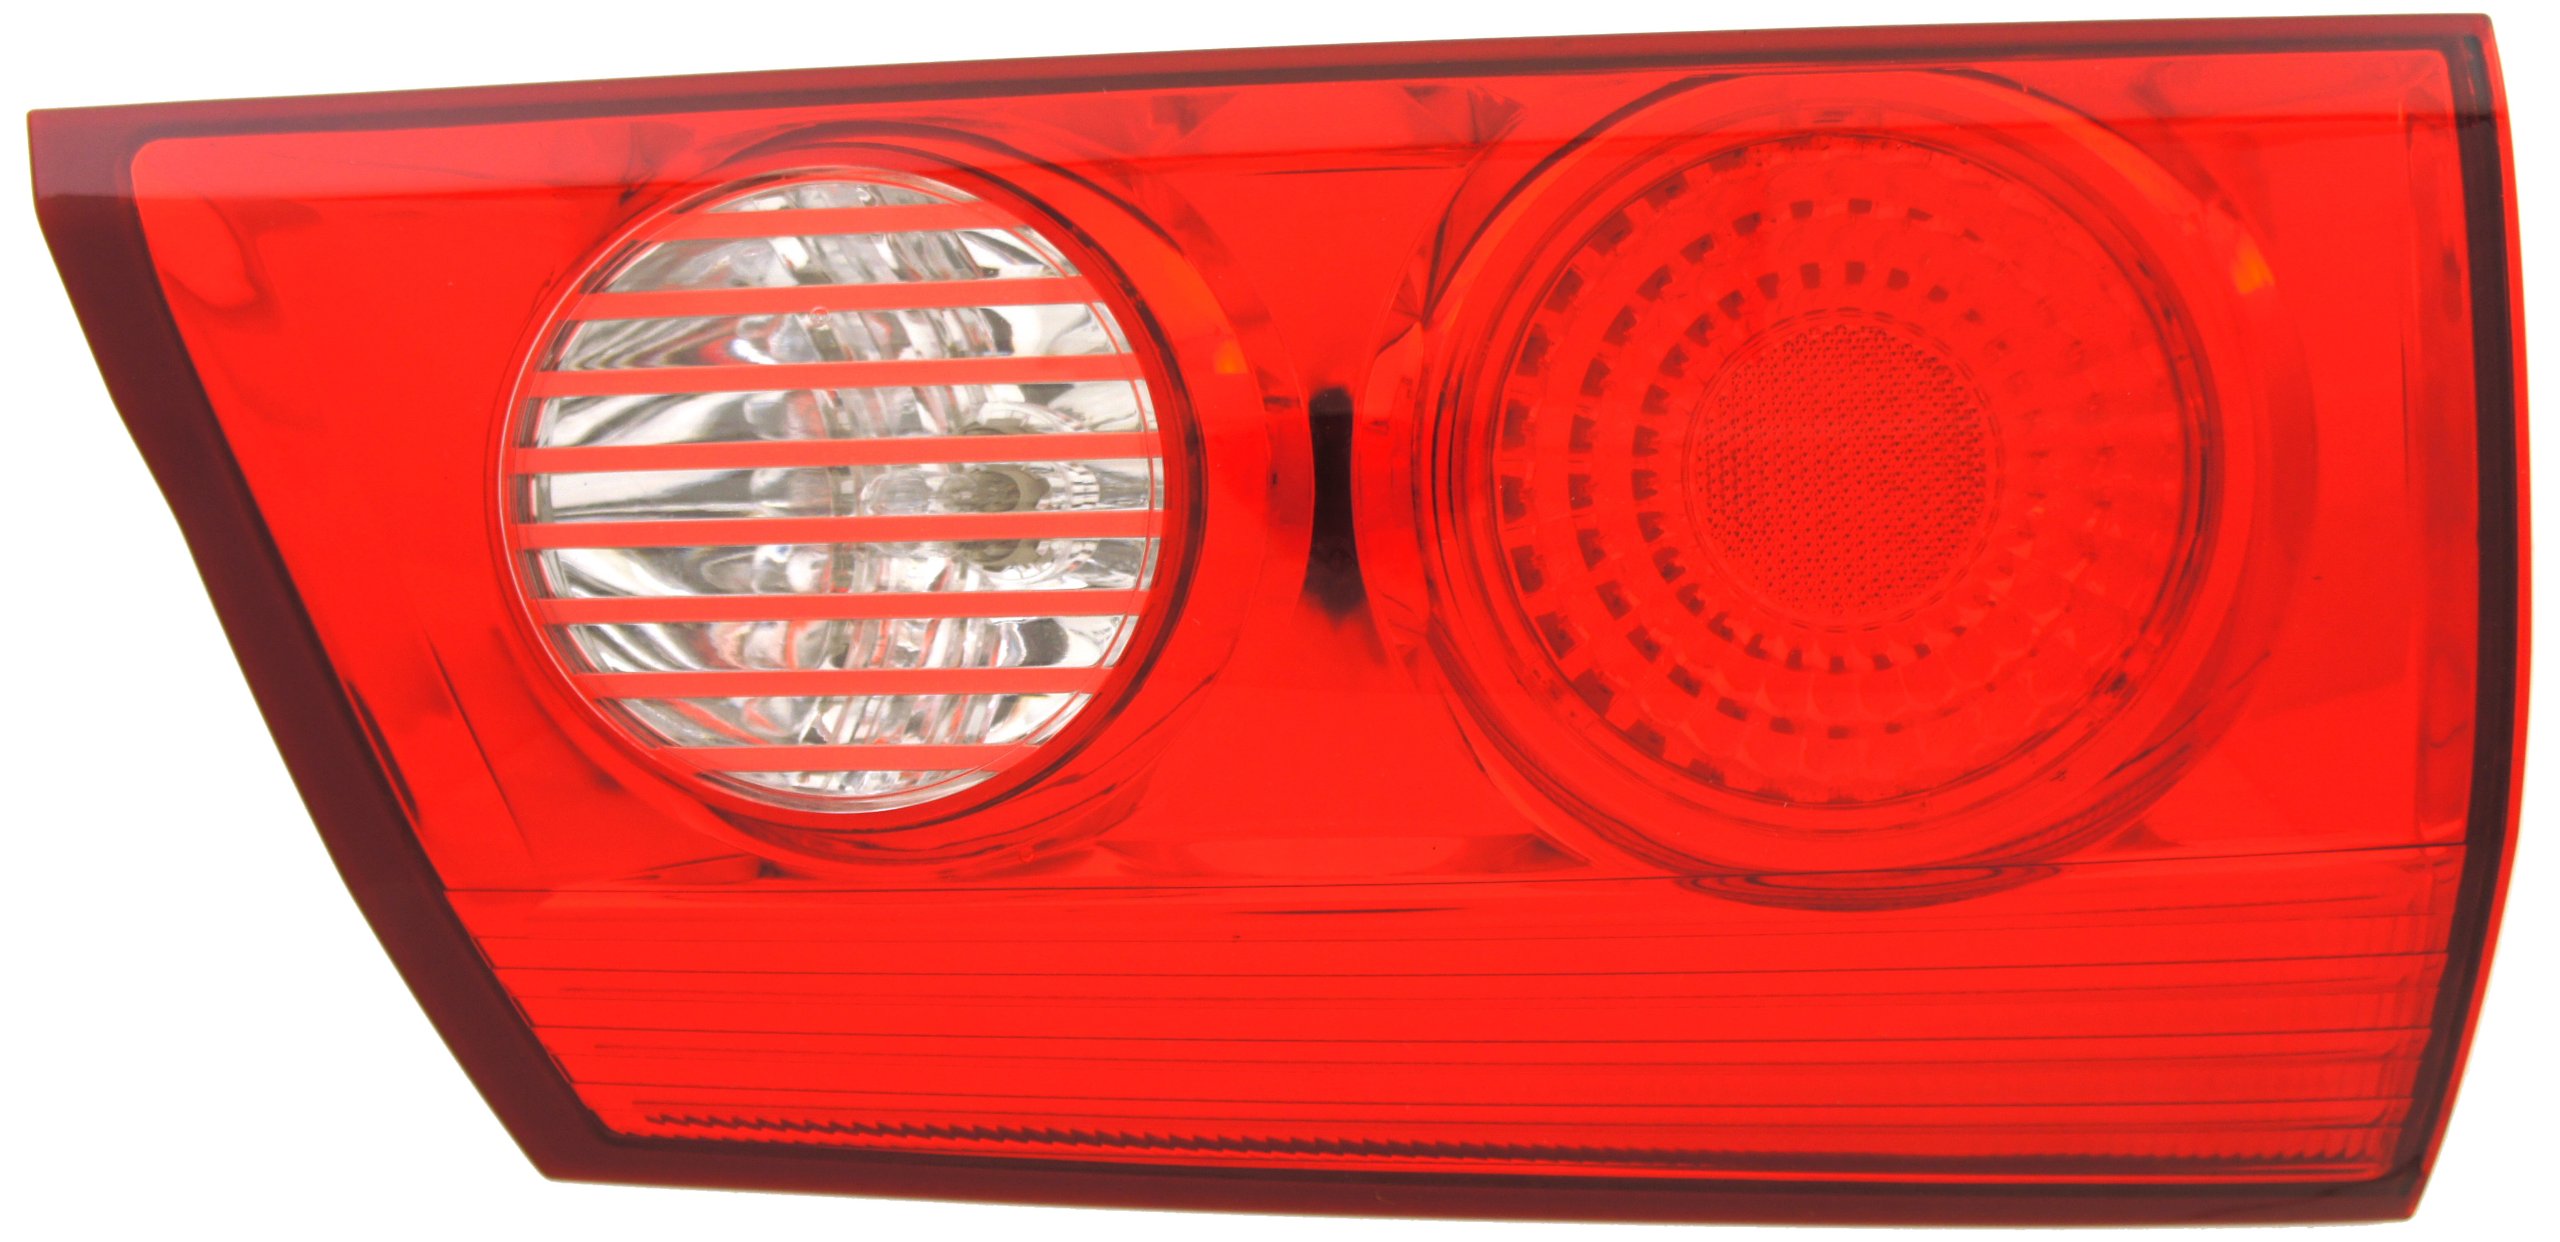
The Genuine Toyota Parts 81680-AE020 Driver Side Taillight Assembly Inner is a high-quality replacement part designed specifically for your vehicle. Weighing 2.15 pounds and featuring waterproof technology, this taillight assembly ensures durability and reliability in all conditions. With precise dimensions of 17.7 x 9.3 x 4.4 inches, it offers a perfect fit for seamless installation.
| Additional Features | Waterproof |
| Auto Part Position | Inner |
| Compatible with Vehicle Type | Car |
| Specific Uses For Product | Taillight |
| Item Dimensions | 17.7 x 9.3 x 4.4 inches |
C**H
Of Course It's Perfect. It's Straight From the Manufacturer.
This was a perfect replacement. The seal was excellent and new lamps are included and pre-installed. What is NOT included are instructions for performing the replacement. You have to take the entire panel off the interior of the liftback to get at the fixture and the screws holding it in place. I highly recommend watching the videos about this on YouTube before undertaking the task of replacement because they show you the locations of the various clips and fasteners that hold the panel to the car. It's not difficult, but you'll want the proper tools and knowledge of what to expect.
A**R
Fits perfect.
My daughter needed a replacement for the drivers side inner tail light after she hit the trash can. Fits perfect for my 2010 sienna. One tip is to have a deep socket set for instal.
A**G
Not exactly OEM as compared to original.
This was a replacement for a damaged drivers side inner tail light. Although described as OEM, with a Toyota part number and a Toyota box, it is visibly not the same. When looking at the red stripes that horizonally cross the reverse light lens, and comparing it with the original, it is quite obvious that the original has silver stripes. If ordering, please check first, and be prepared to order both lenses, so the appearance will be good.
A**G
Perfect match to the originals
This was a perfect match to the original. This is a full kit. It includes the fixture, foam weather seal, new bulbs and the Y cable to connect to the main wiring harness.This light requires you remove the panels from the rear door. You need to remove the one bolt holding the pull down handle. Start at the top, remove the two sides (which pop out or slide out). After that everything should pop out by hand. BE CAREFUL, there are to clips at the bottom of the main panel. You are supposed to pop lose all the edges (about 1 inch) and then slide the entire panel up and out.There will be 4 10mm bolts requiring a deep socket to remove. Looking at the car you cannot tell the difference between this and the original 6 year old one on the other side.
W**M
Remove and Replace Sienna lift gate light assembly
As many have mentioned this is indeed the lift gate driver's side turn and backup light assembly. It did come with bulbs already installed to installation was a piece of cake.I found the easiest way to replace was to follow a few steps that greatly helped and didn't make more work than necessary.You will need a deep well 10mm socket to remove and replace the light assembly. (If you decide to remove the entire lift gate interior trim piece, not recommended, you will also need a Phillips screw driver).1. Disable the auto close switch for the lift gate. This is so you can manually lower it halfway for step 3.2. Remove the top piece of trip over the back glass. Use gentle but firm pressure to get several plastic inserts to pull free. There are no screws. Start on one end and work your way across.3. Remove the side trim on the driver's side of the back glass. There are three inserts holding it in place. It is helpful to lower the lift gate half way to help maneuver the trim around the lift gate strut joint. (Otherwise you will have to force it on and off and it will elongate the hole in the trim).4. You should now be able to pull the lift gate interior trim piece back far enough to access the light assembly without completely removing it. (This is helpful due to the fact there are two L shape "hooks" on the bottom of the trim which can break easily).5. Carefully disconnect the four pin connector module for the lights.6. Remove the four 10mm nuts from the light assembly.7. locate a couple of plastic clips which help hold the light in place while installing the assembly.8. Carefully pull out the old assembly.Reverse the process for the new assembly and carefully reinstall the trim pieces and YOU ARE DONE.
P**C
Exact match to the 2007 Sienna's original.
I am very happy with the product as it matched 100% to the original tail light assembly for my 2007 Sienna XLE. I read some comments that it does not match 100% (the reverse strips) to the original lens but that it is a non-issue for the one I received because it matched 100% to the original one that replaced.
D**R
Works as expected
Works as expected - go to youtube for installation tips, as they don't include any instructions!
G**.
It fit like a glove and was the OEM Toyota part
Bought the part for $92.15 plus taxes. Dealer wanted to charge $145 for the part plus $95 to install it. Found an installation video on You-Tube, and spent about 30-45 minutes to change the part. It fit like a glove and was the OEM Toyota part. Kudos to Amazon. Great deal.
Trustpilot
4 days ago
5 days ago