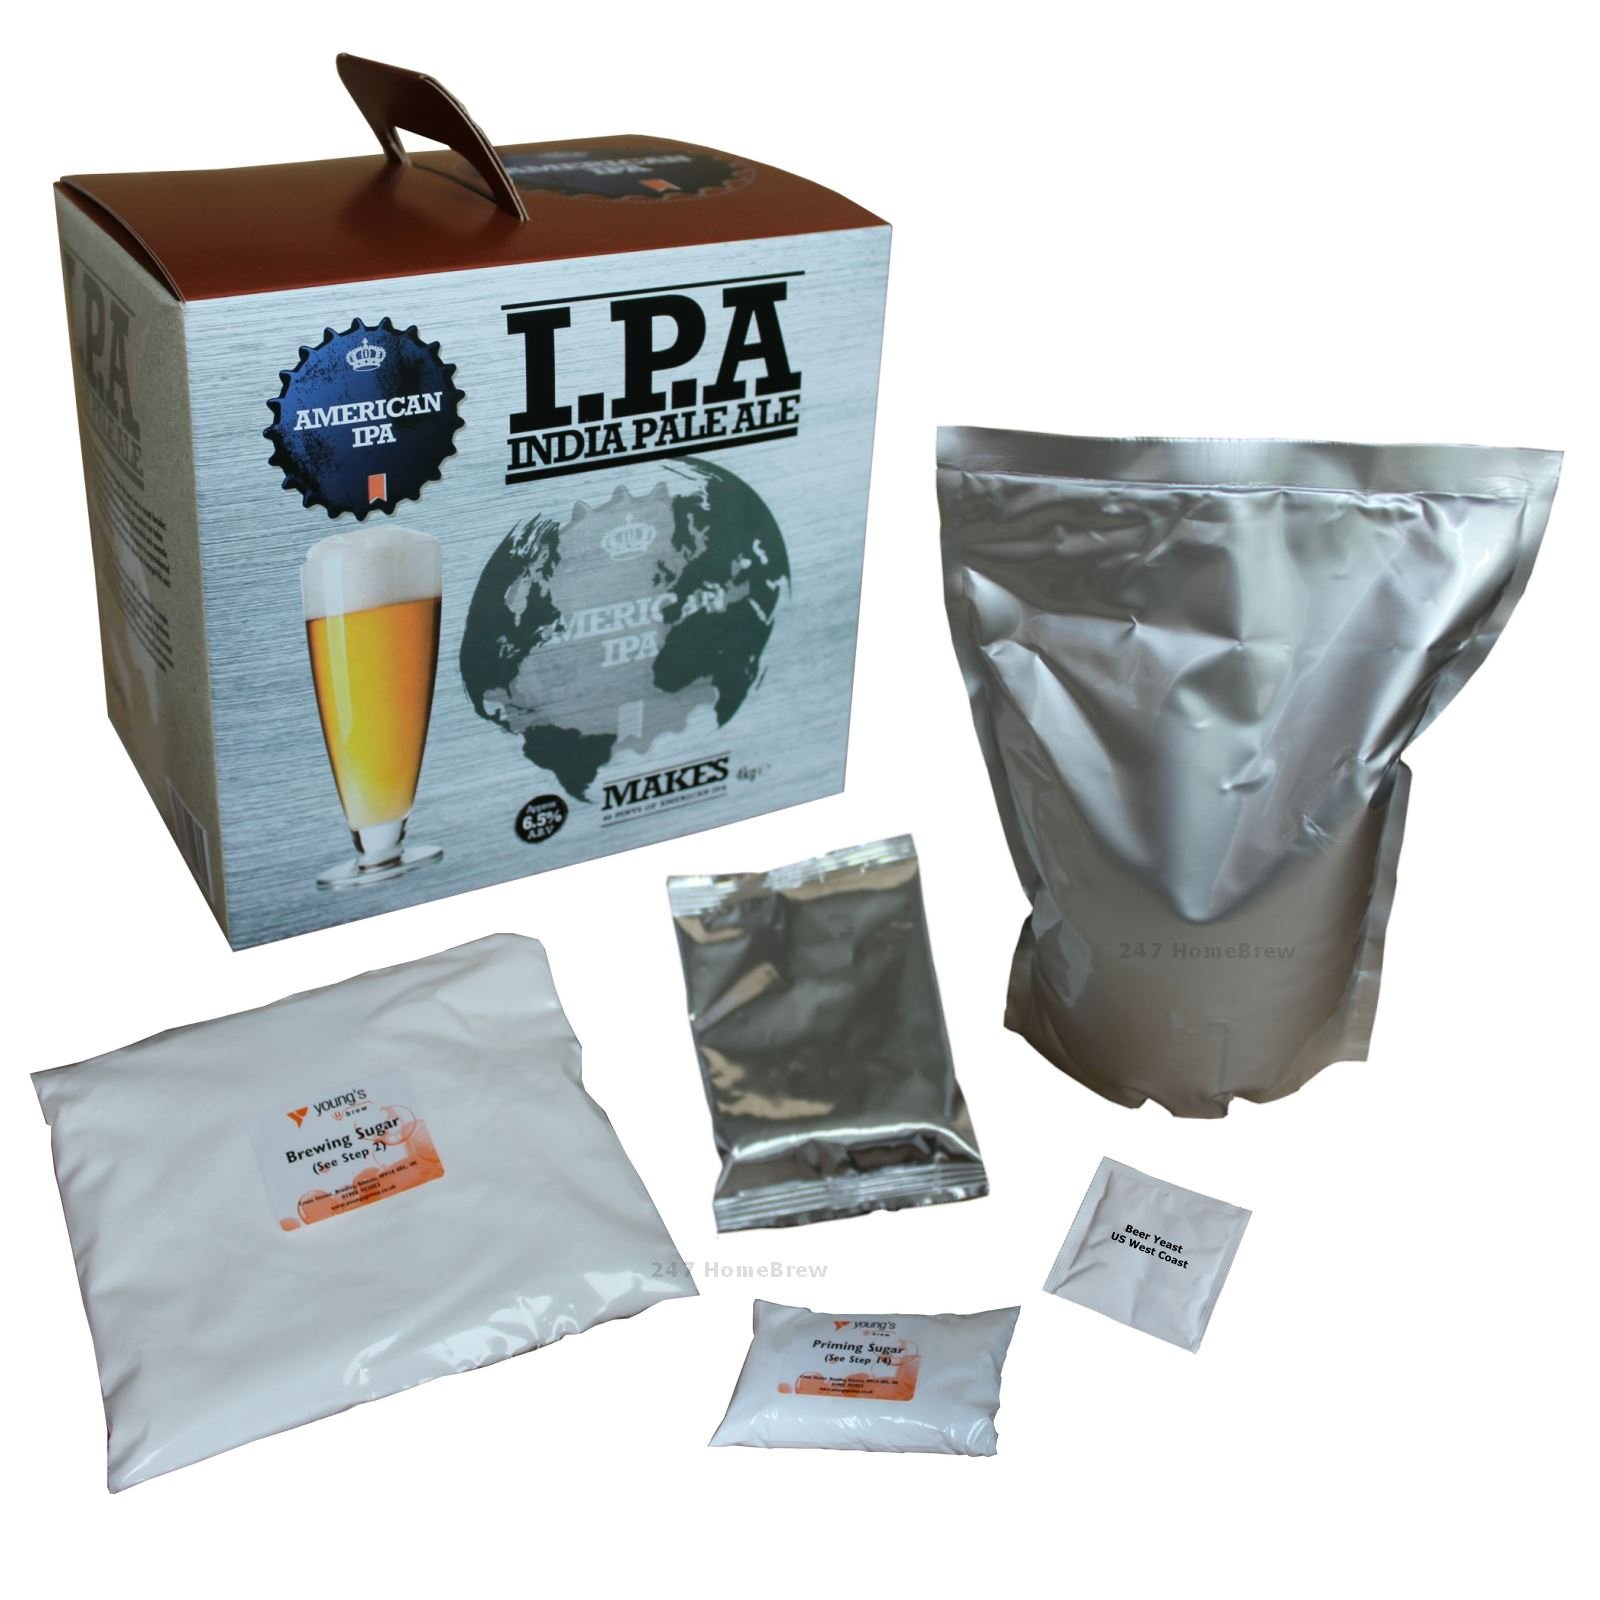
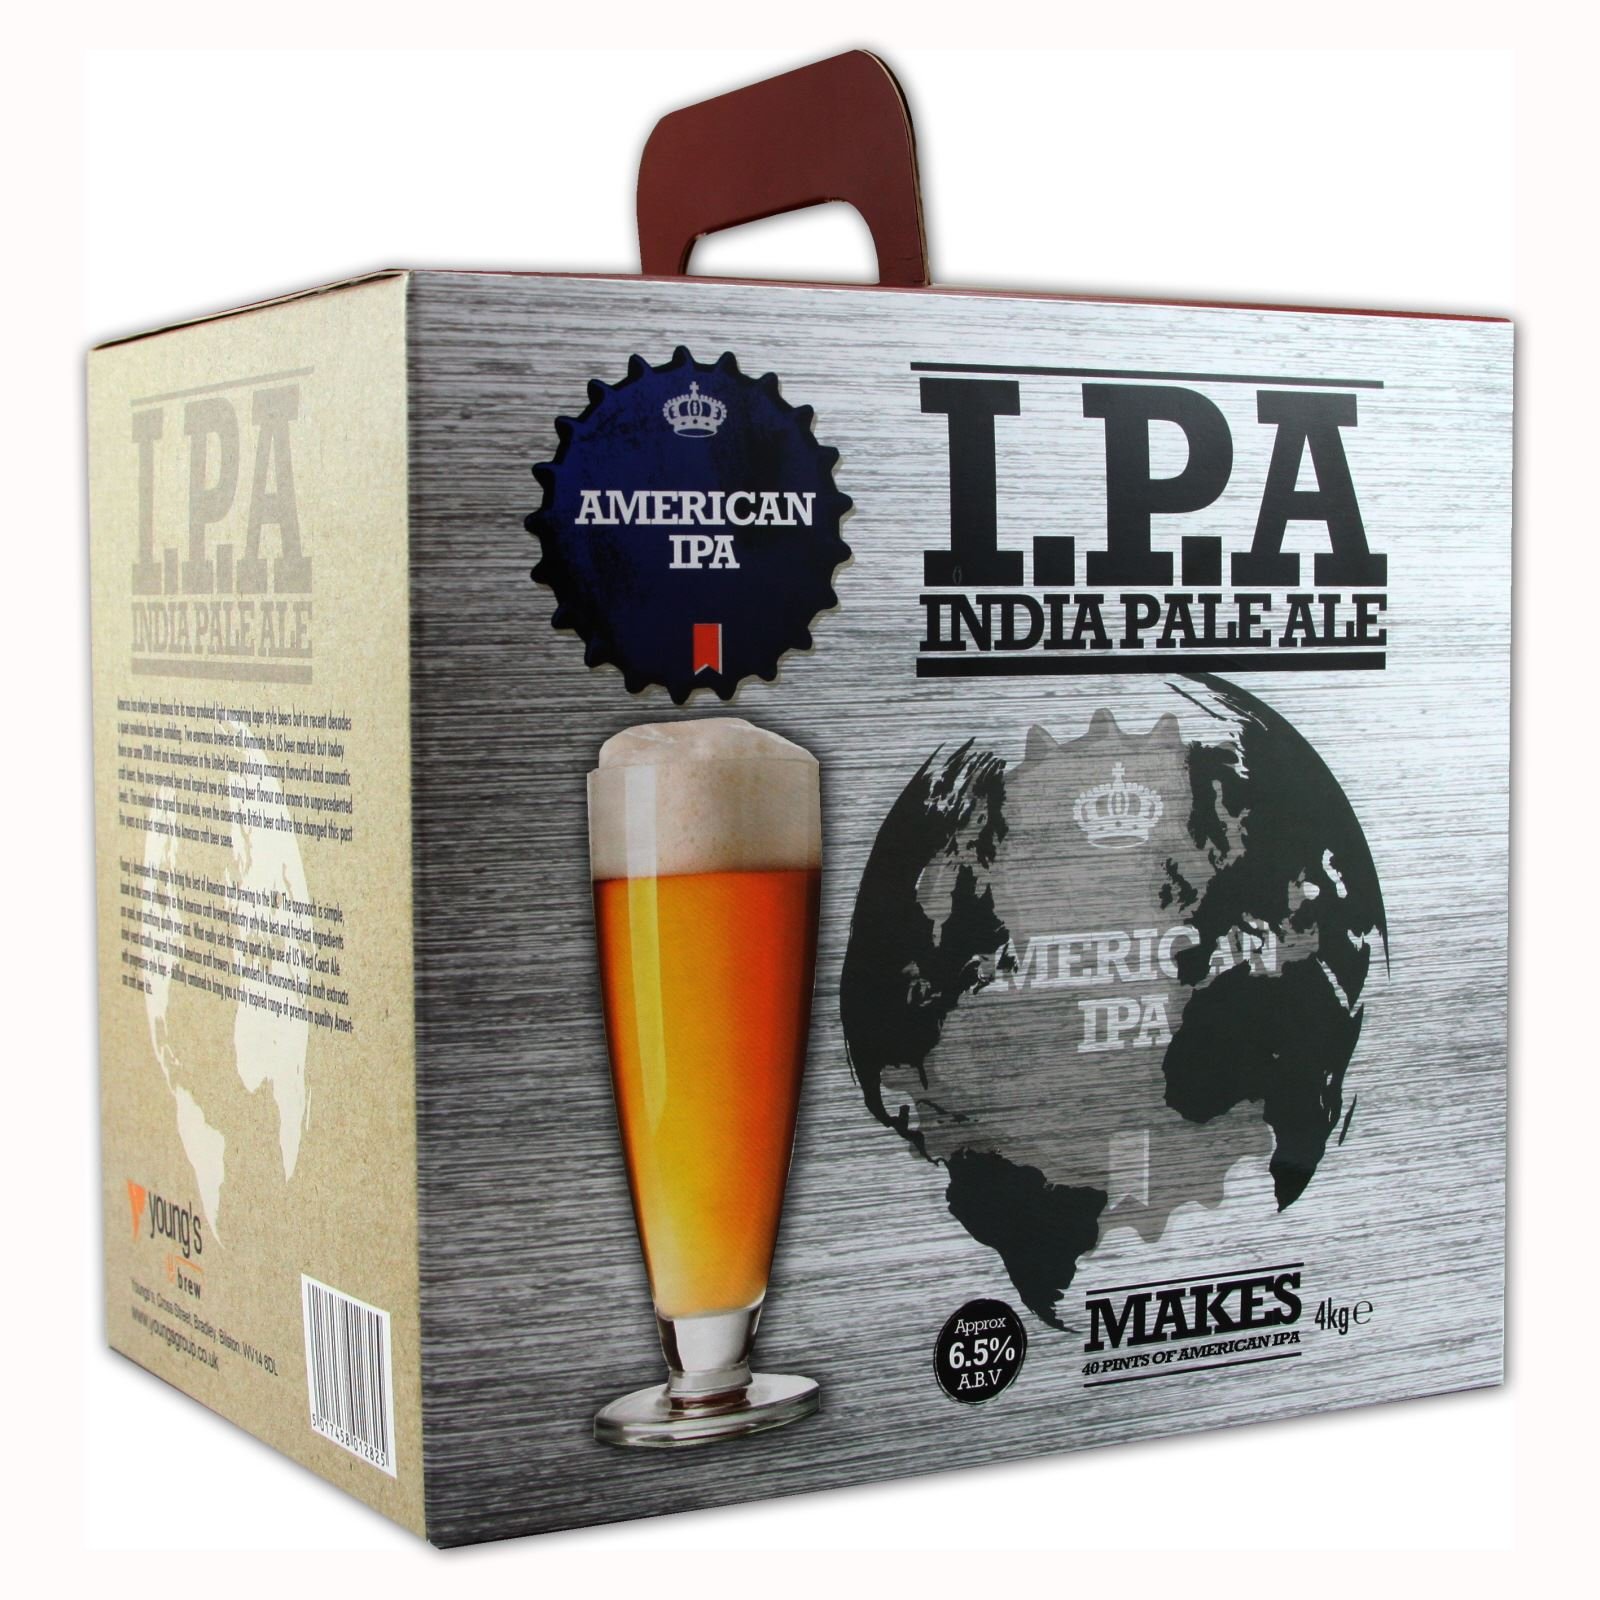

🍻 Unleash Your Inner Brewer with Youngs Premium Ale!
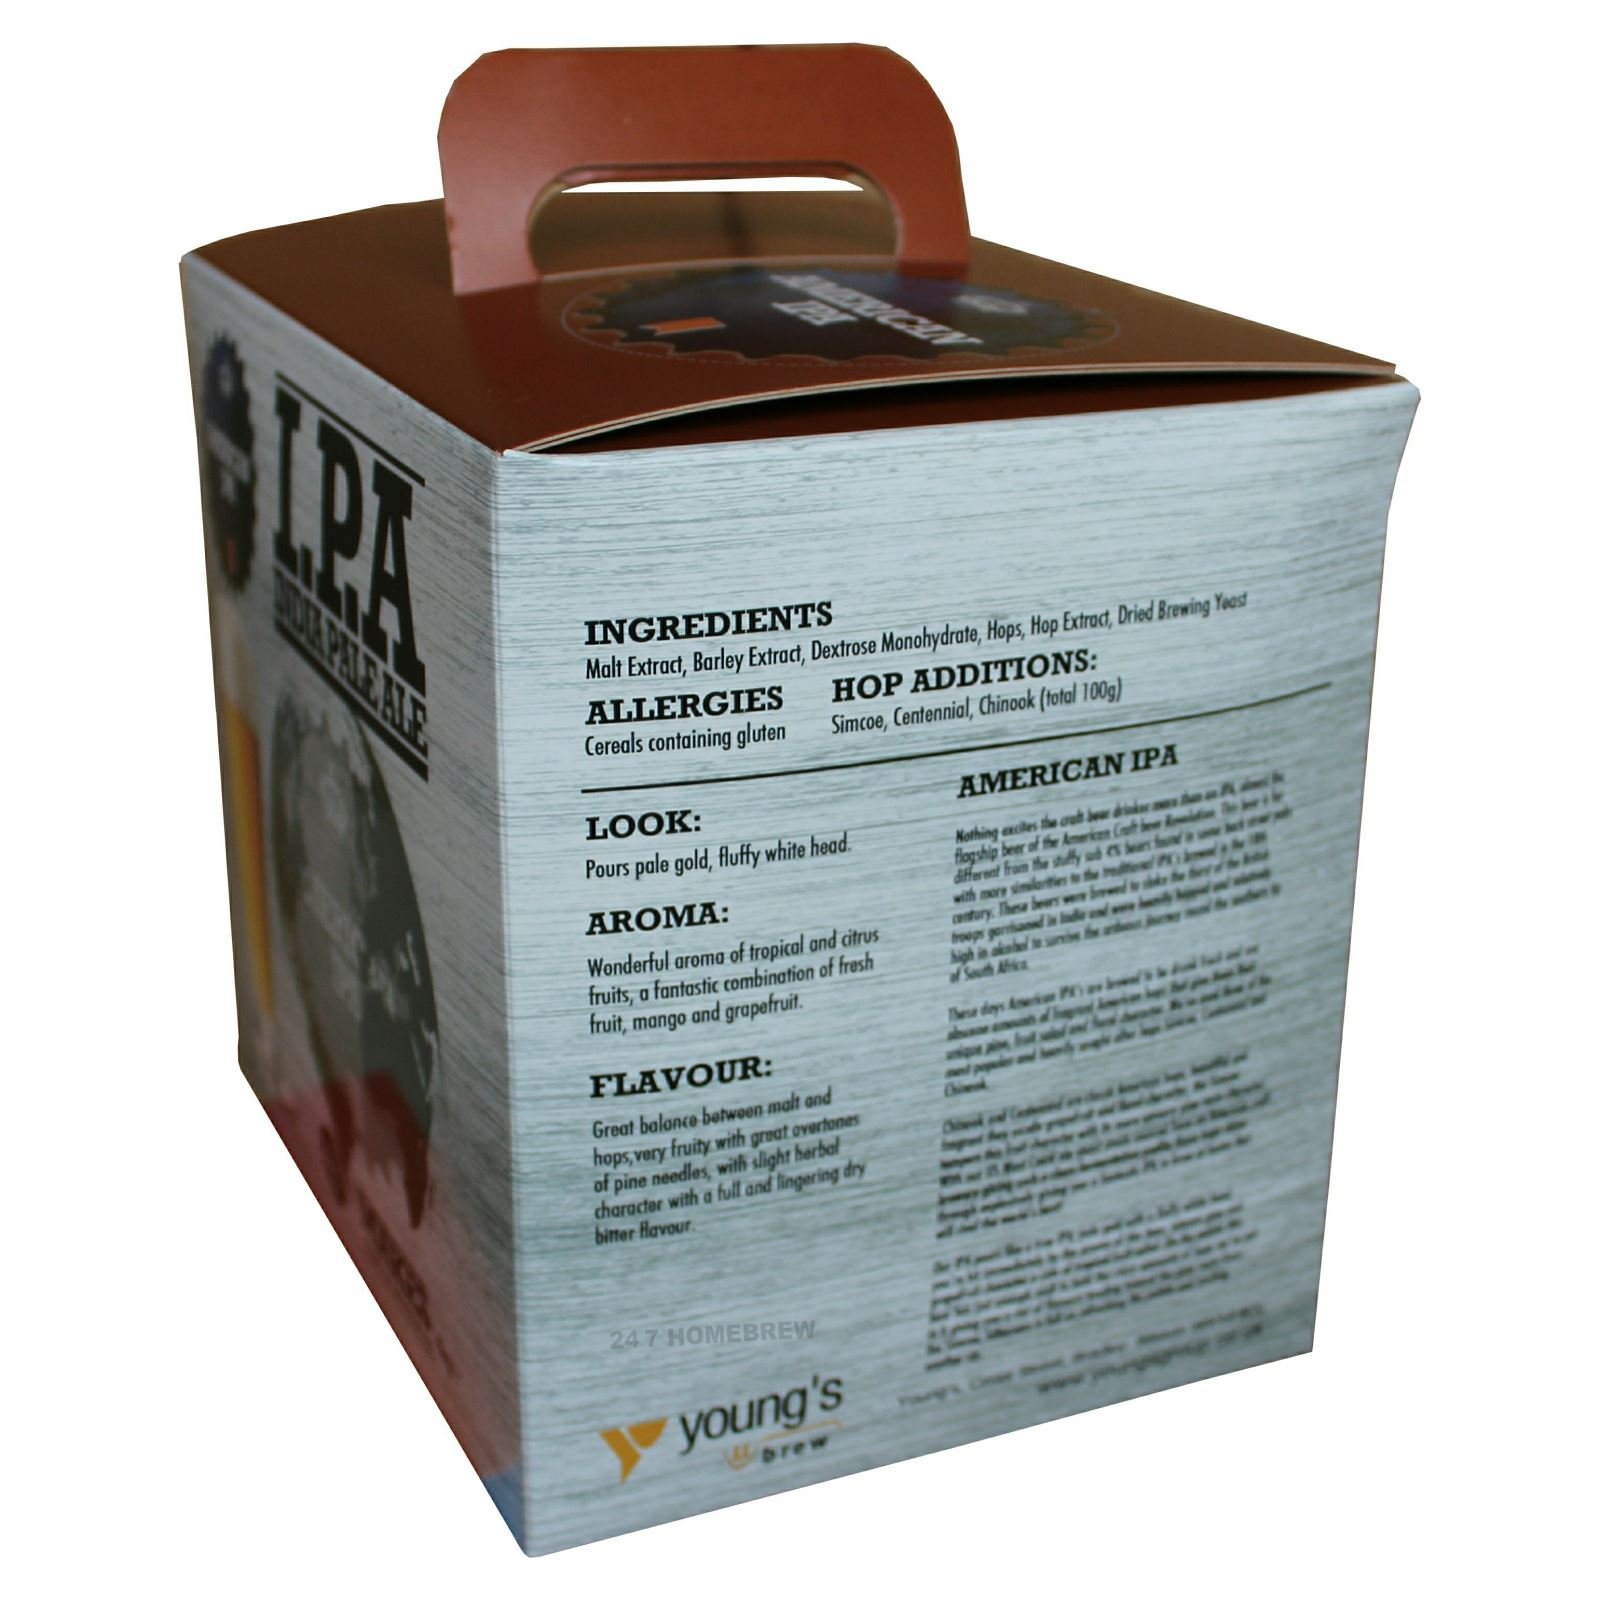
The Youngs Premium Ale Kit allows you to brew a 23-liter batch of American India Pale Ale (IPA) with a robust 6.5% ABV. This kit features a delightful blend of intense pine and grapefruit aromas, complemented by a tropical fruit flavor profile. Perfect for home brewers looking to impress at their next social gathering!
| Item volume | 23 Litres |
| Unit count | 1 count |
| UPC | 757901295300 |
| Manufacturer | Youngs |
| Product Dimensions | 30 x 30 x 30 cm; 997.9 g |
| Manufacturer reference | Lukikichi |
| Weight | 1 Kilograms |
| Storage Instructions | Store in a cool, dark place |
| Serving Recommendation | 12 fl oz (355 mL) |
| Type | India Pale Ale (IPA) |
| Package Information | Can |
T**G
Excellent for beginners.
'm scratching my head. Particularly at the long fermentation period described by other home brewers and indeed by the kit manufacturers. I made the wort up less than a fortnight ago. After the initial warm water to dissolve the malt extract I used a strong water jet from my water filter system to make up to twenty three litres. Consequentlu I got a great froth before adding the yeast. Vigorous fermentation began (within a couple of hours at 23C). After three days, fermentation had nearly stalled with a characteristic rotten egg smell. I added yeast nutrient at this point and this recovered the process completely.Five days in fermentation had pretty much finished so I added a (young's) two part finings. SG at 1009 and again after forty eight hours still 1009. I racked into another vessel, added the final sugar, stirred until dissolved and then bottled the beer. I managed thirty six bottles. Three days later the beer has cleared and is very drinkable and also very strong. I will definitely be trying other Young's kits.
G**W
First home brew
This was my first home brew, and although I researched extensively this kit and brewing in general before hand, I wanted to share some key things I would have found useful to know before I started:-This kit took ages to ferment out, significantly longer than the instructions suggest. In total, it was just over 4 weeks before I bottled it. (I had it at a steady 22 degrees throughout).-Fermentation, for a while, is very active. I was using a standard brewing bucket size (27 ish litres to the brim), yet the krausen still exploded through the airlock so many times I gave up with it and just placed a clean piece of foil over the hole until it calmed down after about a week. I would recommend using either a blow off tube, or a larger bucket 30+ litres.-A mesh bag over the end of the siphon when transferring to a bottling bucket is pretty much necessary unless you added your dry hops in a bag.-I tasted the beer as I was bottling to see what it was like before carbonation, and to be honest it was awful. Extremely bitter (probably bits of hop that made it through the mesh which hadn't settled out yet). Don't let this put you off though.-At the initial brewing stage, swirl hot water round the pouch to get the remaining malt extract out. Also, soak the malt extract pouch in hot water before opening, it will pour out easier when warmed.In terms of reviewing the end product, I tried one after 2 weeks, and then regularly from there on. It reached it's best roughly 4 weeks after bottling for me. Considering this is an extract kit home brew, it is very good. It cleared well, very crisp, deceptively strong, has a bold hoppy aroma from the dry hopping, right level of bitterness for an IPA. Since I tried one, I haven't bought any beer from the shop, this is basically all I've drunk at home!I gave it to some of my friends as part of a blind taste test, and they all (independently of each other) rated it the best compared to a small range of shop bought IPAs (including Goose IPA). They were all in shock when I told them that the one I made from a packet in a bucket in my spare bathroom was the one they chose as their favorite.So to summarize, great success! As long as you can be patient in the brewing and conditioning process (2 months before you'll have it at it's best), you will end up with an IPA that exceeds many shop bought IPAs. I have rated it considering value and my expectations going in, but do not expect this to compare to many 'craft' IPAs. The main area lacking is the body is quite thin for an IPA of this strength, but then again it's entirely unfair to compare this to craft beer that costs £6+ a pint!
V**R
🍻
👍🏻
H**E
Very good first timers kit however I'd change a few things if I used it again.
This beer tastes very good. Quite frankly I prefer this to quite a few IPAs out there. I did have a few issues with the instructions which I will describe below. However none of this detracts from it over time being both cheaper and a lot more fun than just buying beer.I followed the instructions pretty accurately with just a small divergence around aeration. I used a fish tank air stone for 8 minutes because that will aerate the wort really well. I was aiming for 10 minutes but the bubbles frothed so much that it was about to bubble over. The yeast seemed to love this approach during fermentation.The issues I faced were my doubts around adding what seemed like about 1KG of brewing sugar during fermentation. This seemed like a lot. Also with a standard home brew kit making 23 litres of wort seems like a lot. One way or another this caused me some concern regards the amount of headroom for the Kraeusen. This was indeed an issue because the CO2 produced flipped the lid inside out in several places. Also the beer pooped yeast out into the airlock on a regular basis for 6 days and also pushed some yeast out of the grommet for the airlock.Resolutions for this would be to bin a 1 piece airlock and use a 3 piece. Then put a blowoff tube on the main piece and put the tube into a small bucket of sanitiser solution. Secondly don't make up 23 litres of wort. Go for 20 litres. Third, skim the Kraeusen after 24 hours to get any dark bits off. Then again another 24 hours later to have some yeast for your next brew ;)This should solve that issue.The only other issue I had was self-inflicted. I racked the beer into a bottling vessel however I decided that in doing so I didn't need to stir in the priming sugar and just put that in the bottling vessel and pointed the siphon hose at the sugar. This was insufficient. Next time I would make 20 litres of wort an let that ferment. I would dissolve the priming sugar in 3 litres of water and add to the bottling vessel. I would then rack the beer into the same vessel and give it a stir for about 30 seconds. I would let that sit for 30-60 minutes to let any sediment settle and then bottle.That said I still got 3 jars of what looks like decent yeast and there is still some extra fermentation going on creating a little CO2 in the bottles. I've got little carbonation but some at least. I give this beer kit 9/10 for a first time kit.
Trustpilot
3 days ago
2 months ago
