


🔥 Elevate Your Soldering Game with Smart Precision!
The NEW SMD BGA IC Desktop Automatic Smart Reflow Oven is a cutting-edge soldering solution designed for professionals. With CE certification, it features easy operation through micro-computer control and a high-quality LCD screen for visual feedback. Its spacious soldering area of 300x320mm and rapid infrared heating technology make it ideal for a variety of SMD and BGA soldering tasks.
D**R
T-962A Reflow Oven a good value.
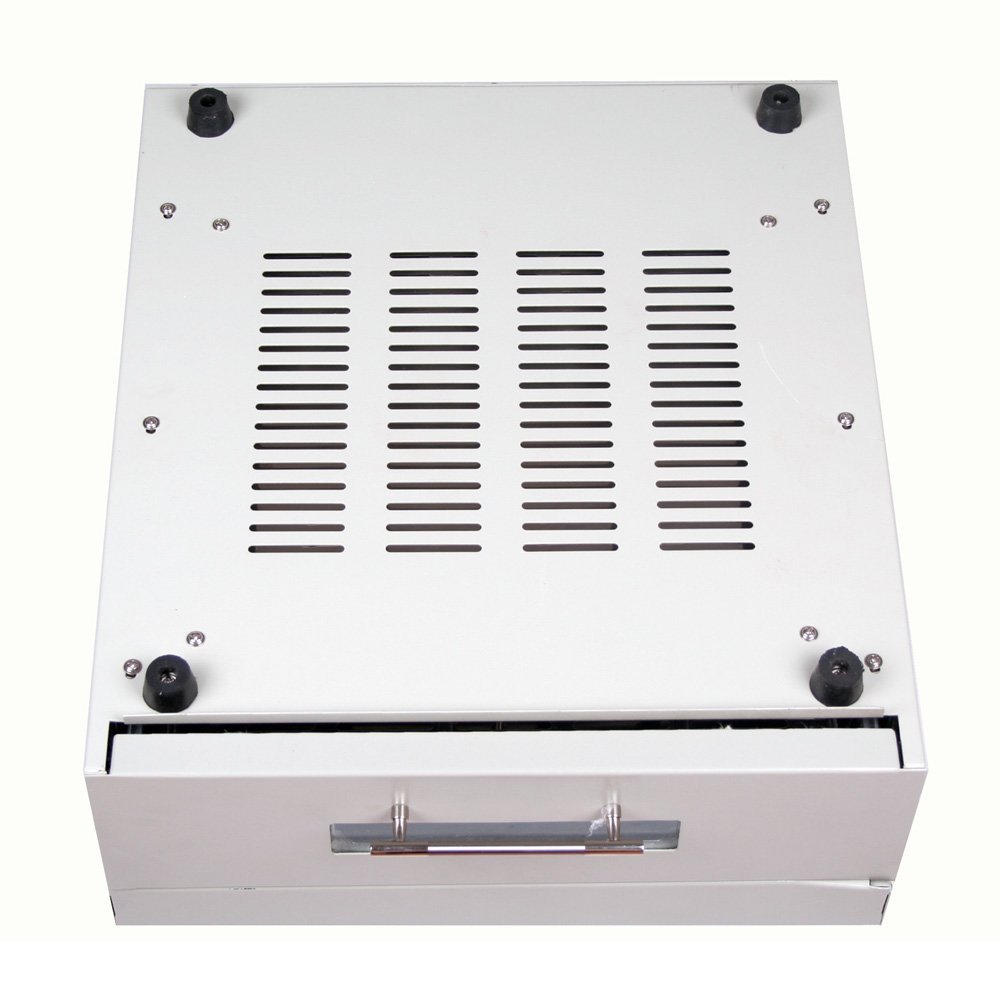
After many years of being in software development, I decided to get back into digital hardware development. The craft of developing HW has changed in the last 20+ years; merely handling current SMT devices requires new techniques, skills, and instruments. After researching SMT fabrication on the 'net, I knew that I would need a reflow oven sooner or later.After trying the low budget "toaster oven" and "frying pan" approaches to soldering SMT devices (both popular among the DIYers and prototype builders), I realized that while the former may work (given enough time for its development and debugging), when one is attempting to start a business, it simply doesn't make sense to spend the time engineering something that can be purchased for less than $600 USD. So, I made the decision to purchase the T-962A oven from Puhui Technology Company. (Their website is [...])For those interested in the bottom line, here it is: the oven works, and works surprisingly well for such an inexpensive tool. It does have a few quirks, but more on these below.Now for the details...The oven arrived in only a few days, having been shipped from Irvine, CA. It was double-boxed. While the outer box was somewhat skuffed during transit, the inner box was undamaged. Moreover, it was wrapped completely in several layers plastic wrap (such as that used to secure items to pallets). The oven itself was very well protected by the typical white foam board (about 1 1/2" thick) surrounding it completely within the inner box.The oven appearance is high quality: good finish, well-fitting and generally connoting that some care was given to its design and manufacture. The drawer slides smoothly on its side rails, and the inside appears to be chrome-plated steel. The oven size is 16.625" deep x 9.25" high x 14.625" wide. The maximum capacity of the drawer is 12" wide x 12.5" deep. The "manual" (more on this below) specifies a maximum board size of 11.8" (300mm) x 12.6" (320mm).The drawer has a thick glass window that permits viewing inside the oven during reflow. There are three IR elements located above the drawer opening (oriented at right angles to the direction the drawer opens), along with a pair of thermocouples that can be seen midway between the IR elements along the front-to-back centerline of the reflow chamber, a little more that an inch or so above the board. (I assume that the onboard microcontroller averages their temperatures during operation.)At the top left corner of the front face of the oven is the label "Infrared IC Heater", "Chinese- English" for "Reflow Oven". Below that is a simple graphic stick-on label of a "typical" reflow profile, along with the model number, T-962A.The user control panel is located in the right end of the front face of the oven. There is a backlit graphic display, five membrane-type buttons (F1,F2, F3, F4, and S), along with a pair of green lights (one that indicates the fan is running, the other indicates the IR lamps are on). The viewing angle of the display is pretty narrow, so reading it can be somewhat challenging at times, particularly in lighted rooms.The oven includes 8 built-in profiles; profiles 1 to 6 are fixed, while profiles 7 and 8 can be programmed by the user. This latter feature (user-programmability of two temperature profiles) is really what makes the oven most attractive to me.Because I had only a limited number of boards to test, and because I had no idea whether this new tool from a company in China (about which I had no information or recommendations!) was going to blow up or not, I played it very safe and took the oven to the back porch, well away from anything flammable, and ran it through a cycle. I'm happy to say it worked perfectly the first time.A nice feature that is built into the display panel is that during operation the temperature profile is displayed: the horizontal axis is time and the vertical axis is temperature. Then, every 10 seconds, a "+" is rendered to the display over the profile curve to show what was actually achieved in the reflow chamber at that instant.At this point, let me make a few comments about the temperature profile, and how it is set up and works. A profile is merely a list of time/temperature points spaced at 10 second intervals. It does not use anything like "raise the temperature from X degrees C to Y degrees C over a period of Z seconds". During operation, it is evident that the onboard micro interpolates values every 1 second interval using some type of curve-fit methodology. You will see during operation, updated every 1 second, the current elapsed time, the programmed temperature and actual temperature. Note that all temperature are displayed in degrees Centigrade only.My first attempt at using the oven was pretty good. I prepared a new board, stenciled the paste and placed the two dozen SMT parts. I then selected profile 3, since that one was nominally closest to the composition of the lead-free solder paste I was using. The cycle ran about 8 minutes, and the board appeared to be in pretty good shape when the cycle completed.I noticed two things, though, once I got the board back to my development bench. The first was that the solder mask and silkscreen had turned a just little brown (when I compared it to new, unpopulated boards). The second was that once I examined the board under the stereo boom microscope, I noticed the solder had the appearance of being burned as well. Please note: this is not a problem with the oven, only the profile! But, this experience did highlight something important: if you are going to use this oven successfully, you must characterize it and develop your own profile, IMO.This brings me to the last item to detail, namely how does one set up a user-defined profile, and how well does it work?Because the onboard micro deals only with time/temp pairs of values placed on 10 second intervals, you'll need to create a small spreadsheet that calculates the "ideal" temperature every 10 seconds for however long the solder paste you are using requires for a full reflow cycle. This is tedious, but not difficult (as is the entry of those values into the oven via the buttons and display).Once you have the list of values for the "ideal" profile, you'll need to enter it. My first attempts at this failed miserably: I simply could not decifer the English in the manual - beyond the obvious fact that doing so was supposed to be possible. Somewhat frustrated, I sent an email to the support address listed on the site. But, I decided to take "one more whack at it" while I awaited a reply (which arrived only 1 or 2 hours later).It was then that I finally realized that you must enter the temperature value at EVERY point along the 10 second time axis (as I've detailed above).Before detailing the rest of the process, I need to mention that the keyboard is a bit quirky. The membrane buttons are auto-repeat (in certain contexts), but are also sometimes not very responsive. So, you'll press a button and nothing happens, then you'll press it again and it will register multiple presses. It's annoying, but not insurmountable; you just have to be a little patient and not press too hard.To get into the profile programming context, you'll first need to select either profile 7 or 8. The current profile graph will be displayed, along with a legend (of sorts) along the right edge of the display. You'll then need to press the S button to "Set" the profile; if you pressed it "just right", you'll see the S in the legend change to "OK" and you are now in the "Set" mode.The key to understanding how to enter the user-defined profile is to realize that once your are in the "Set" mode, the F1 and F2 buttons move the cursor (a single pixel dot) along the horizontal (time) axis in 10 second steps, and the F3 and F4 buttons move the dot up or down in 2 degree C steps. (Note: here is another quirk: sometimes the temperature is displayed as even values and sometimes as odd values. I haven't found any reason for this, it simply appears to be the way it works.)Begin by moving the dot to time 0, then press F3/F4 to set the temperature at that point. Again, it is tedious, but very flexible (and this is very important as I'll mention below). It will take only a few minutes to enter the 40+ (or so) points needed to describe the profile.You now must run the oven through several cycles (drawer empty) and manually record the actual temperature every 10 seconds! It will be similar to, but not match, your ideal profile. Once you have the actual profile, you'll need to tweak it to ensure that the actual profile achieves the original ideal profile. That is, you must manually compensate for the fact that the oven won't get to your ideal temperature (either increasing or decreasing); you will, in fact, need to increase the temperature of the user-defined profile at that point to cause the oven to get to your ideal temperature. I spent about 6 hours in this iterative process before I was satisfied with the response.While this sounds like a lot of work, it really isn't. And, once it has been determined for a specific solder paste, it doesn't need to be repeated. (The user-defined profile is stored, presumably in some type of EEPROM or Flash.) Moreover, from the many characterization runs I made, I found that the repeatability of the oven was usually about 2 degrees C at the same point in time for multiple test runs. (The greatest delta I saw was 4 degrees.) So, if the actual temperature was a little cold, for example, I simply raised the profile temperature by about the same amount at that point, or vice-versa if the actual temperature was too hot. Once I had established the "tweaked" profile, boards run through came out very well: the solder mask and silkscreen were not browned, and the solder joint was much smoother and more even (that is, as much as lead-free solder gets!).I don't know if this tool could be used as a short-production runs oven; that will be for others to decide. However, I'm completely convinced that this tool is more than suitable for my use in prototyping new designs (and possibly for rework?), and I expect that it will be for others as well.Overall, the only items that prevent me from giving it a 5 star rating are:1. The "English" in the included manual is very hard to decipher. I hope that this can be improved in the near future.2. The membrane buttons are annoying and require quite a bit of finessing in order to get them to do what you want.3. The viewing angle of the graphic display is very narrow and is somewhat hard to read in a lighted room.But, the operation of this tool as a reflow oven is completely acceptable to me for my needs in prototyping new designs with SMT devices. Puhui Technology has done a good job, and I look forward to improvements in this oven, along with other devices that they produce now and in the future.
J**E
Oh the smell! You MUST tkae this over appart and remove the masking tape from inside before usng and even then it is not great.
There is plenty of information available showing you how to make your own reflow oven with a $35 toaster and an Arduino, but I wanted to save time and I was willing to spend $400 to buy something that worked well out of the box. I did not get it. The biggest problem with this oven is the unbearable smell it makes. A quick google search revealed that there is masking tape inside the oven, and you need to get it out to get rid of the smell. This is at least a 20-30 minute job, and supposes that you happen to have some Kapton tape available to replace the masking tape. Even after the repair, the oven still stinks for the next 10 or so cycles.On top of that, the temp is uneven and I find that components around the edges of the tray do not always get fully reflowed.If this oven worked great, I would have been happy to spend the $400 on it. Unfortunately takes s significant amount of time to even get it to work just OK.
B**G
Working so far, but go in with eyes open
After reading the material available on the net, decided to take a chance on this low-cost reflow oven. Didn't do the control board mod as others have done, but created a profile adjusting for the slow clock and low temperature sensor. Also, it does kick out some unpleasant fumes when the big fan kicks on, so I run it near the open garage door. And yes, the buttons sometimes double-press, the interface isn't intuitive, and the manual is only marginally helpful. That said, haven't had problems with results after 5 small boards. Honestly, I'm not all that great with a soldering iron or hot air iron, so it's good to have a tool that's so far delivering consistently, despite idiosyncrasies.
S**N
Works fine for me
Works fine for me. I haven't tried loading the tray all the way, yet, so I don't know exactly how much this can handle, accurately. But since I don't have a pick n place machine, it doesn't matter. By the time I can paste and populate the next small panel of pcbs, this thing has done it's business.
H**Y
Works well
Nice for beginning tasks. Purchased this as a gift and have heard no complaints. Works well for all projects my future engineer has come up with.
C**R
Works Great!!!
The manual was worthless but the oven works great when you get it figured out. Great product and rugged construction
Trustpilot
1 week ago
4 days ago
