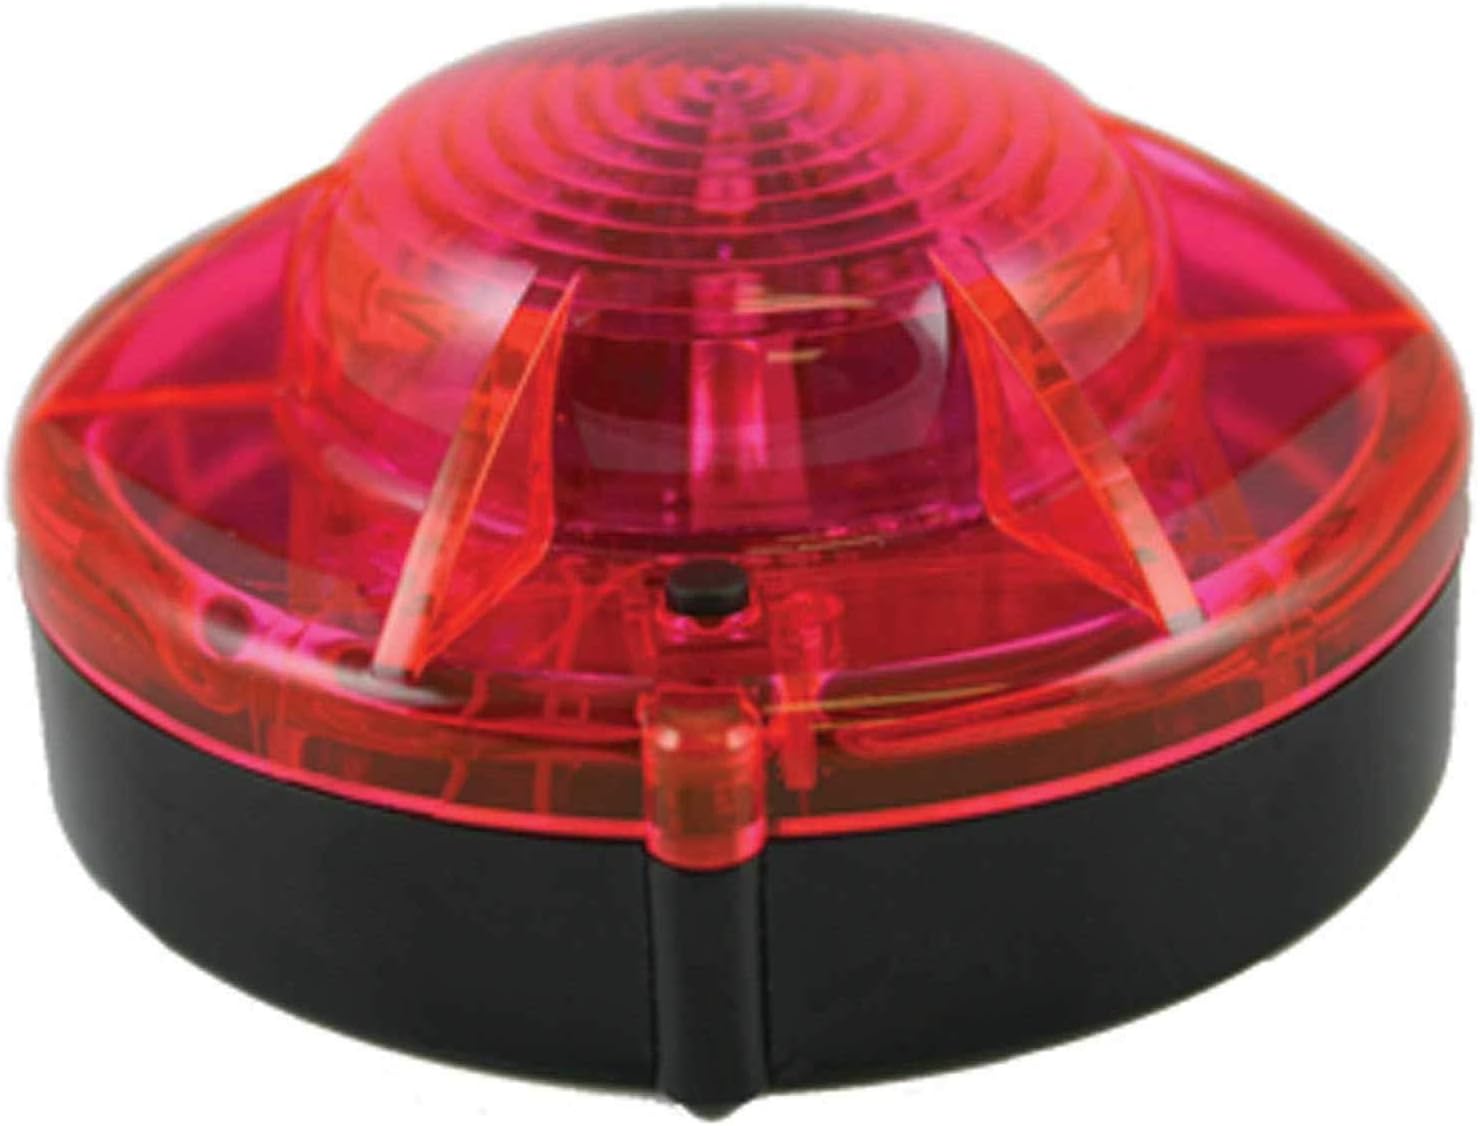

FlareAlert LED Beacon Pro Road Flare - Red
Product ID: 5857525
💧Water resistant
🔋Long-life LED
🧲Magnetic base
Desertcart purchases this item on your behalf and handles shipping, customs, and support to Romania.
🚦 Light Up Your Safety Game!
The LED Beacon Pro Road Flare in red is a revolutionary safety tool that replaces traditional strike flares. With its energy-efficient FlareAlert LED technology, this compact and durable beacon is crush resistant up to 20,000 lbs and features a water-resistant design. Its powerful magnetic base ensures maximum visibility by securely attaching to your vehicle, making it an essential addition to your roadside emergency kit.
G**M
Useful, but...
The idea of my wife or daughters using the traditional burning flares is not comfortable. Would they remember how to twist off the cap and ignite, and about the danger of burns, and gasoline fumes, and the short burn time, and...So I bought three of the FlareAlert Pro. The batteries fit snugly but not too tight, removal takes a little effort but not a big problem. It's vital to change the batteries every year even if not used, all the brands still tend to leak eventually. I might keep some spare AA's in the storage bag in case the ones in the pucks somehow go dead anyway, but changing batteries at night by the road would be difficult.First one I tried, the switch came loose and fell into the unit on the first push, the small screw inside had broken. Not impressive. I'll need to epoxy it in place or send back. But I liked them enough to order 3 for eah car.Tested outside at night, they are, like someone posted, about as bright as the hazard lights on your car. Their advantages over the car hazards are convenience/safety, much longer run time, and the ability to place down the road from your car as an advanced warning. The magnets stick well on a metal car (not on our Corvette!), street sign, guard rail, etc. Placed flat on the ground or any time you are looking only at the edge, they loose about half of their effectiveness; if possible you want to stick them on something metal or prop them up with the "top" of the puck pointed toward the cars approaching you.People debate whether flares (chemical or LED) should be stored in your trunk; the problem is that they may be buried under your luggage or the trunk jammed shut by a collision. In our 'vette, I keep them behind my seat because that's a small unused space. In the grocery-getters, the FlareAlerts are stuck to the inside of the trunk roof with their magnetic bases, out of the way but quick/easy to remove. Hopefully, they won't come loose or get swiped by people working on the car.
G**N
Get This "Pro" Model--It's Brighter!
These magnetic units are not only for motorized vehicles. While a little heavier than most bicycle beacons, these units can be creatively mounted on a bicycle's rear carrier bag, saddle bag, BOB Yak Trailer, or your Bug Out Cart that you may want to roll with on the shoulder of a road.Here's how:1. Anchor a small piece of metal (about the size of a disassembled door hinge) on the inside of the bag. This will allow the FlareAlert built-in magnet an anchoring point.2. Separate the top and back cover of the FlareAlert and use Loctite brand Super Glue and glue three triangle-shaped picture frame hangers on the outer edges of the back cover of the FlareAlert at the 3, 6 and 9 o'clock positions, with care not to over glue the edge near the inner threads.3. Use a length of mil-spec Para cord and feed the cord through the openings of the triangle-shaped picture hangers, then cauterize both ends of the paracord. The length of the cord should be long enough to secure the assembled FlareAlert onto your bike frame, carrier, or bag in case the unit gets shaken loose from its magnetic mount on the bike.Stay Safe and Happy Cycling!...GhillieMan (aka Chappy)
T**T
FlareAlert Pro
I ordered this product after being introduced to it at an event. I was impressed then as we used the white beacons as headlights on a golfcart. The magentic base held as I drove around with no worries about it falling off. The units I purchased arrived in the time frame as promised and in good shape, though I thought the packaging could have been better. I caution you to take a look at the battery installation diagram in the unit when you open it up. I quickly learned of a problem when the unit heated up and I found that the batteries were not inserted properly. After a new set of batteries, I left the units on and found the batteries to last a good 3 days around the clock. I'm impressed and will probbaly order more from Amazon.com.
Trustpilot
3 weeks ago
1 month ago