
DOWNLOAD THE APP


Customer Services
Copyright © 2025 Desertcart Holdings Limited
DOWNLOAD THE APP


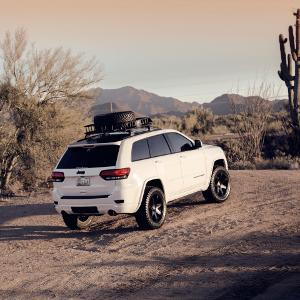
🚗 Elevate your road trip game with CURT’s ultimate rooftop cargo carrier!
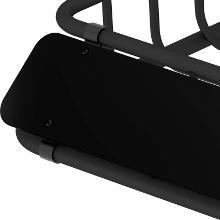
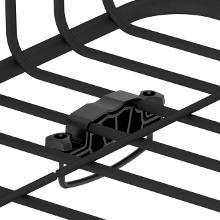
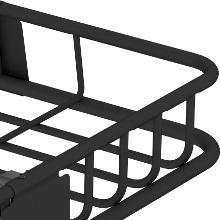
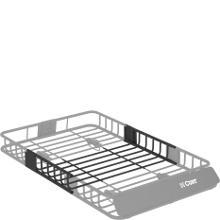
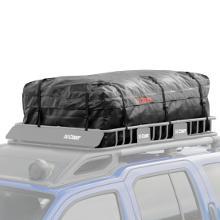
The CURT 18115 Universal Roof Rack is a robust, easy-to-install steel cargo carrier designed to expand your vehicle’s storage by up to 17 sq. ft. with an optional extension. Featuring 4-inch high walls and a front windshield, it secures your gear against wind and road debris. Its universal fit and corrosion-resistant finish make it a durable, versatile solution for professional millennials who demand both style and function on every journey.

| Manufacturer | Curt Manufacturing |
| Brand | CURT |
| Model | Roof Cargo Carrier |
| Product Dimensions | 105.41 x 93.98 x 10.16 cm; 13.2 kg |
| Item model number | 18115 |
| Exterior | Painted |
| Manufacturer Part Number | 18115 |
| OEM Part Number | 18115 |
| Item Weight | 13.2 Kilograms |
Trustpilot
3 weeks ago
2 weeks ago