


🌟 Color your confidence with Light Mountain Henna!
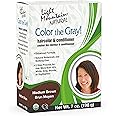
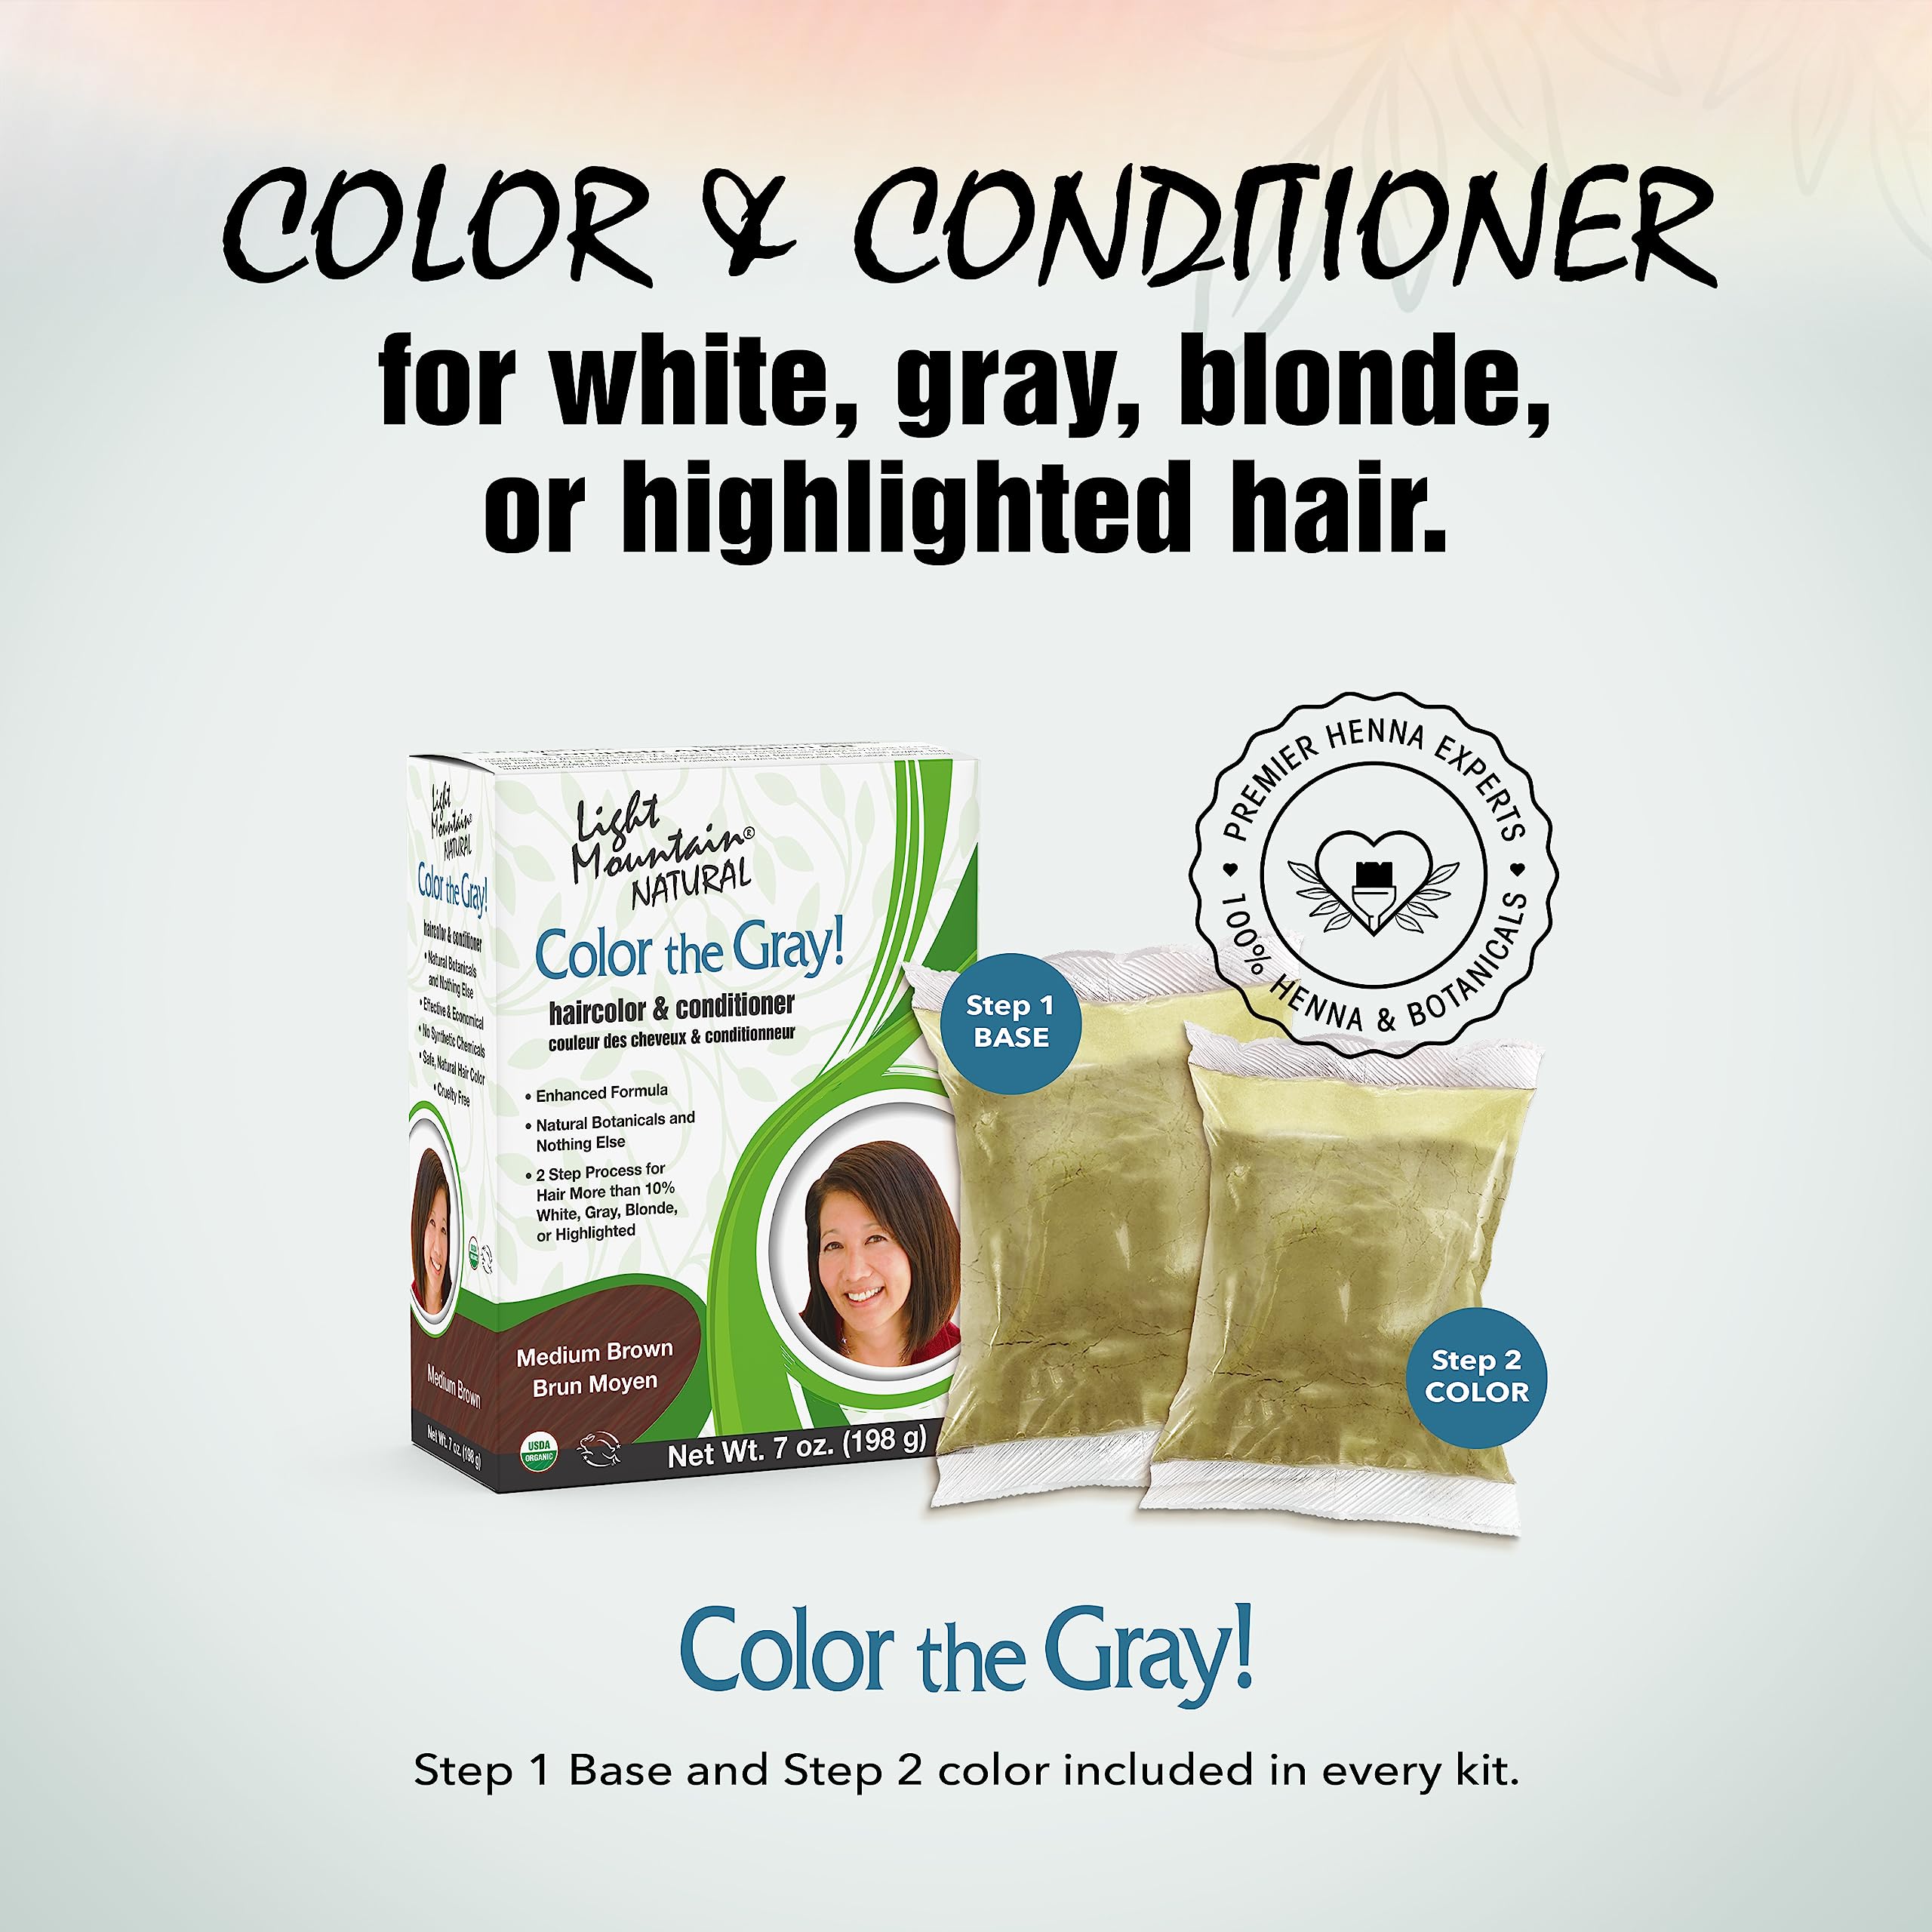
Light Mountain Henna Hair Color & Conditioner is a semi-permanent hair dye designed for men and women, offering a vibrant medium brown shade that effectively covers gray, white, blonde, or highlighted hair. This chemical-free formula lasts 4-6 weeks and comes with a complete two-step application kit, ensuring a smooth and easy coloring experience.
E**R
fool-proof, less-mess GEL recipe using Color The Gray powders
The following method works effectively to dye 100% gray hair with this Color the Gray product plus unflavored gelatin and xanthan gum (essentials) and cassia obovata (optional). It even works on dye- and stain-resistant hair.If you would rather be a blonde or a honey-blonde, skip to the bottom.Ready for henna?After dying my hair with chemicals for 18 years, I decided to switch to henna to be healthier. Honestly, I was a bit terrified to do so because I had seen some women with naturally gray hair (like mine) whose hair turned orange after they used henna. Obviously, they didn't use indigo ...I didn't want to deal with all the granules in my very thick-and-coarse curly Caucasian hair, so I experimented and made GEL. It works very similarly to the chemical dye - no excessive dripping, no drain-clogging, no problems rinsing it out easily, no green tinge. It took me 4 experiments and some serious study of henna and dye release online, but I finally figured it out. Try it! It's super inexpensive, too! (You only use 1/4 the amount that the manufacturer's instructions call for.)This recipe works for shoulder-length thick, coarse, 100% gray, curly, frizzy hair previously commercially dyed and having 1" gray roots showing. The result is a very solid medium brown withOUT any reddish hue. The previously-obvious "root" line is gone. GREAT gray coverage. (If you've never used henna before - and if you have a lot of grays showing - you may need to do the henna / indigo TWICE for full coverage - like I had to. From here on out I plan to do the henna once every 3-4 weeks and the indigo once every 2-4 weeks as needed. This definitely keeps the gray roots from showing too much.I added cassia obovata from to the powders that came in the "Color the Gray" medium brown box to tone down the redness of the henna. AND - very importantly - I added unflavored gelatin (essential to make the indigo stick to my coarse hair) and xanthan gum (essential to make the gel).Henna and Indigo Gel- doesn't clog your drains- uses only 1/4 of a box of Color the Gray powders- is as easy (or easier!) to apply as commercial hair dyeMaterials needed:Color the Gray box of powderscassia obovata (buy from amazon or mehandi.com)unflavored gelatin (buy from a grocery store in the jello section)xanthan gumdistilled waterorganic black teanon-metal mixing bowlsstick blender or wire whipplastic spoonold clothes (that will get stained)old towel (that will get stained a little)paper towelsnewspaperrubber gloves (to use instead of the flimsy plastic gloves provided in the box)2 plastic sacks from the grocery store (to use instead of the flimsy plastic "hat" provided in the box)old conditioner bottle with a flip top to put rinse water (distilled) in4-cup glass measuring cup (big enough to put your hand inside)Henna (and Cassia) and Indigo Geltwo-step applications covers 100% gray roots with solid medium brown color (NO red)* If you have gray roots, they will be orange if you try to combine the two applications. Don't do it!* To cover gray, you MUST do two separate applications! Henna-cassia first, then indigo.* If you have dye- or stain-resistant hair, you must use the unflavored gelatin to make the indigo stick!* If you want it darker and blacker, add 1-2 Tblsp. more indigo (Packet 2) in Step B.* If you want it lighter and redder, use 1-2 Tblsp. less indigo (Packet 2) in Step B.* If you don't have gray roots, or if you want your gray roots to be bright orange (e.g., red hair), you can combine the henna liquid with the indigo liquid and do one application instead of two.Step A: 7-9 p.m. day #1.1. Mix 1-2 Tblsp. henna (packet #1) + 1 Tblsp. cassia obovata + 8 oz. warm strong black tea (made with distilled or filtered water in a glass pan) in a ceramic or glass bowl; let sit 8-12 hours. (If the caffeine in the tea bothers you, use 6 oz. warm distilled water + 2 tsp. apple cider vinegar or whey instead.) The cassia tones down the redness of the henna so that it's more of a dark strawberry blonde color rather than a fiery red color as the undertone.morning day #2:2. Wear rubber gloves. Stretch the foot of a nylon stocking over a 4-cup glass measuring cup. Pour the henna through the nylon stocking. Squeeze the liquid out; throw the granules away.3. Mix 1 Tblsp. unflavored gelatin in 2-3 Tblsp. filtered water (room temperature).4. Add 1 tsp. xanthan gum and the softened gelatin to the henna-cassia liquid. Whip with a hand blender it to make gel.5. Remove rings, earrings, anything metal. Rub olive oil on face, ears, neck. Be careful to not get any oil on your hair. Put newspaper on the floor, sink, etc. to protect the bathroom.6. Use rubber gloves to apply to hair: cover the gray roots. Smoosh through the hair and into the roots. Cover with a plastic grocery bag. Cover with a towel for warmth. Leave in 3-4 hours.7. Rinse under the shower faucet. Do NOT use conditioner. (You won't need it anyway.)8. Towel dry. It will be reddish-orange, but don't worry! This is just the undertone.Step B. Same day. Immediately after you rinse the henna-cassia out.1. Mix 4 Tblsp. indigo (packet #2) + 1/4-1/3 tsp. salt + 8 oz. WARM (half boiling, half room temperature) bottled or filtered water in a ceramic or glass bowl; stir; let sit ONLY 15 minutes until the dye releases and the edge of a paper towel dipped in turns blue/green. (Add 1-2 Tblsp. more indigo if you want it dark brown or black. Use 1-2 Tblsp. less indigo if you want it redder.)Important: Don't let the indigo sit for longer than 15 minutes before you start to use it!!!! This wasn't clear in the manufacturer's instructions.2. Mix 1-2 Tblsp. unflavored gelatin in 3 Tblsp. room temperature water. Stir to soften.3. Squeeze the INDIGO through a nylon stocking foot into a 4-cup glass measuring cup. Throw the granules away.4. Add 1 tsp. xanthan gum + the softened gelatin to the indigo liquid and whip with a hand blender it to make gel. Keep it in the 4-cup glass container.5. (optional: Rub olive oil on face, ears, neck but don't get the oil on your hair.) Put newspaper on the floor, sink, etc. to protect the bathroom.DON'T worry about the color of the gel!!! At this point your hair is red-orange. The indigo gel is green/blue. Remember the color wheel? orange + blue = brown. Relax - your hair will be a nice shade of brown when it's finished. :-) Enjoy the process! LOL!6. Use rubber gloves to apply to hair and scalp in small globs. Smoosh into the roots and smoosh into the length of hair. Cover with a plastic grocery bag. Cover with a towel for warmth. Leave in 2 hours. (More will not be better. Less will cause it to last a shorter period of time and/or to not stick as well or to not be as solid brown.)7. Rinse in the shower. Condition with as much hair conditioner as needed. Do NOT add any oil to the conditioner. Rinse.8. Towel dry. If your hair is dry, rub a little leave-in conditioner in the ends and middle of the hair (avoid the roots). Style. Voila!Leftover henna and henna-cassia can be frozen. Leftover indigo cannot (it's useless). I understand that if you freeze the henna, it may be a little darker then next time you use it (e.g., the red in your hair will be a little darker).Henna conditions hair. Indigo dries it out.If you find that your hair is still too dry when you've completed the whole process, BEFORE Step A, super-moisturize your hair by leaving a combination of olive oil + vegetable glycerin or honey + conditioner + dissolved gelatin in your hair for an hour. Rinse. Then do the plant dyes (Step A and Step B).The gelatin adds keratin to the hair. The henna, cassia, and especially the indigo stick to the keratin / gelatin. Don't worry - the gelatin absorbs into your hair and rinses out nicely. It won't be sticky. (You do have to cover your head with a towel to keep it warm to aid this process of the gelatin absorbing into your hair.)If you don't have coarse hair, you may be able to omit the gelatin. In my experience, the indigo wouldn't stick very well or last very long until I used gelatin and then it stuck VERY well. Hurray!If you want to lighten your hair after you do the indigo (Step B), I believe you could put some olive oil in conditioner and leave that on for a few minutes. In my experience, that caused the indigo to strip off after it was freshly applied.I don't ever shampoo my hair (haven't for 2+ years), so you might try going poo-less, too. Just use conditioner from time to time. Google "shampoo-less" and you'll find lots of blogs and ideas from others.Very important: In order to keep the indigo on the hair for as long as possible, I have to mix softened gelatin in my conditioner EVERY time I use conditioner on my hair. This has the added bonus of making my naturally dry/coarse hair softer!More info on plant dyes: http://www.mehandi.com/how_to/brunette/index.htmlBEFORE you do this, though, consider these options first:1) Take up to 6 capsules (750mg each) of TMG (trimethylglycine) every day and make sure you get enough B5 and B6 vitamins (you could eat ¼ tsp. of rice bran / day to accomplish this). If you do this and if you have a reasonably healthy diet, you may find that your new hairs will grow in your normal brown instead of gray. I've been doing this since July and I'm definitely getting some brown hairs in where I used to have white ones. Since I've been going gray since I was 19 years old, this is quite the amazing thing! about TMG here: http://www.drlwilson.com/ARTICLES/TRIMTHYLGLYCINE.htm2) Make gel out of cassia obovata (it's a plant powder like henna) and use that to dye your gray hair blonde. It won't lighten your brown hair but it will make your white/gray hair yellow. I think I'm going to do this eventually because the henna + indigo process is rather time-consuming. Just doing cassia would be easier (and less expensive). It will just mean being a honey-blonde instead of being a medium-brown brunette. But it will happen slowly and I'll gradually get blonde as the hair that is dyed brown grows out. I recently got a cute shorter haircut, so I think it will work. about cassia obovata here: http://www.mehandi.com/shop/cassiaobovatabuy.html
D**E
Great Results After Finding a Good Process - Added Ingredients - The Key is Using a Blender
I started using this product over 4 years ago and have used it and only it routinely. I started with hair that was dark brunette and a bit of gray - perhaps 15%. The results were that my bangs had some orange remain in them and the color ended up being light to dark medium brown.**Use organic ground ginger (spice) instead of fresh ginger to shorten steps.**Then I started really reformulating my process, and finally I have it down to a science. I'm posting an update here to say, that I believe the color is darker and holds longer if you put in on your head with a shortened cure process, not letting it sit to cure for several hours beforehand. Right before you rinse off package 1, make the mixture for package 2. Then by the time you are done rinsing out package one, you can put package 2 mixture on. I think the window is maybe to try and get it on within 15-30 minutes of it after mixing it. I read on a henna website one time that color would be more vivid if it was on your hair while the processing was taking place.The key is getting it applied well, and by blending, it is very creamy while applying. In fact, now I just dip my hands in the bowl and spread it on like I am applying shampoo. I don't even use the hair color brush. I just smear it in and through the hair because it is so creamy. Seriously, this has shaved off at least 30 minutes of application time. My hair is long, about 5 inches below bra strap on back ((hair is now to waist, and 1 box covers it all.))I will come back and try and condense this review into easy to follow steps.Here is the 2nd time I used this product and how I prepared it:I let both the pack 1 and the pack 2 cure for 3 hours each before starting. I made them both at the same time.For pack 2, I made it with this: 2 cups total liquid as: 1 cup distilled water, 3/4 cup of Folgers Black Silk Coffee (made fresh an hour earlier with distilled water) and 1/4 cup of apple cider vinegar. Remaining ingredients included: a piece of fresh ginger about 2" long, 3 tablespoons honey and 3 drops of extra virgin olive oil. To start, I chopped the ginger and put in the blender and blended with 1 cup of distilled water. Then I moved it into a glass bowl, poured in the coffee, the distilled water, and the evoo. After it cured for 3 hours, I then added in the honey. I blended again with the hand held blender stick and let sit. While sitting the bowls were covered in saran wrap.I left the color from pack on 3 hours.I noticed that pack 1 left my hair a vibrant bright orange, which did not happen when I colored three months earlier. I think leaving this pack on 45 minutes was key. I was worried that I would miss a vibrant orange strand coloring but I got them all.My hair color turned out a very deep dark color -- not quite black, but darker than chocolate brown. In fact, it's the color of dark chocolate.The gray turned dark, but not as dark as the rest of the hair, but that seems to be par for the course for henna, and actually looks natural, rather than a sea of black.To help with the mess, I bought a pack of 10 towels for only $6.49 (total for the pack) at a beauty supply store. I also wore a cape that I got there. The plastic cap that was included with the color, I cut a slice in it to be able to tie it securely on my head, and I cut a tiny hole in the top of it to allow heat to escape. I read that sometimes you get the red hot spots on top of the crown from the hotter area of the head there, so the hole helps regulate the heat.I also used the apple cider vinegar (acv) this time because after researching how to apply henna, I came across several posts of how the acv helps unlock the color. It sure did, I was pleasantly surprised.The mixture was also easy to work with for pack 2. I believe the evoo and the honey did this. It was so easy to put on, that it was actually dripping a little. But even though that was a slight nuisance, it was far better than working with the consistency of mud.All in all, this stuff is a pain to work with, and took 8 hours, and that was with my husband helping. But it was quicker than the first time, and probably if you don't wait so long between times it might be easier. Especially for me, as the first time had to cover more of the gray. This time only had to cover what had grown out over three months.Oh a very important thing. This time there was no foul smell. I believe adding the ginger must have done that, and I'm so thankful. Last time I smelled like a hay stack for a week later. Even at the gym, I would start sweating and smell like hay.This time, no after smell at all.**UPDATE Jan 25, 2014 --Here I go again! This will be my 4th time using the product. I'm not waiting for so much gray to accumulate before recoloring, so maybe that will help the time. I usually have to spend half a day running around to get supplies. I'm trying to stock up.This is additional supplies of what you need:Since it is a 2-step process, it's best if you can have 2 plastic bags for the head. What I do is cut a 2 inch slit in the front of it and use those 2 ends to tie into a know - this makes the bag fit tight, avoid leaks and not slip around.Instead of using the official coloring cape from the beauty store, I now use a 13 gallon size garbage bag. I cut a hole on each side for my arms. I like the beg better because it's a little lighter and easier to work with and I can alter the size very easily by folding it up to look like a mini shawl.Put 2 plastic bags on the bathroom floor - that way drips can just be thrown away - cuts clean up dramatically.The ginger root is definitely what is make the smell non-existent. With ginger root there is very little hay smell, maybe only like 5% the first few days.After you are all done, the next day when you take a shower - don't shampoo yet. Use only conditioner. And the day after that, don't shampoo, only conditioner. This helps the color set in before you have your first shampoo. So today is Saturday, I'll condition on Sunday and Monday, and shampoo and condition on Wednesday - back to normal routine.I also tried the step 2 a bit differently, which I like better. After step one is done, right before you wash it out, make the stuff for step 2. Then about 15 minutes later when step 1 is all rinsed out go ahead and put step 2 on. I did read from someone else that it's best to put this on your right after mixing, so I started doing that. It makes sense - let it start developing on you for a deeper longer lasting color. That's what I'm doing again today.Ok ladies - good luck! It's a lovely finish - just a bit of a nuisance until you figure out a good routine for you. I always have to reprint my review here to see what I did and I follow my own steps each time. LOLGo be fabulous!
T**S
Eh..
Very conditioning for the hair but kind of makes my hair orange.
Trustpilot
1 month ago
2 months ago