
DOWNLOAD THE APP


Customer Services
Copyright © 2025 Desertcart Holdings Limited
DOWNLOAD THE APP
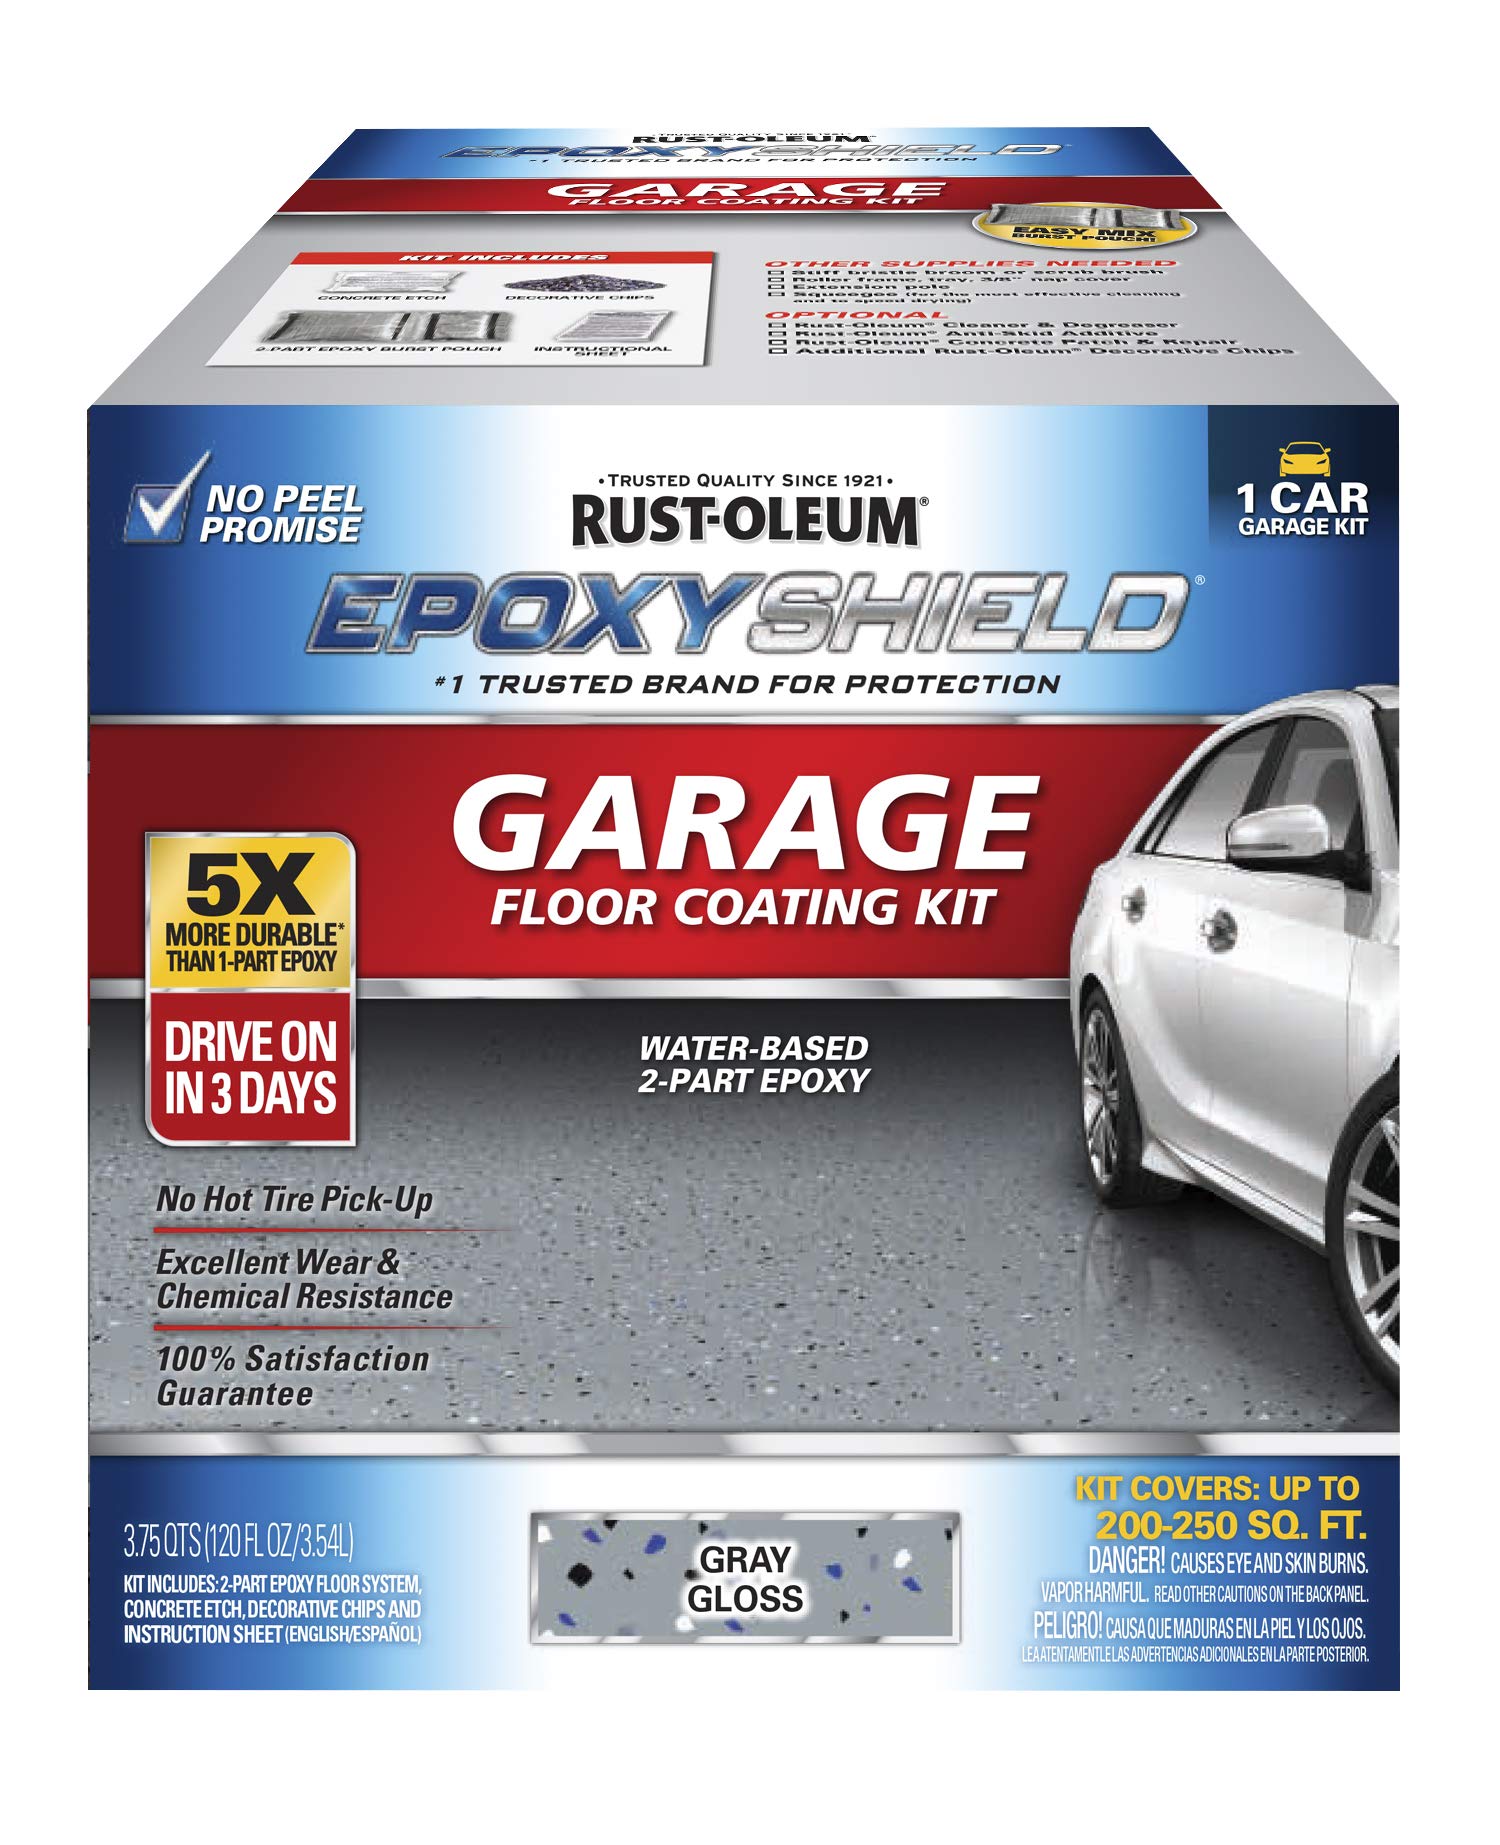
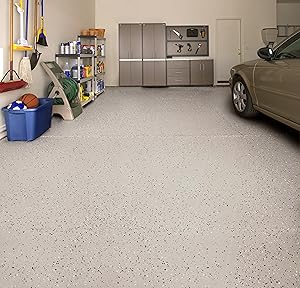
🛠️ Transform your garage into a sleek, durable showroom floor—because your space deserves the best.
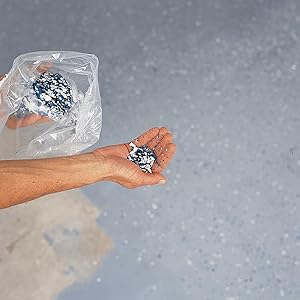
Rust-Oleum EPOXYSHIELD Garage Floor Coating Kit delivers a professional-grade, 2-part epoxy formula that creates a high-gloss, ultra-durable surface 5X harder than typical epoxy paints. Designed for interior concrete floors, it offers superior adhesion, chemical resistance, and a low-odor finish. Ready for foot traffic in 24 hours and vehicles in 3 days, this kit includes everything needed for a stunning, long-lasting garage upgrade.


| ASIN | B003B3CD3K |
| Batteries Included? | No |
| Batteries Required? | No |
| Best Sellers Rank | #10,589 in Industrial & Scientific ( See Top 100 in Industrial & Scientific ) #12 in Industrial Coatings |
| Brand | Rust-Oleum |
| Color | Gray |
| Customer Reviews | 4.1 4.1 out of 5 stars (2,250) |
| Date First Available | March 5, 2010 |
| Finish | High-Gloss |
| Finish Type | High-Gloss |
| Full Cure Time | 24 Hours |
| Global Trade Identification Number | 00020066192891 |
| Indoor/Outdoor Usage | Indoor |
| Is Discontinued By Manufacturer | No |
| Item Form | Liquid |
| Item Package Quantity | 1 |
| Item Volume | 1 Gallons |
| Item Weight | 4.41 pounds |
| Item model number | 251965 |
| Manufacturer | Rust-Oleum |
| Material | Epoxy |
| Model Name | EPOXYSHIELD |
| Package Information | Can |
| Paint Type | Oil |
| Part Number | 251965 |
| Pattern | Epoxy Coating Kit |
| Product Dimensions | 17 x 7 x 9 inches |
| Size | 1 Count (Pack of 1) |
| Special Feature | Low Odor |
| Special Features | Low Odor |
| Specific Uses For Product | Interior |
| Style | Coating |
| Surface Recommendation | Floor |
| UPC | 020066192891 |
| Unit Count | 1.0 Count |
| Warranty Description | Satisfaction Guaranteed |
A**Y
Good quality product. Recommended.
EASY TO USE: I applied it to my garage floor and looks great. I had a 4year old coat of floor acrylic paint with bald spots and cement cracks. I brushed as much old paint as possible, power washed the garage, and left it to dry, the next day fixed the cracks with wet cement filler and left it to dry again. The instructions ask for application of a coat of primer (if you had an old paint coat), but I went ahead and applied the paint directly with a roller and brush. 1hr to apply carefully. I followed the instructions of no use for 24 hrs, then light foot use only, and only after 72 hrs cars. SIZE: My garage is a 2-car garage, and I just had a little paint left but definitely does not look enough for a slightly larger garage. If I had applied the primer then the paint would have covered more surface. DURABILITY: It looks great and after 30 days no issues. I cannot judge durability yet.
J**E
Great product and brand
Easy instructions and I looked up how to prepare the floor, since mine was previously painted. So fingers crossed this holds up. But it was easy to apply and put down the paint chips. I was able to do small sections at a time no problem and completed my 2 car garage floor . This brand was also recommended to hold up to humidity and heat which is what I needed.
R**R
NOT durable, NOT like professional grade; do not buy
I've installed SIX epoxy garage floors in my day, all but the last one using pro-grade 2-part epoxies, color and chips. They all have held up extremely well over the past 16 years. I decided to use the rustoleum product on a 2-car garage in a rental place we bought last year. WHAT A MISTAKE. I acid etched the bare floor THREE times (from experience, 2 times is needed at least). I let the etching dry 2 days in high-altitude arid climate at 70F and did a moisture check. I rolled the epoxy on, sprinkled the chips and even applied a DOUBLE clear top coat layer. Look at the photos, its a DISASTER and a waste if money. The epoxy DOES NOT ADHERE like pro-grade epoxies. It bubbles, pillows, and easily tears from the concrete surface. If you think you are saving money by buying this kit, you aren't. Now I have to sand off (scarify) the crappy Rustoleum product and reapply a superior product. Waste of my time and money. Do yourself a favor and spend the little extra to get a pro-grade product and do it once, the right way.
A**R
Amazing product - very impressed!
My husband and I love to ride and we wanted to build out our dream motorcycle garage for all our bikes and toys. I surprised my hubbie by taking on this floor project and it came out way better then I even imagined. I’ll say this PREP WORK PREP WORK PREP WORK! It took me a few weekends to finish because of all the prep work but it’s super important if you want a professional looking finish. It stinks that the prep items DO NOT come in this kit. I had to purchase separately the moisture stop which was super important and additional cleaner to throughly clean the old garage floor with. Once I cleaned and etched the floor I let that dry out a weekend. The following weekend I filled the cracks. Next weekend added moisture stop and let that sit for the weekend. Finial step was laying the epoxy and decorative chips. I then added the lighter grey boxed out area just to add some more design and dimension. Overall amazing product. It legit looks like a pro job and was fairly simple to do. It was a-lot of cleaning and prepping but in my opinion WELL worth all the work for this finished look. I’m obsessed and can’t wait to add shelving and the rest of our motorcycles and helmets!! I added before and after photos. Buy and do it! You won’t regret it.
A**R
Say BAM when throwing the color flakes!
Good product used a couple times now. It's all in the prep (most time consuming) for this product. Ideally you have a pressure washer and some arm grease for cleaning and etching the floor. Goes on easy and looks great. Make sure your epoxy bag isn't shipped to you with one side of the pouch hard. This means it's already gone off and you will need a refund and reorder. Take your time and enjoy the ride. To really make the floor professional, add the Rust-Oleum clear epoxy topcoat and use the anti slip packet (separate purchases). This makes it way stronger, no slip, and gives it that showroom Sheen. It also helps when you throw the color flakes to say BAM in an Emeril voiceover. Have fun...
D**E
Better Than Expected
After applying two coats of Rust-oleum (Gunmetal Gray) EpoxyShield with flakes to my 800 sq ft garage floor, I elected to add this Rust-oleum clear coat. Upon applying the gray coatings, I found that the materials went farther than what was printed on the box (i.e., 450 - 500 sq ft), so I elected to purchase just one box of the clearcoat -- and hoped I could cover the entire 800 sq ft with one application. It worked! I was able to completely coat the entire 800 sq ft without an issue. I did this in just one hour. Here's what I learned along the way: -- Break the bag as instructed for the two parts to mix well. This interesting mix procedure worked well. -- I then poured the contents into a container to further mix, and I poured half into a roller tray to do the first half of the floor (to see if half would do half). I also added the anti-skid material that was provided. -- I found that a thin amount spread far (thicker isn't necessarily better). -- I didn't bother to 'cut in' the edges with a brush, as this is a clear coat. Rolling the edges went fast. -- I then completed the first half, and followed up with the second half with ease. -- Once the entire floor was covered, I took the wet roller and rolled every square inch again to ensure I didn't miss any dry spots. The overhead lights helped reflect wet versus dry as I rolled. -- I used the spiked shoe attachments (purchased separately). BE CAREFUL these spiked platforms can slip on the wet surface. There's a learning curve -- I found it best not to shift your weight to stretch. Falling is one thing; falling into epoxy is another! -- About 28 hours after the application, it was still marginally tacky. So I've elected to wait another day to walk, and four days to drive. Last tip for those of you who haven't epoxied before ... I suggest you use two coats of colored epoxy. Wait until the second coat completely covers the floor before applying chips. Don't ever throw chips -- put a very small amount in the cup of your hand and spread it like shaking grass seed. Cover the entire floor with a very mall amount and repeat until you have a nicely-distributed look. Throwing = unintended clumps.
D**N
All my neighbors keep coming by to check out my fancy garage work!
We just bought a new house and the garage looked dirty and gloomy. My brother-in-law used the gray color on HIS new garage, and I thought it looked pretty classy! I never had a garage before, and didn't think I'd use it for much. Maybe to park in, and keep the garbage cans, some storage shelves, and a chest freezer. I decided to to upgrade the space with this Rustoleum product for several reasons... Mainly because it looks pretty great, but also because I'm hoping it will be easier to KEEP clean. Spills will be easier to wipe up, and not leave any stains, and the concrete should start in fantastic condition for the life of the house, I hope! The whole process wasn't too difficult. I swept everything really good, then scrubbed it with the cleaning stuff. I pressure washed it clean, and chased the water out with a squeegee. After it dried, painting was pretty fun, with a can for each side of the garage, and all the edges. I was amazed how each can was exactly the right amount with hardly any leftover. I wasn't going to add the sprinkles, but someone mentioned that it helped camouflage any cracks or defects in the concrete, and that definitely was the case, so I'm pleased. A tip I found useful was to take an old bottle of spices with bigger holes and use that to shake the sprinkles around in the paint. I used an old bottle of red pepper flakes, and that helped the sprinkles come out nice and evenly. Everyone agreed that using the sprinkles was the right choice.
K**.
Not bad, not great
Pretty accurate as my garage was 576 sq ft and I only needed a tiny bit of the second box I purchased. - HOWEVER, previous reviewers were correct and one of my epoxy bags was damaged during shipping so it was chunky and I threw that bag away. - Also as someone said, that other box I got was the exact same product, but the paint comes out a different color. Mine wasn’t as bad as the previous reviewers, but you can notice if you look hard. - I bought extra chips, but only used what came with the kit. As for the clear kit (Amazon sucks and only lets me do one review for everything), I used the 2.5 car garage 2 pack for my 576 sq ft garage. - DO TWO COATS. I tried to do everything in one THICK coat and was left with a couple dry spots. It’s clear, so it’s a pain to tell if you are evenly rolling everything across the floor (yes used headlamps and job site lights to see if it was wet/ shiny versus dry). So do one coat WITHOUT the antiskid (as directed in the instructions), let dry, and then hit it again with a top coat mixed with antiskid. Moral of the review, you get what you pay for. It’s a cheap way to pimp out your garage. But if you’re OCD and want it to be PERFECT, then you got to cash out and get the professional kit ** pictures taken before clear coat was applied
Trustpilot
1 week ago
1 month ago