Description
🔧 Secure your sink like a pro—strength, style, and simplicity in one kit!
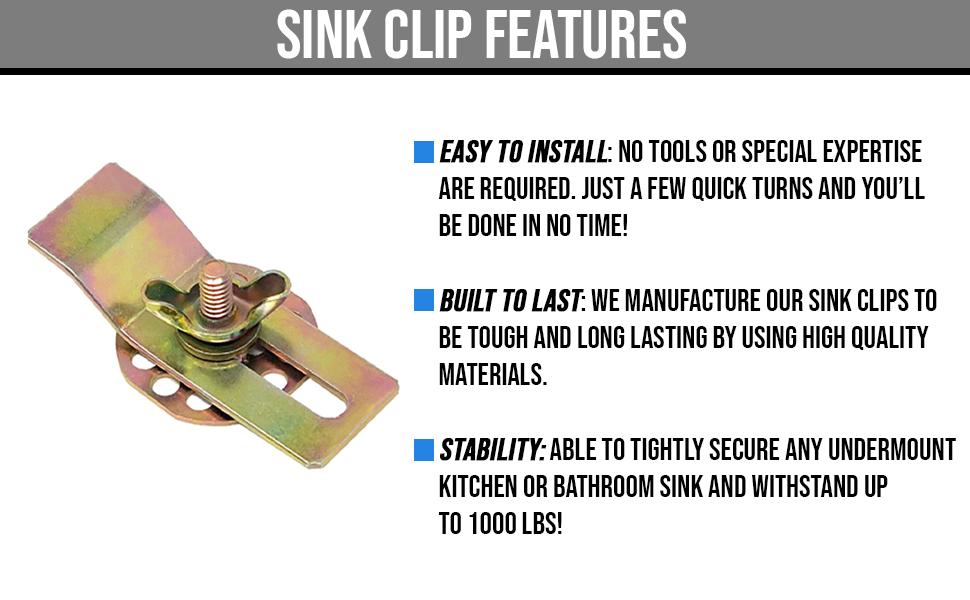
- BUILT TO LAST - Crafted from heavy-duty high carbon steel with a premium anti-corrosion gold finish to resist rust and maintain sleek durability.
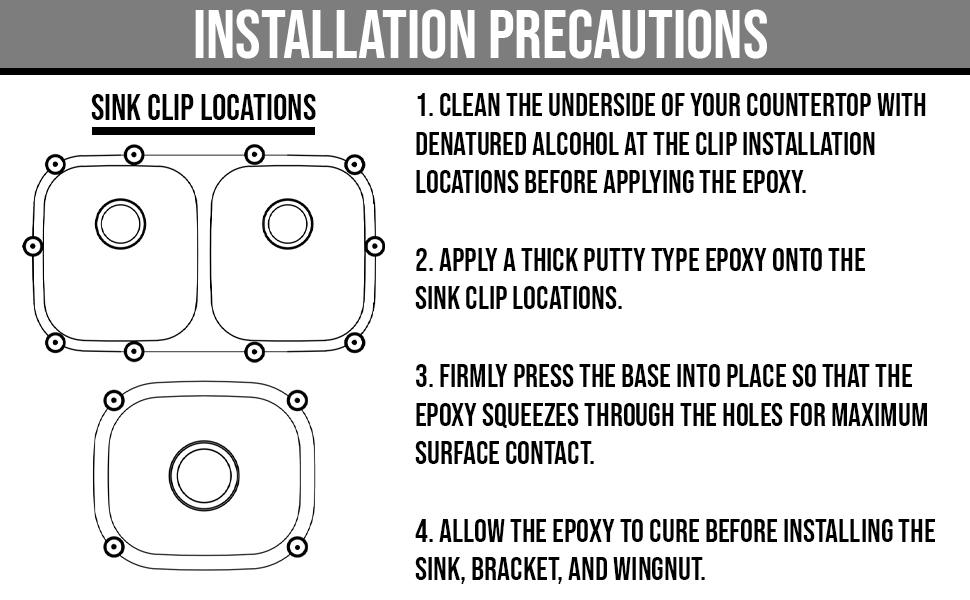
- EFFORTLESS SETUP - Install in just four simple steps without any tools or special skills—perfect for busy pros and DIY enthusiasts alike.
- SLEEK RELIABLE - Gold finish adds a subtle touch of style while ensuring your sink stays securely mounted for years to come.
- VALUE PACKED KIT - Get 10 premium sink clips in one affordable set—maximize your investment and avoid costly replacements.
- UNMATCHED STRENGTH - Holds your undermount sink firmly with up to 1000 lbs capacity when using the full 10-pack—no worries about sagging or shifting.
The Artisan Adhesive Premium Sink Clips 10-Pack offers heavy-duty, corrosion-resistant steel clips designed to securely hold undermount kitchen and bathroom sinks up to 1000 lbs. Featuring a gold anti-rust finish and easy, tool-free installation in four steps, this value kit combines durability, style, and convenience for professional-grade sink mounting.