Some deliveries may take a little longer than usual due to regional shipping conditions.

DOWNLOAD THE APP


Customer Services
Copyright © 2025 Desertcart Holdings Limited
DOWNLOAD THE APP


❄️ Dominate heat, silence noise, and game like a pro with Arctic’s coolest upgrade!
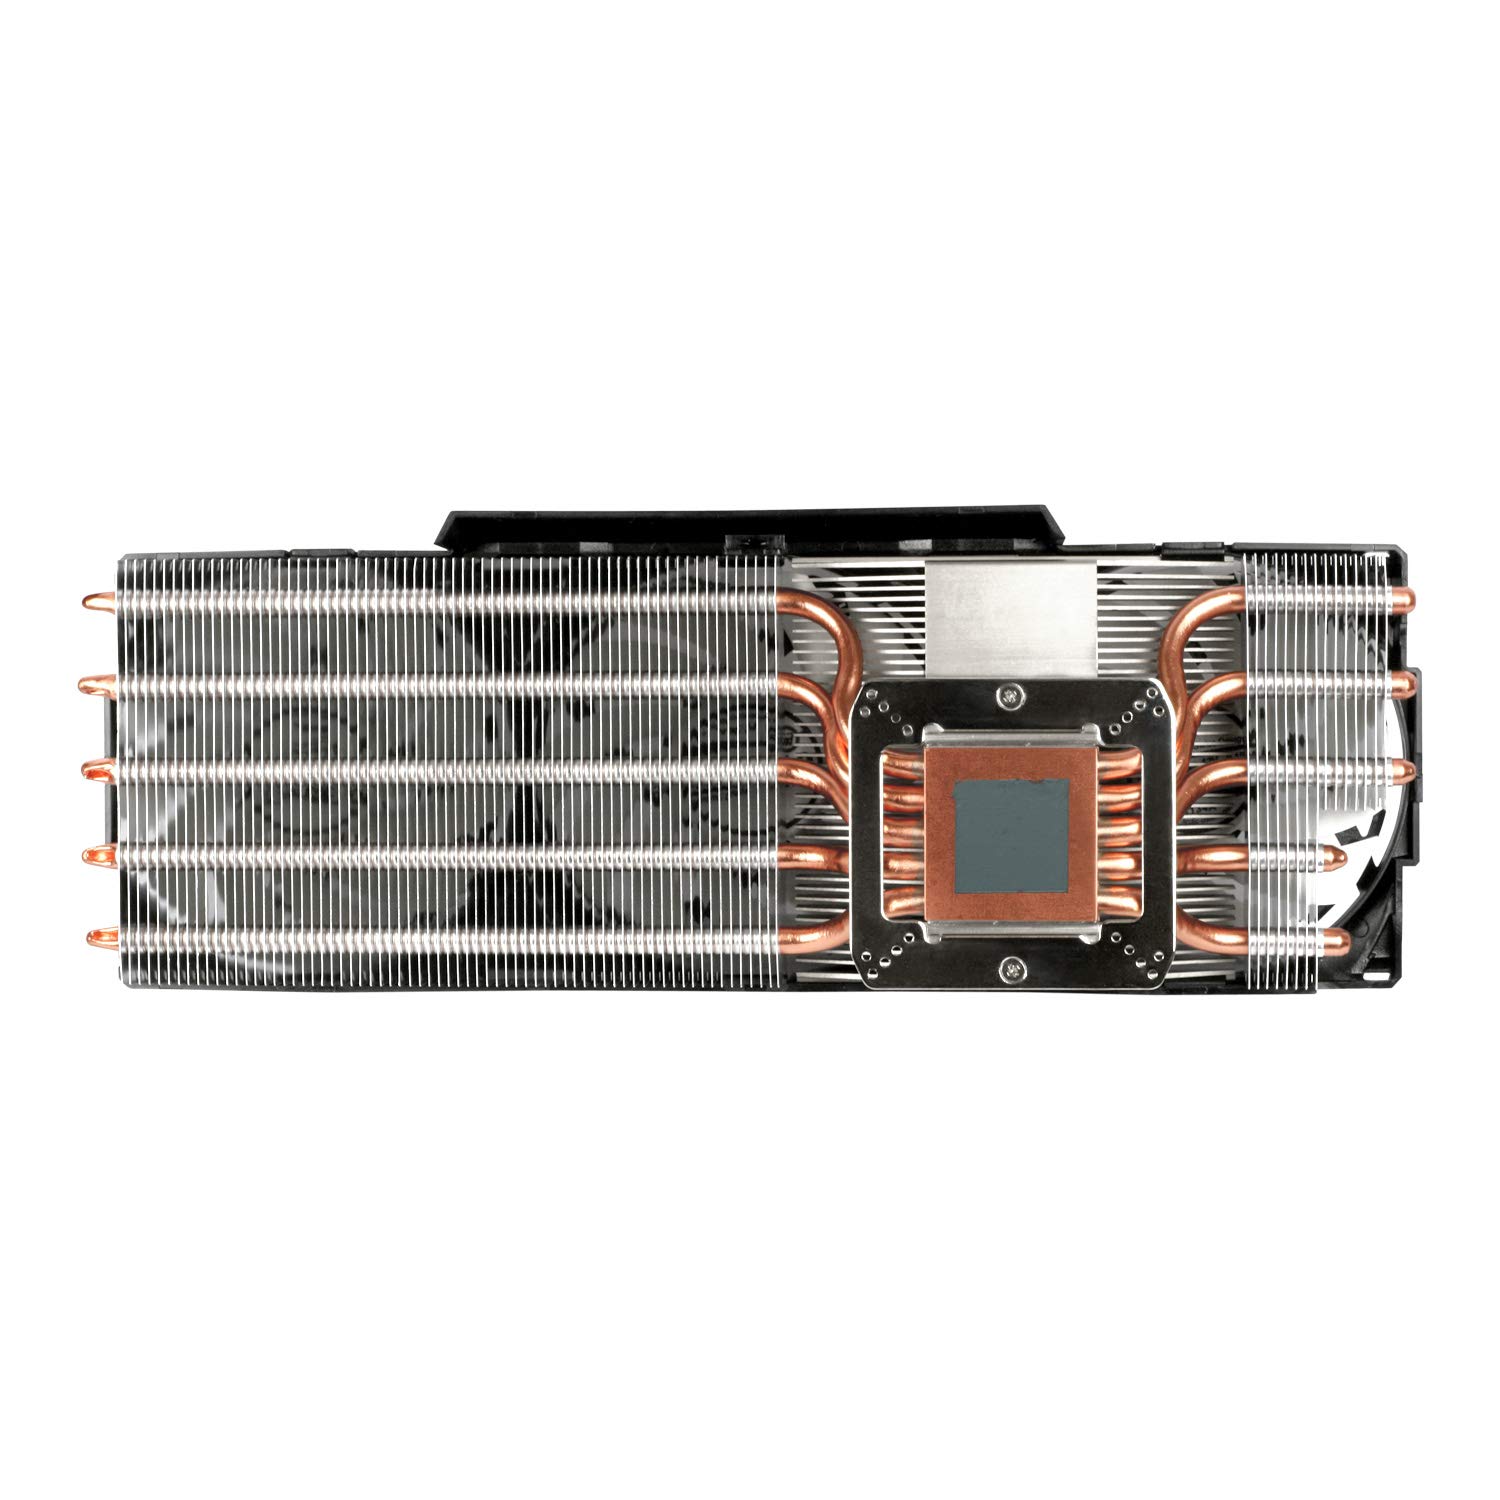
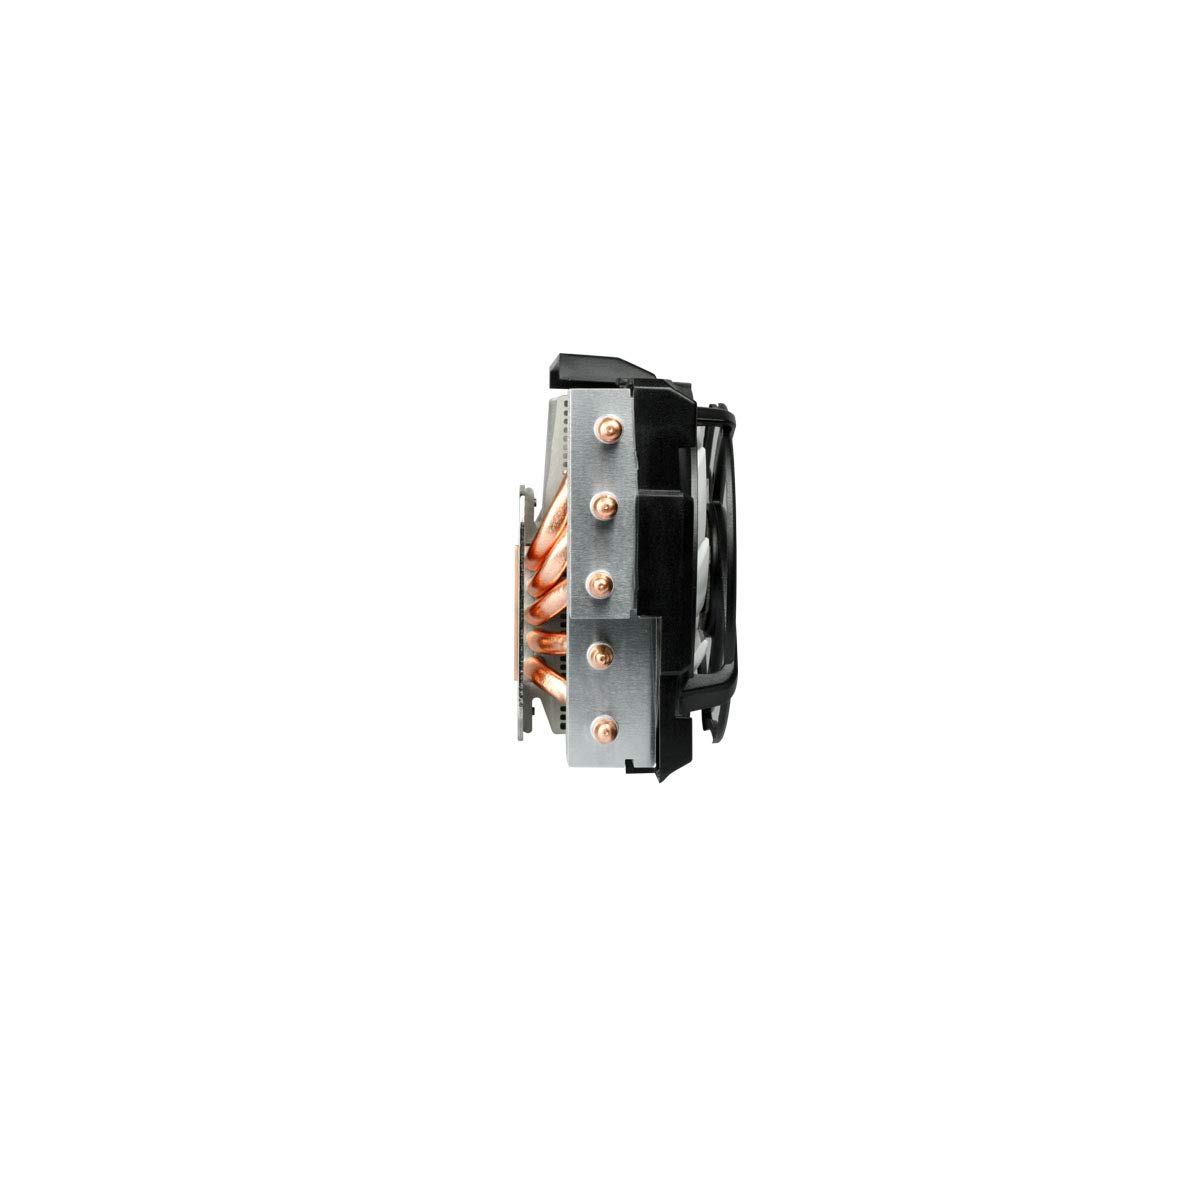
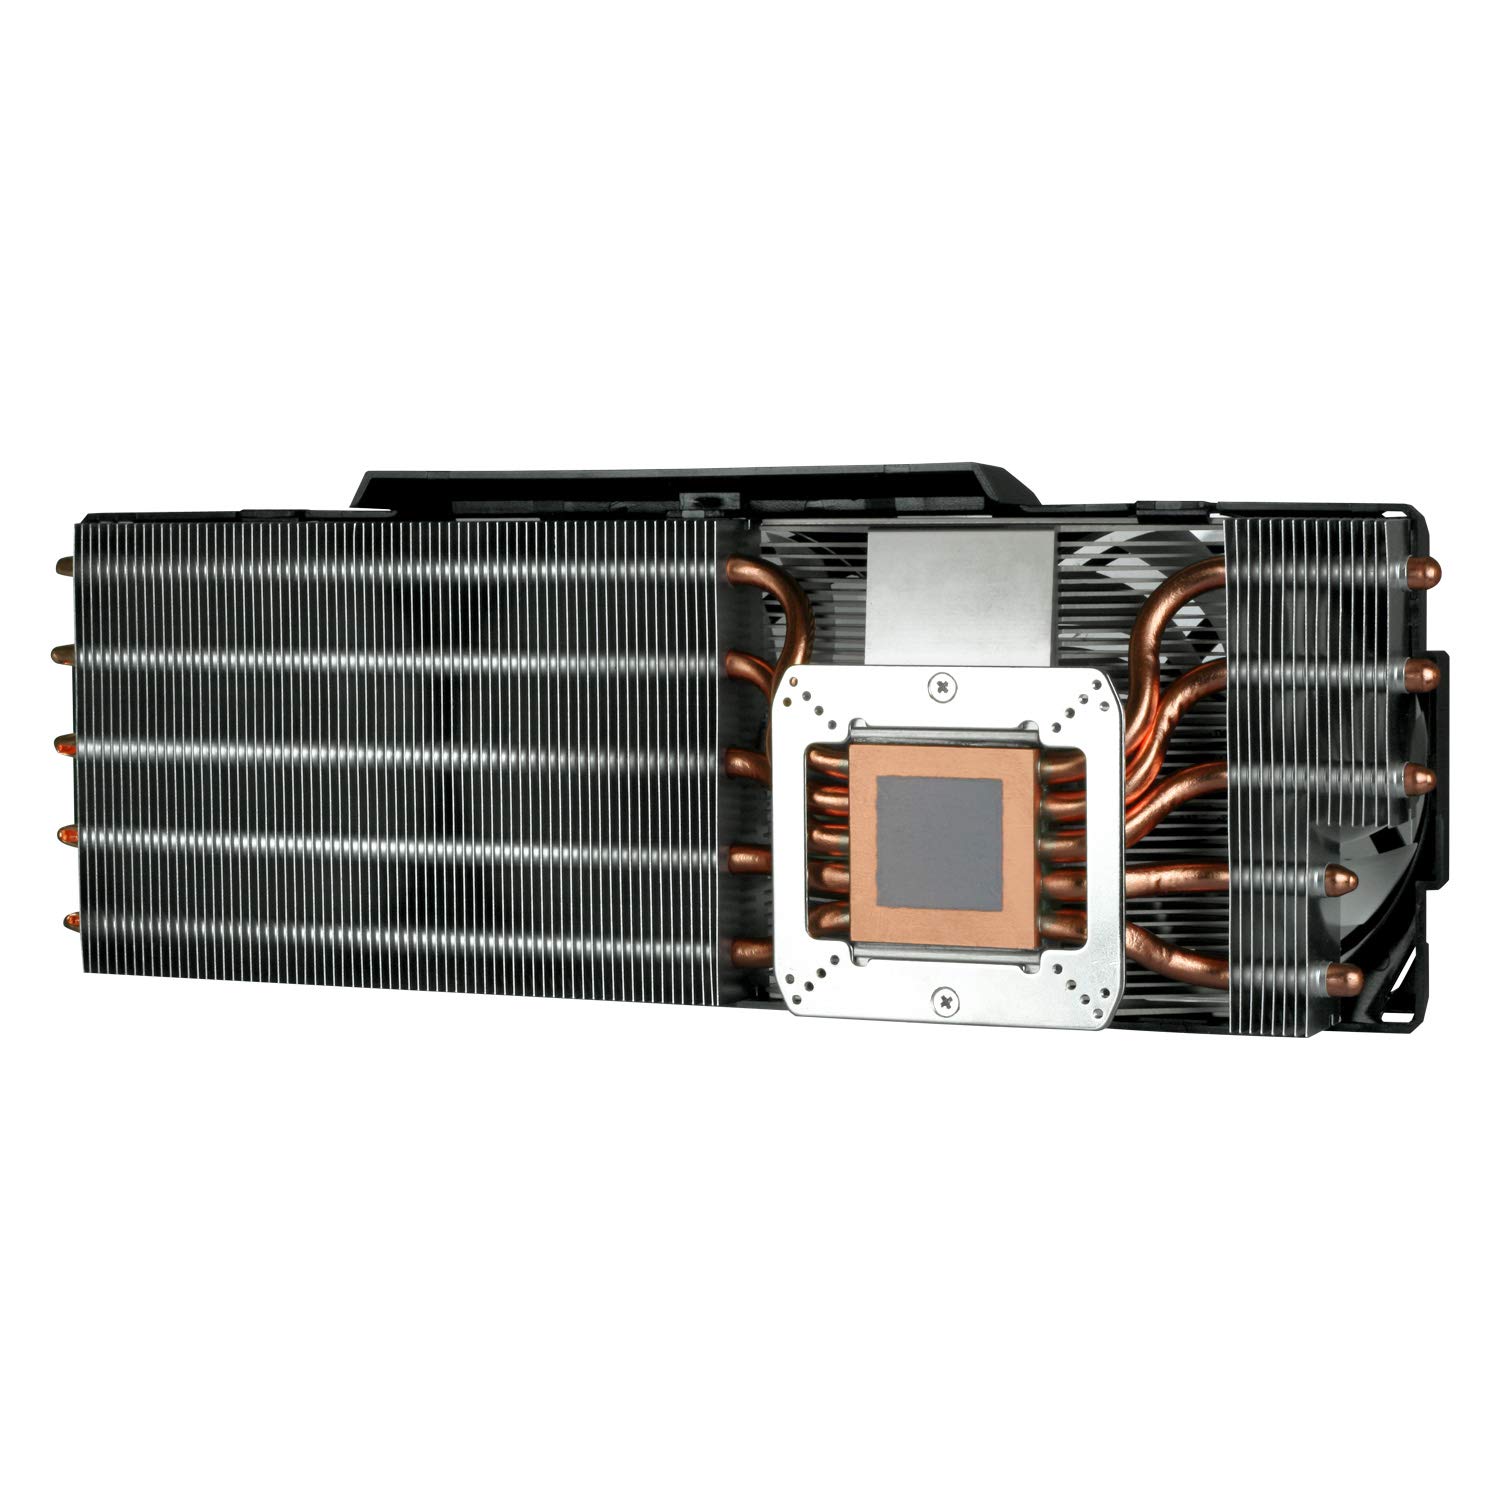
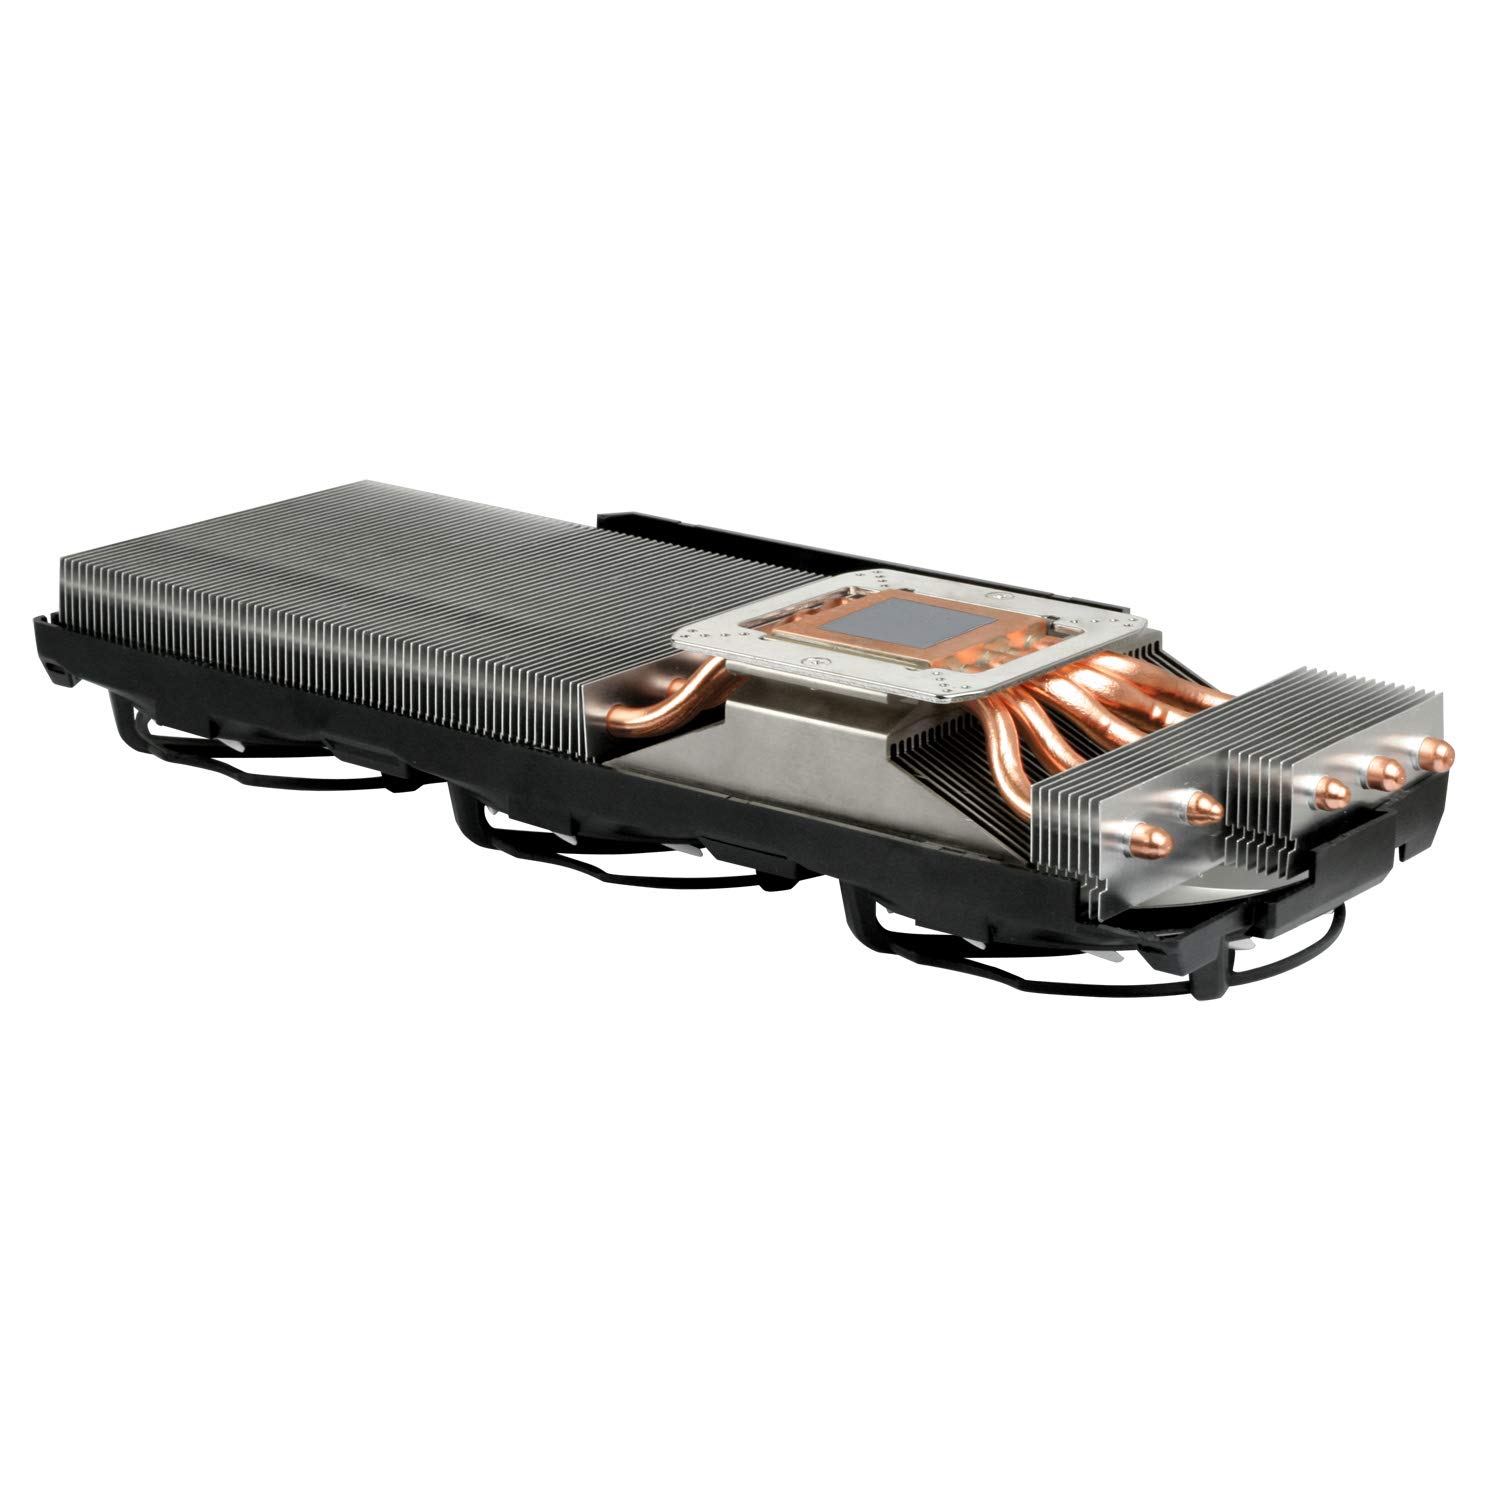
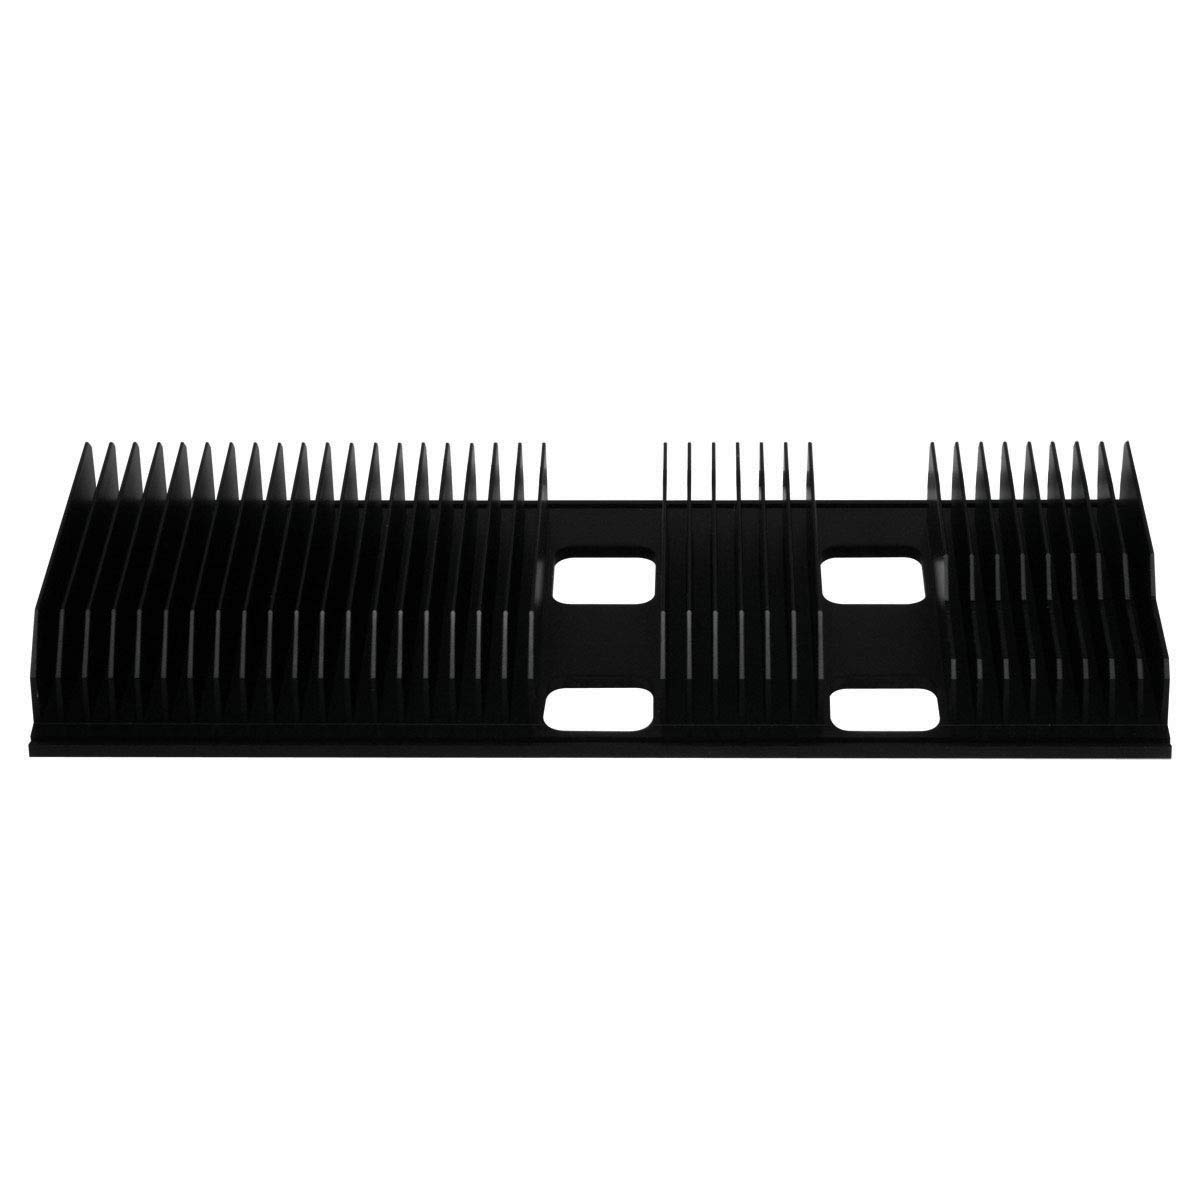
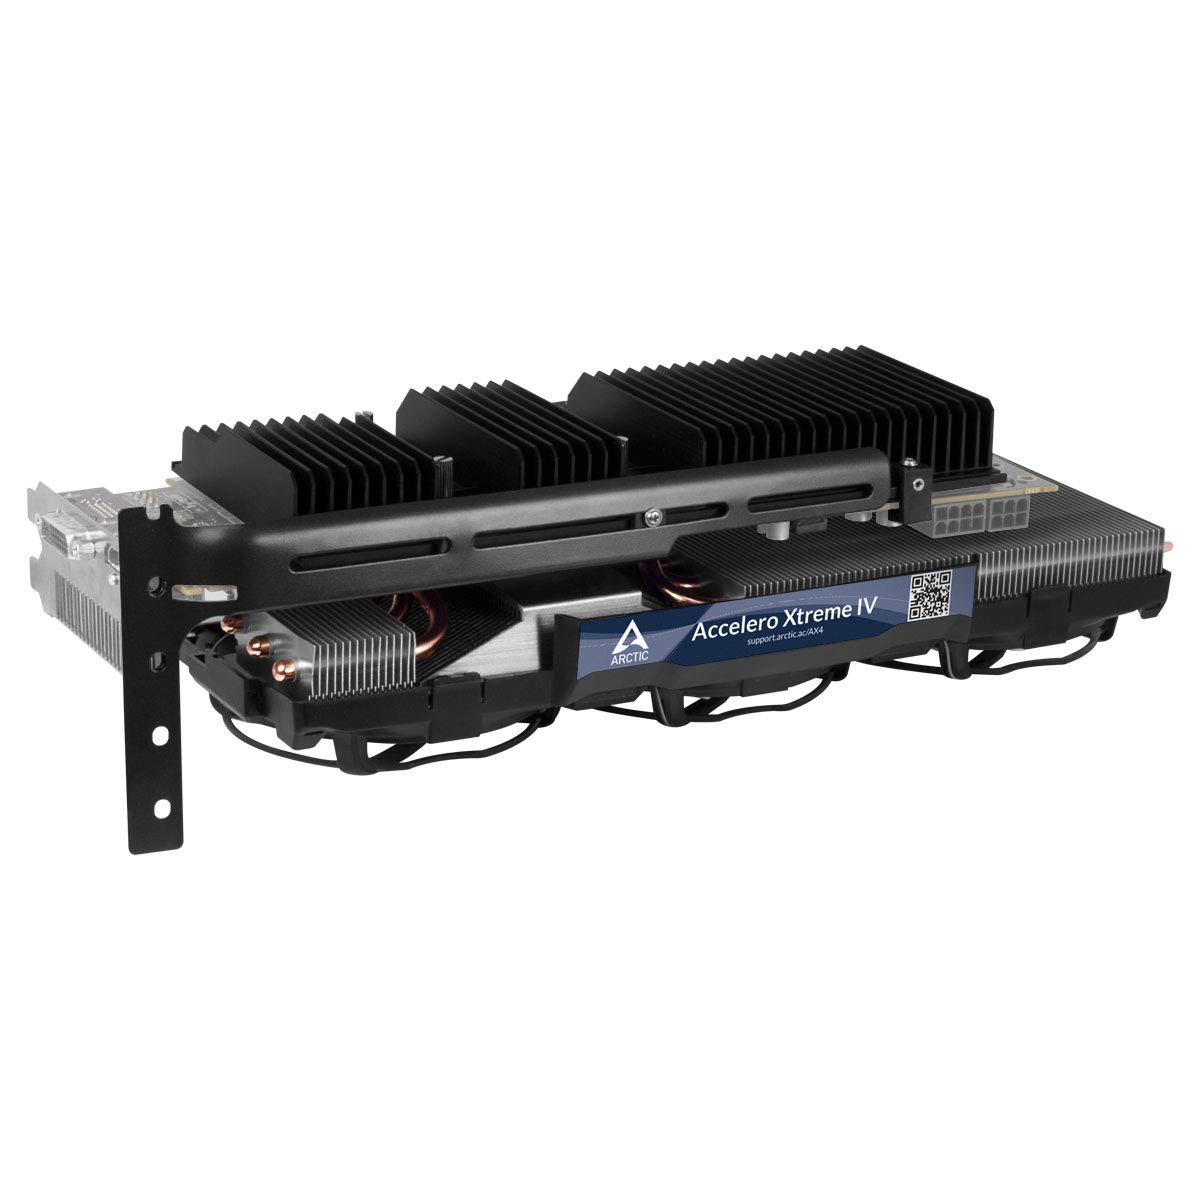
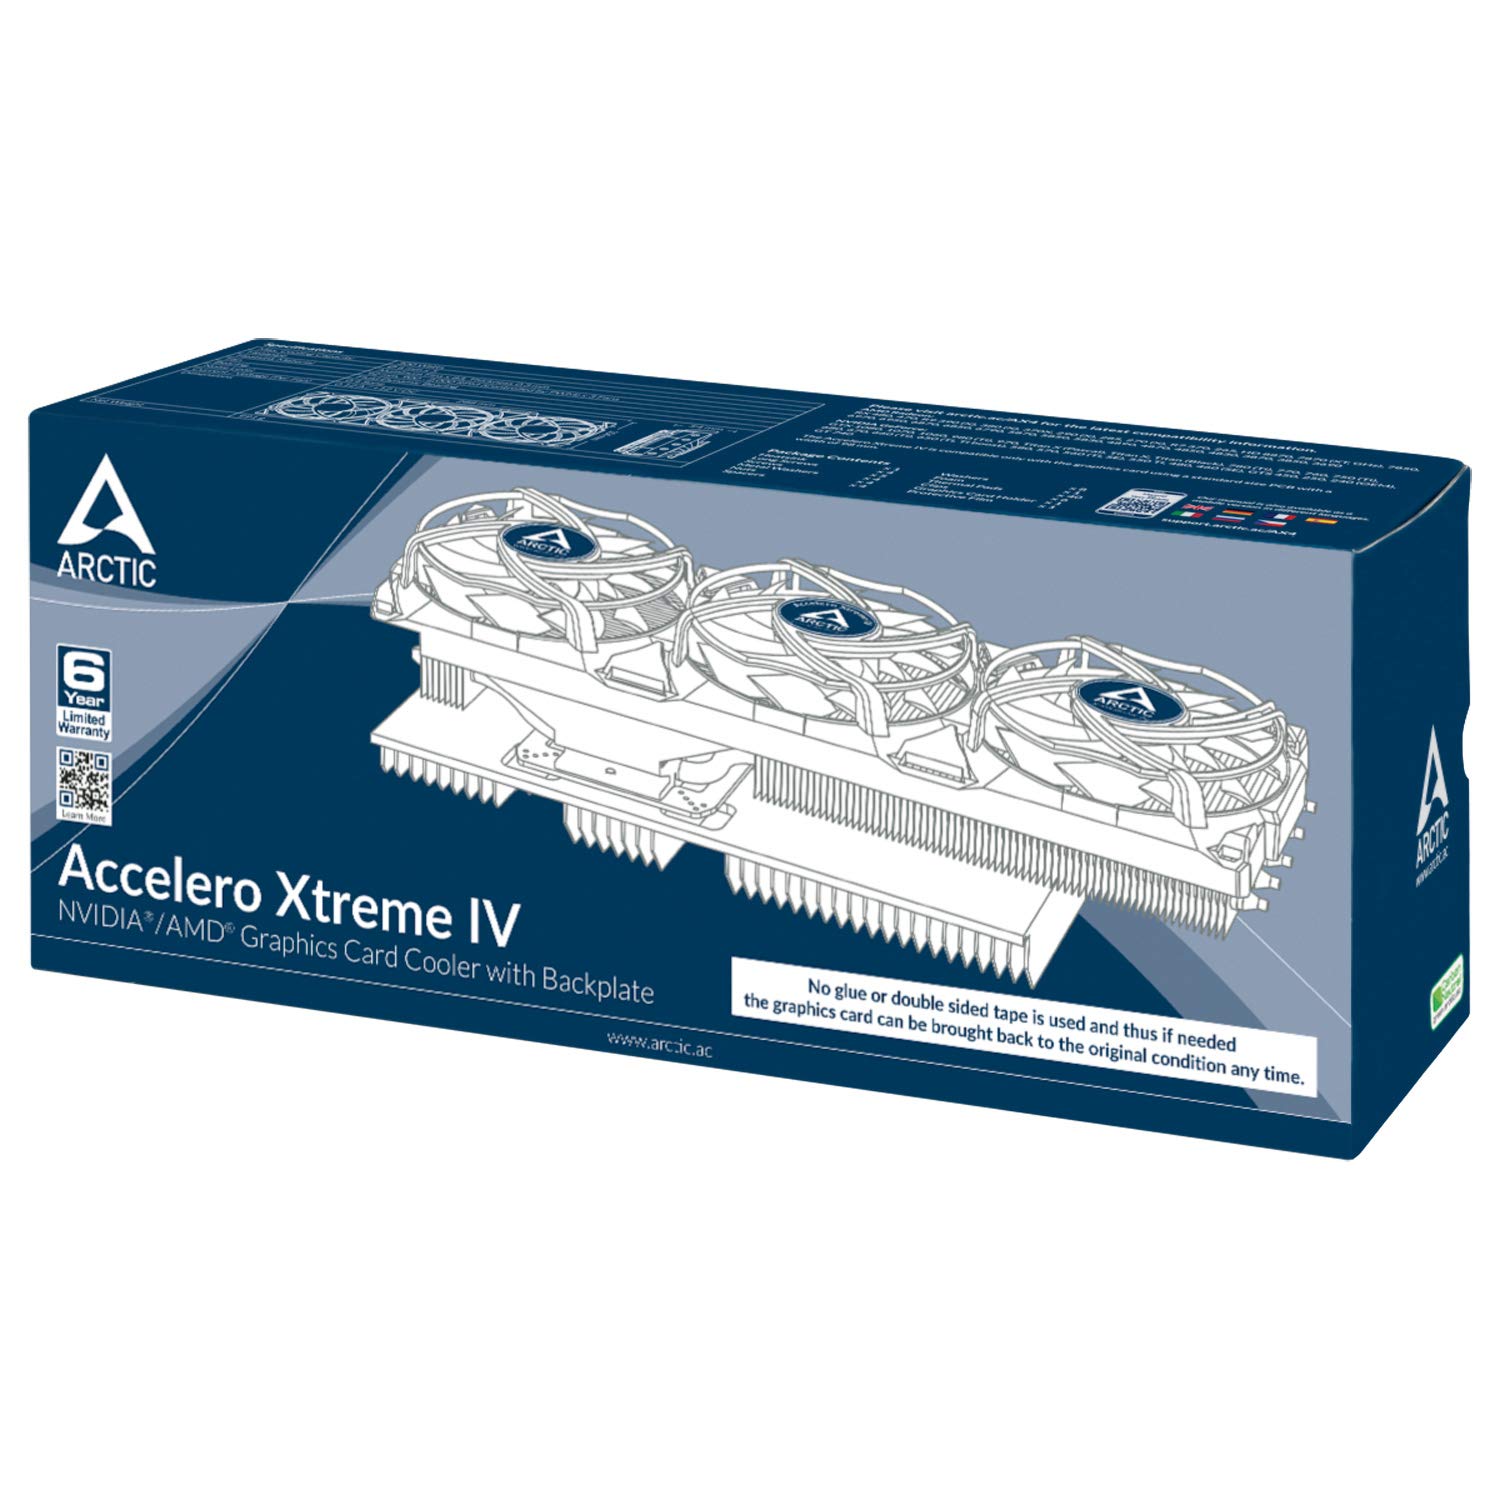
The ARCTIC Accelero Xtreme IV is a high-end VGA cooler engineered for serious gamers and professionals. Featuring a powerful 300W cooling capacity, three ultra-quiet 92mm PWM fans, and a patented backside cooler for VRM and RAM, it drastically lowers GPU temperatures and noise levels. Its innovative glue-free installation allows easy mounting and removal without damage, while its broad compatibility supports many standard-sized graphics cards. This cooler not only boosts performance but also extends your GPU’s lifespan, making it a must-have upgrade for millennial managers who demand peak efficiency and sleek silence.


| ASIN | B00HHMJIIO |
| Brand | ARCTIC |
| Brand Name | ARCTIC |
| Compatible Devices | Graphic Cards |
| Cooling Method | Fan |
| Customer Reviews | 4.2 out of 5 stars 1,275 Reviews |
| Global Trade Identification Number | 00872767006942, 04895213700924 |
| Item Dimensions L x W x H | 11.34"L x 4.09"W x 2.13"H |
| Item Weight | 2.17 Pounds |
| Manufacturer | ARCTIC |
| Material Type | Aluminum |
| Maximum Rotational Speed | 2000 RPM |
| Noise Level | 0.4 Decibels |
| Power Connector Type | 3 and 4 pin Combo |
| Product Dimensions | 11.34"L x 4.09"W x 2.13"H |
| UPC | 012304359883 863190002922 846829809529 872767006942 809394270613 |
| Unit Count | 1.0 Count |
| Voltage | 12 Volts (DC) |
| Warranty Description | Limited Warranty |
| Wattage | 4.32 watts |
M**W
Accelero Xtreme ***IV*** review
*FIRST THING EVERYONE MUST REALIZE*: Amazon has conveniently combined the Arctic high-end graphics card coolers all into one page here. The only downside is that you are seeing reviews for all four of them that are available right now. *Overview*: This review is for the latest one, the Accelero Xtreme IV. This is the one that requires no gluing, and even advertises that you can return your card back to stock if you ever choose to do so (I'm not sure why you would ever do this. It's probably worth more on ebay with this on it, but that's your choice to make). When buying it, I took comfort in knowing that had I messed something up or lost courage during the installation, then I could still choose to revert back to stock if I chose to do so. The installation was rather easy though if you go slow and take your time to realize things. This is coming from someone who has never put on a custom cooler before too. I would like to mention that when installing this, the thermal pads go on the back of the card (which I found odd, but I followed along with the instructions despite that). They give you 40 of them each roughly .75cm I would say. You can stretch them if need be so there should be plenty of them. I have the R9 290 and found that 40 of them was the perfect amount. Since they had to make this compatible with multiple cards, I had to take special care in not clamping a capacitor or other major component. There was one modification I had to make where on one of the clamps I had to cut half of the rubber adhesive on it to confirm I would not be pinching a capacitor (go to Arctic's website and look at the parts list if you are interested in what these notorious clamps look like). After screwing everything tight- not too tight, just tight enough so nothing would fall apart, I threw it into my computer and to my excitement, it worked. *Temperatures*: This thing did more than just work. Before my GPU temperature was hitting 95 Celcius and would actually throttle down to avoid things blowing up. I did not, sadly, record what each of the VRM temperatures were on stock. However, with the arctic cooling while gaming, it sits around 62 Celcius for the GPU, and 40-65 Celcius for both of the VRMs. DO NOTE that I have set up a custom fan profile with Asus GPU Tweak which helps in keeping them this low. Those temperatures mentioned were from running Battlefield 4 on ultra settings. I also stress tested it in Furmark for 15 minutes to tweak the fan profile to my liking (I will share the fan profile in a bit as well). In Furmark, GPU stress that you will never actually experience while gaming, recorded about 63 Celcius for GPU peak, and 94 Celcius peak for VRM1, 64 peak for VRM2. I would consider all of these within perfectly acceptable parameters. Again, I never recorded the stock VRM temps but they were probably ready to spontaneously combust. Idle temps sit around 42 Celcius for GPU, 39 for VRM1, and 51 for VRM2. *Noise*: The stock cooler was incredibly loud. That was probably the main push toward getting this aftermarket cooler. That plus the extended life I've granted the card thanks to the improved cooling made it worth $90. Within the mixture of two chassis fans and the CPU fan, I can barely make out which fan tone belongs to the GPU fans. People complaining about the 'fan noise' from these fans are either related to superman, or should just be eliminated from the gene pool. *Size*: This thing is massive. You'd have to look at the website for the exact size to see if it'll fit your case. But I had to remove a hard drive cage in my case to allow space for it to fit. And yes, this will take up four PCI slots. If you happen to have a smaller device that does not extend downward, it is possible you could use the second slot above the GPU's slot. I would not rely on that being the case though. Just keep that in mind. *Fan speeds*: This part isn't particularly relevant to the review. I just wanted to provide this part to ease the installation. To get the decent temperatures recorded above, I used Asus GPU Tweak and created a custom fan profile. I'm sure you could use the software even if you do not have an Asus card, or you could use your own program that allows you to modify the fan speeds-doesn't matter. Anyway, I set the idle fan speed to be 20%. When it reaches 50 Celcius I have it jump up to 50%. At 53 it goes to 75% (53 and higher is intended for gaming and intensive tasks, thus the quick jump). And at 60 degrees C it goes up to 85% fan speed. On the off chance that the GPU reaches 100, I have the fan speed hit 100%. But since Furmark did not come close to hitting that, I do not think it ever will, even with some overclocking. So for more basic games, such as Minecraft, it should be sitting around 75%. And for intensive games/tasks it'll go up to 85% fan speed. This is working very well for me so far, and is a good starting location for both me and you if you choose to follow this instruction. I would imagine that a similar fan profile would benefit any card even if it is not the 290. *Conclusion*: Decent temps for such a hot card, quiet fans, gigantic fan/heatsink combo, and rather easy but time consuming installation. I cannot think of any other major points nor hints that one may find helpful. If anyone has any questions then please drop a question in a comment below and I will try to get back to you. In the meantime, I will be attempting to sell Boeing my stock fan, hoping that they mistake it for a jet turbine and accept a ridiculous offer for it.
J**N
The ARCTIC Accelero Xtreme IV is a fantastic cooler! It keeps my R9 290 at about ...
The ARCTIC Accelero Xtreme IV is a fantastic cooler! It keeps my R9 290 at about 37oC and it is very quiet. Pros: - Displaces a lot of heat - Low noise - Solid construction - Installation bracket that supports the weight of the card+cooler - Fairly easy to install Cons: - The instruction manual could be a lot better - QC on the electronics is poor (see below) - Takes a while to install - At this price point, it should come with thermal grease remover and VRAM heat sinks - Contrary to the instructions, you should use thermal paste. Why would you want to return the card back to stock? And if you do, just use some thermal paste remover. VERY IMPORTANT! - - - MAKE SURE YOU TEST THE FANS WITH THE 4 PIN ADAPTER BEFORE INSTALLING - - - Other: Don't be intimidated by the installation - it is not that hard. The instructions stink, but once you get going, it is pretty obvious what to do (and there's not a lot to do anyway - you just use four screws to mount the heat sink, put thermal pads on the back, cut and install the plastic guard, and screw down the clips to hold it together.) To me, the hardest part about this installation was the removal of the stock cooler. They really tightened those mounting screws down! There was also a lot of thermal paste that is tough to get off. I trued using some isopropyl alcohol, but it didn't really do anything, so i ordered a kit. After 20 minutes of scrubbing, I got it off. Final install tips: use thermal paste (ARCTIC makes a good one), and if you are going to use heat sinks on the VRAM (not included) make sure you leave enough room on the bottom VRAM module so that the heat sink bracket will fit (see picture). Be careful which Amazon vendor you purchase this from. I got mine from Platinum Micro Inc. It was missing the thermal pads, and the fans did not spin. I contacted them and they tried to tell me that it did not come with any thermal pads and they made me copy and paste the picture from the Amazon product page before they would believe me. Then, they tried to send me thermal paste instead of thermal pads and it got to the point where I realized they they didn't know what they were doing, so I contacted ARCTIC and they sorted me out immediately without any hassle. I would recommend that you just order directly from ARCTIC. I made the mistake of installing the card without testing the fans. Make sure you don't repeat my mistake. Use the molex adapter to test the fans, or else it will make the return more complicated. Again, ARCTIC took care of me right away and send me a replacement fan module. I just had to snap the old one off and put the new one on. It works great now! Okay, so overall it was kind of a pain, so why the 5 star rating? The stock cooler is that bad. It is loud and hot! This was my best option and once the project was finally finished, I was extremely pleased with the results. I would go through it all again.
K**1
Review of Arctic Xtreme IV
This high-end graphics card cooler does what it advertises by reducing GPU temp (by 15-20ºC) as well as GPU fan noise, but its installation could be tricky, and the skimpy instructions that come with the package may not be totally helpful. First, go to Arctic's website and download an updated PDF copy of the instructions in case you get an outdated copy in your package. Then, make sure you have a nice set of screwdrivers of various types and sizes because the package doesn't come with any tools. The first step of the installation is the unscrewing of your graphics card's built-in fan and cooler. If your card is like my EVGA GeForce GTX 480, be prepared to unscrew about 15 tiny screws, nearly all of which are tightly screwed and located near circuitry that you don't want to damage. A couple of screws are even concealed under foams. Make sure you have GOOD screwdrivers so that even if the screws are stripped, the screwdrivers themselves are not. And if you stripped a screw, find another way and another tool to take it out. You may need to consult a guide for how to remove a stripped screw, or use your creativity. For instance, I used a flat-head screwdriver to pry the screw upward a little bit, then used pliers to rotate the screw until it came out. If you really get stuck in the unscrewing, don't force it and risk damaging your expensive card; just return the Arctic cooler. Having your card die in a few years because of high GPU temperature is better than having it die right here and now because of a failed cooler installation. If you manage to dismantle the stock cooler, the rest of the installation is relatively smooth and safe. And best of all, most of the parts are designed not to leave any trace on your graphics card should you need to remove the cooler in the future. There is NO THERMAL GLUE involved as in older Arctic models, since the included thermal pads are self-adhesive. Instead of using a multitude of screws to attach the cooler and heat sink to your card, the Arctic Xtreme IV uses only 4 screws (with washers) to attach the cooler, and only six clips to attach the heat sink. Don't forget to connect the fan's power cord to the card, because the instructions don't mention it. Also included is a graphics card holder, in case your computer case doesn't come with any (many high-end computer cases have it already, however). Your computer case also needs to be full size to accommodate the length of the Arctic cooler. After installation, the cooler is AN INCH longer than my GTX 480 used to be. The Arctic Xtreme IV has 3 large and quiet fans for the cooler on the front of the card, as well as a large heat sink at the back of the card. This is undoubtedly a big improvement over my stock cooler that only has one small, noisy fan and no rear heat sink. Do not confuse Arctic Xtreme IV with the Arctic Xtreme IV 280X model, because each supports different graphics cards.
I**X
One hell of a difference.
I tried to keep this short, but I tend to ramble. I have a Titan X that I initially bought with a reference blower-type cooler, because I read that the difference between the stock and aftermarket coolers would be roughly 6 degrees of fewer. Naturally, at first I was running everything on Ultra and enjoying it. But after 2-3 years it wasn't able to push the card without reaching 78C or higher (which the cards factory maximum is 85C), and that was with my settings at low-mid-high (all three in variety) and a lower resolution than my monitor's native. It was fine, but with new games coming out that I want to experience graphically I started to think that I'd either need to solve the cooling problem, or consider upgrading the card (I didn't know how far I could push the card with better cooling). Anyways, I did a bit of research and found that the ACCELERO XTREME IV is very highly rated and it fit my card (not to mention miles cheaper than getting a new GPU :P). So I got it, and installed it (which took a hour or two for me). I found the installation wasn't complicated in principle, but I did have a couple hurdles to deal with. The first was that my motherboard has some metal plating that got in the way (the cooler is kinda big but the new back-plate is what I didn't consider space wise), so reading up on the use and effectiveness of PCI slots I reluctantly installed my card into the second slot (so far performance has not noticeably changed in any negative way). The other issue was that following the instructions for installation the little washers that help properly space the cooling plate from the GPU chip itself were actually keeping the plate from totally contacting it (first time I started the PC after the GPUs temps were something like 40C idle (which was a little cooler for me at the time, so I thought it was working) and then shot to 84-87C when I started playing something old (so not to stress the card too much *testing*). I took it apart again and removed the washers, and carefully screwed the plate back on until I saw no space between the chip and the plate (BE CAREFUL NOT TO SMASH THE CHIP IF YOU DO THIS) With the cooler finally properly installed I went back to testing, and the difference is insane (for me at least). My old idle temps were about 45C, now they're 34C (right now it's averaging 32C). But gaming is a completely revamped for me. I started up every games I have Rainbow Six Siege, The Witcher 3, Senua's Sacrifice, GTA V, and etc. Maxed out every setting I could and the highest I got was 60C. Basically a 10-15 degree decrease all around. Maxing out Resident Evil 2 (remake 2019) I found it would run fine with all the settings maxed except that my VRAM isn't big enough for all the crazy texture sizes they offer, but I don't think it's that much of a issue visually. My screen probably can't show all that crazy detail. All in all... this cooler saved me from wasting my GPU's potential and made one hell of a difference for my GPU's lifespan. I would totally recommend this thing to anyone with cooling issues. FINAL FORGOTTEN NOTES: Noise wise it's quieter than my old cooler (or at least the sound isn't as concentrated *blower-types are noisy*), and the ambient temp of my other parts (the thing that blower-types are good at protecting supposedly) has actually improved because of the increase in air motion I think. Lastly, I should note that I live in Florida so you have an idea of the kinds of average room temps that my computer is trying to keep cool in.
X**8
Good GPU cooling, but needs additional parts for maximum effect
I feel like I got slightly gipped on this. Because for >$60 you are getting a pretty premium cooler for the GPU. However that is where the buck stops. Despite the cooler on the back of the card being massive for most people it may not be as effective as the stock backplate due to it only covering a part of the card and not the whole thing and being held in place with plastic not screws. On my card the R9 390 I had VRM temps in the high 90s and low 100s with the card sometimes freezing my whole PC. I ended up having to dremel one of the heatsinks to fit under the new cooler(see image) and then I had to order additional memory cooling heatsinks ad this unit does not come with any. The end result is that there is a lot of work that goes into this and unless you buy additional parts right away you will likely have to do an install on this 2x. Pros: Great GPU cooling went from 60s idle to 40s in R9 390 Quiet Fans Good overclock potential Cons: May need additional heatsinks for memory and VRM Plastic bracket for GPU backplate heatsink is a PITA to install Huuuge(unless you have a massive gap between gpu and front rack... dont bother) Edit: Its been 11 months and the middle fan has burnt and now emits such a pungent smell that i am forced to remove the shroud. The fan still works but the smell is toxic and unbearable. Will have to replace shroud with a custom solution. Bringing tje rating down to three stars as a result. Had this happen to me with Gelid Icy Rev 2. it seems all these coolere come with crap fans.
O**E
TITAN X HEAT BLASTERRRRRRR....!!!!
i have the Maxwell titan x with reference PCB. this card used to max at 85 Celsius on the stock cooler which didn't make me feel comfortable at all, i was worried about other components and the motherboard from extended use. Short story version : i now play DOOM maxed out at FHD with temperature never exceeding 45 Celsius. Long story version : this thing is huge, so make sure you have a large case with good venting, removing the stock cooler and putting this one on was no problem but the silly thing is the isolation film cutting, not a big deal though. i wanted air cooling cz i didn't want the hassel of radiator fixing and tubing all this with the risk of leakage, didn't want the headache specially i have my CPU water cooled. the cooler is very good quality but be aware that it will cause your PCB to bend a under the screws tightening, which will be compensated with the edge clips, the reason for the deflection is that the thermal pads fixed on the cards back that come with it are much thicker than the ones coming with your stock cooler, maybe by time they should flatten out and the bend will go. any way im not that concerned about this as does not seem dangerous. under the stress test from afterburner temp didn't exceed 53 Celsius. i think even water cooling this beast wont give you such readings. finally this cooler is the most efficient and powerful and did i mention SILENT..!!! i got these readings under 50% fan speed, never rached the max fan speed. only make sure you have a strong contact between the GPU and cooler and enjoy blasting the heat of it. Case used : NZXT Razer H440 Notes : 1- Clean your GPU chip till mirror surface 2- the cooler comes with MX4 paste pre applied 3- when fixing the clamps make sure they are clear of any electronic components under them, in my case i only installed 2 pieces out of 6 since i couldn't find a clear area on the PCB to clamp them, but they do the job excellently to support the card from saging and clamping the PCB with the back heat sink, so no need for the other 4, it depends on the card, in my case the titan x thats how t is. 4- fix the cable to the PCB fans supply before tightening the screws of the GPU
R**R
Offset GPU heat sink greatly increases the total length of the card
I wish I could write a review saying how well this cooler works but unfortunately I can't do that. I checked and double-checked the cards this cooler is compatible with and found Nvidia GTX1070 (I have an ASUS DUAL-GTX1070-O8G) so I thought I was good to go. However, when I received this unit I found that while this cooler will bolt onto my card over the GPU, the cooler added significant total length to my card. The problem is that the GPU is centered on my card but the GPU heat sink on the cooler is offset far to one end, which made the card along with cooler WAY too long. I have a large case but still can't fit a 20" card in there. I also was not happy with the directions. Plan to take some time installing this cooler and I strongly recommend reading the installation directions completely through before jumping in. There are some steps that are not described very well and you won't discover a mistake until you get to the next step or two. If you can get this cooler to fit then I believe it will cool well but I suggest taking the supported list of cards with a grain of salt. I attached a couple of pics to show my issue. I will be returning this card and possibly getting another model from the same manufacturer.
C**S
I DO NOT recommend this for people who are new to swapping out ...
Rated 5 stars because it works amazingly! I recently purchased an ASUS GTX 1080 Turbo for my desktop and noticed my temperatures with the stock cooler was 45 degrees idle and while playing games, the card would get as hot as 85 degrees! After searching around and reading some review, I bought the Xtreme IV. I did not expect this thing to be as big as it was - even in my full size tower, I had to do some slow rearranging (Don't expect to be able to use PCI-E slots above and bellow your graphics socket). Installation was also quite the task, I DO NOT recommend this for people who are new to swapping out cooling units. However, after some time and careful placement of the included thermal tape, cutting the plastic shield, and nearly snapping my card in two ( Don't be a dingus like me and forget to put on the spacers) - I was left with a hulking BRICK...an ICE COLD BRICK! Seriously, I am giving this thing 5 stars alone on the performance. I dropped down to teperatures as low as 25-35 degrees while idle and 45-50 while gaming! This product works amazing with a little patience and care while installing. Pros: - Works amazing to keep the temperature down on the GPU - Sturdy design that holds the weight well - Includes applied thermal paste and thermal tape Cons: - Not beginner friendly - Size could lead to some rearrangement and sometimes removal of used PCI-E slots Other thoughts: - I was skeptical that the front heatsink made no contacts with the other hotspots (VRAM, etc) and the product did not come with any front side heatsinks to place on them -though there is enough spacing to place some if you feel the need to - however, the heat is distributed through the thermal tape to the massive heatsink that attaches to the back of the card essentially sandwiching your graphics card into an nice-cold brick.
Trustpilot
2 days ago
1 week ago