Desert Online General Trading LLC
Dubai, United Arab Emirates
Desert Online General Trading LLC
Dubai, United Arab Emirates
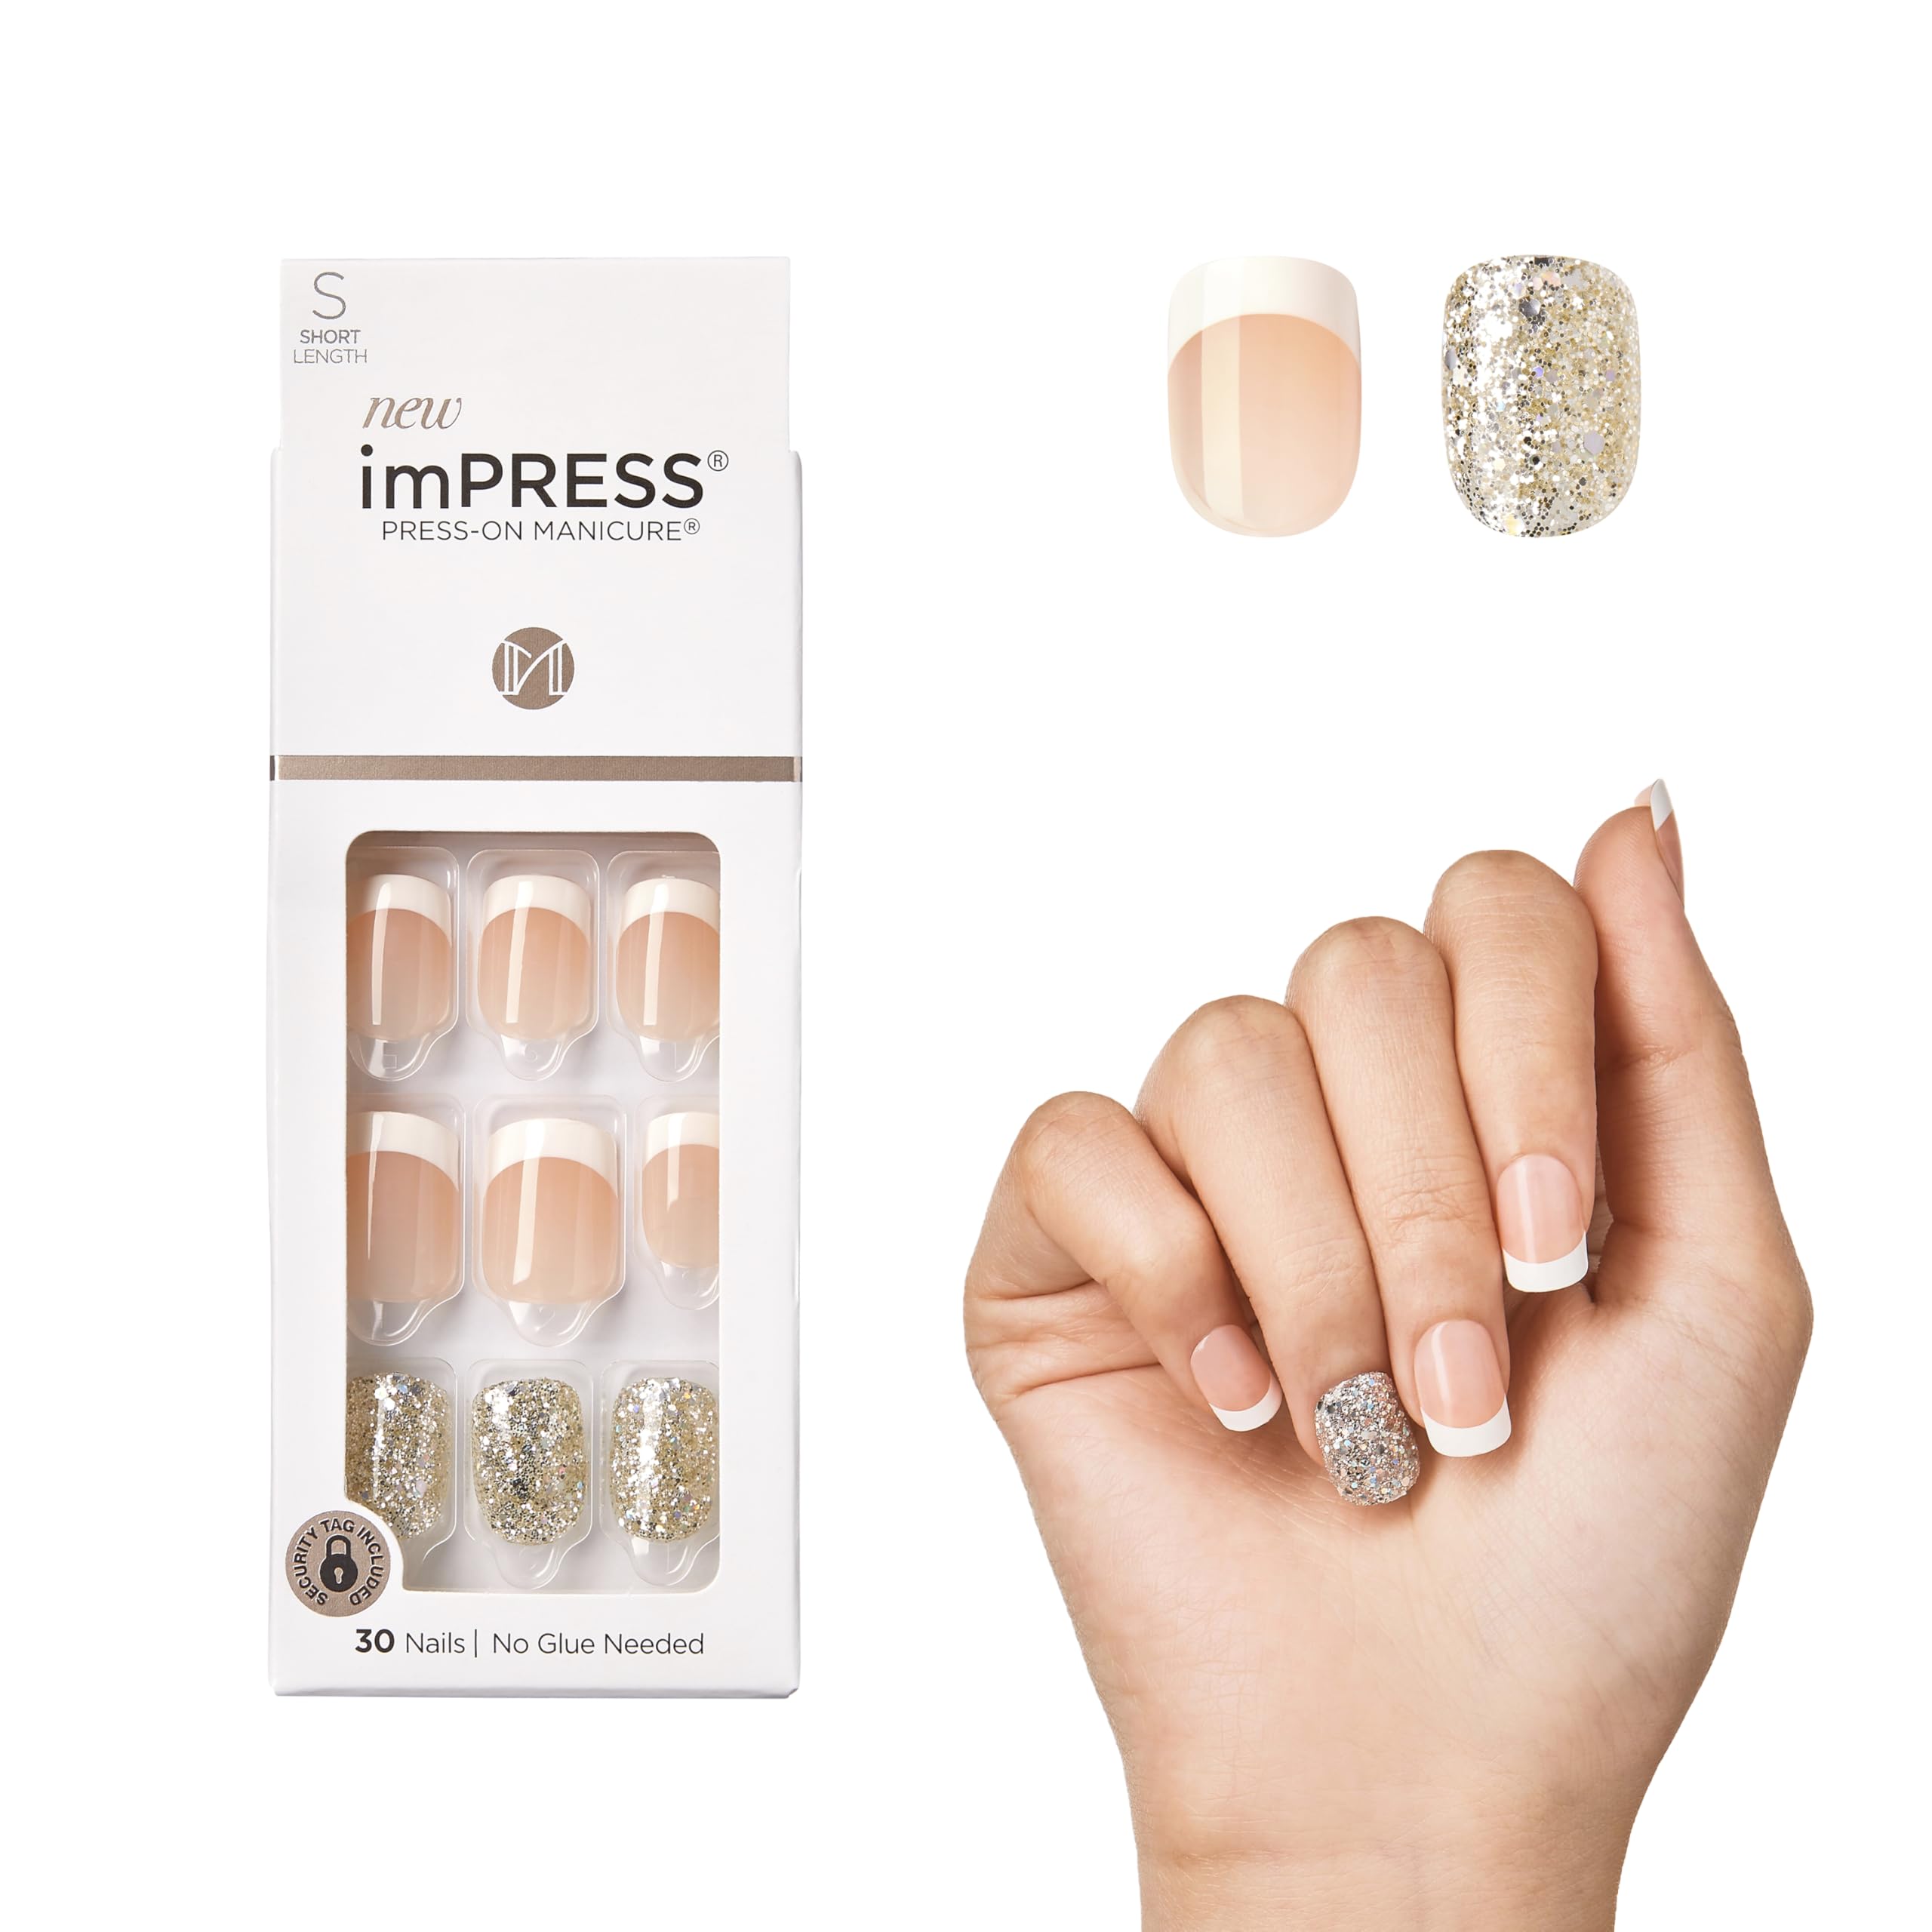
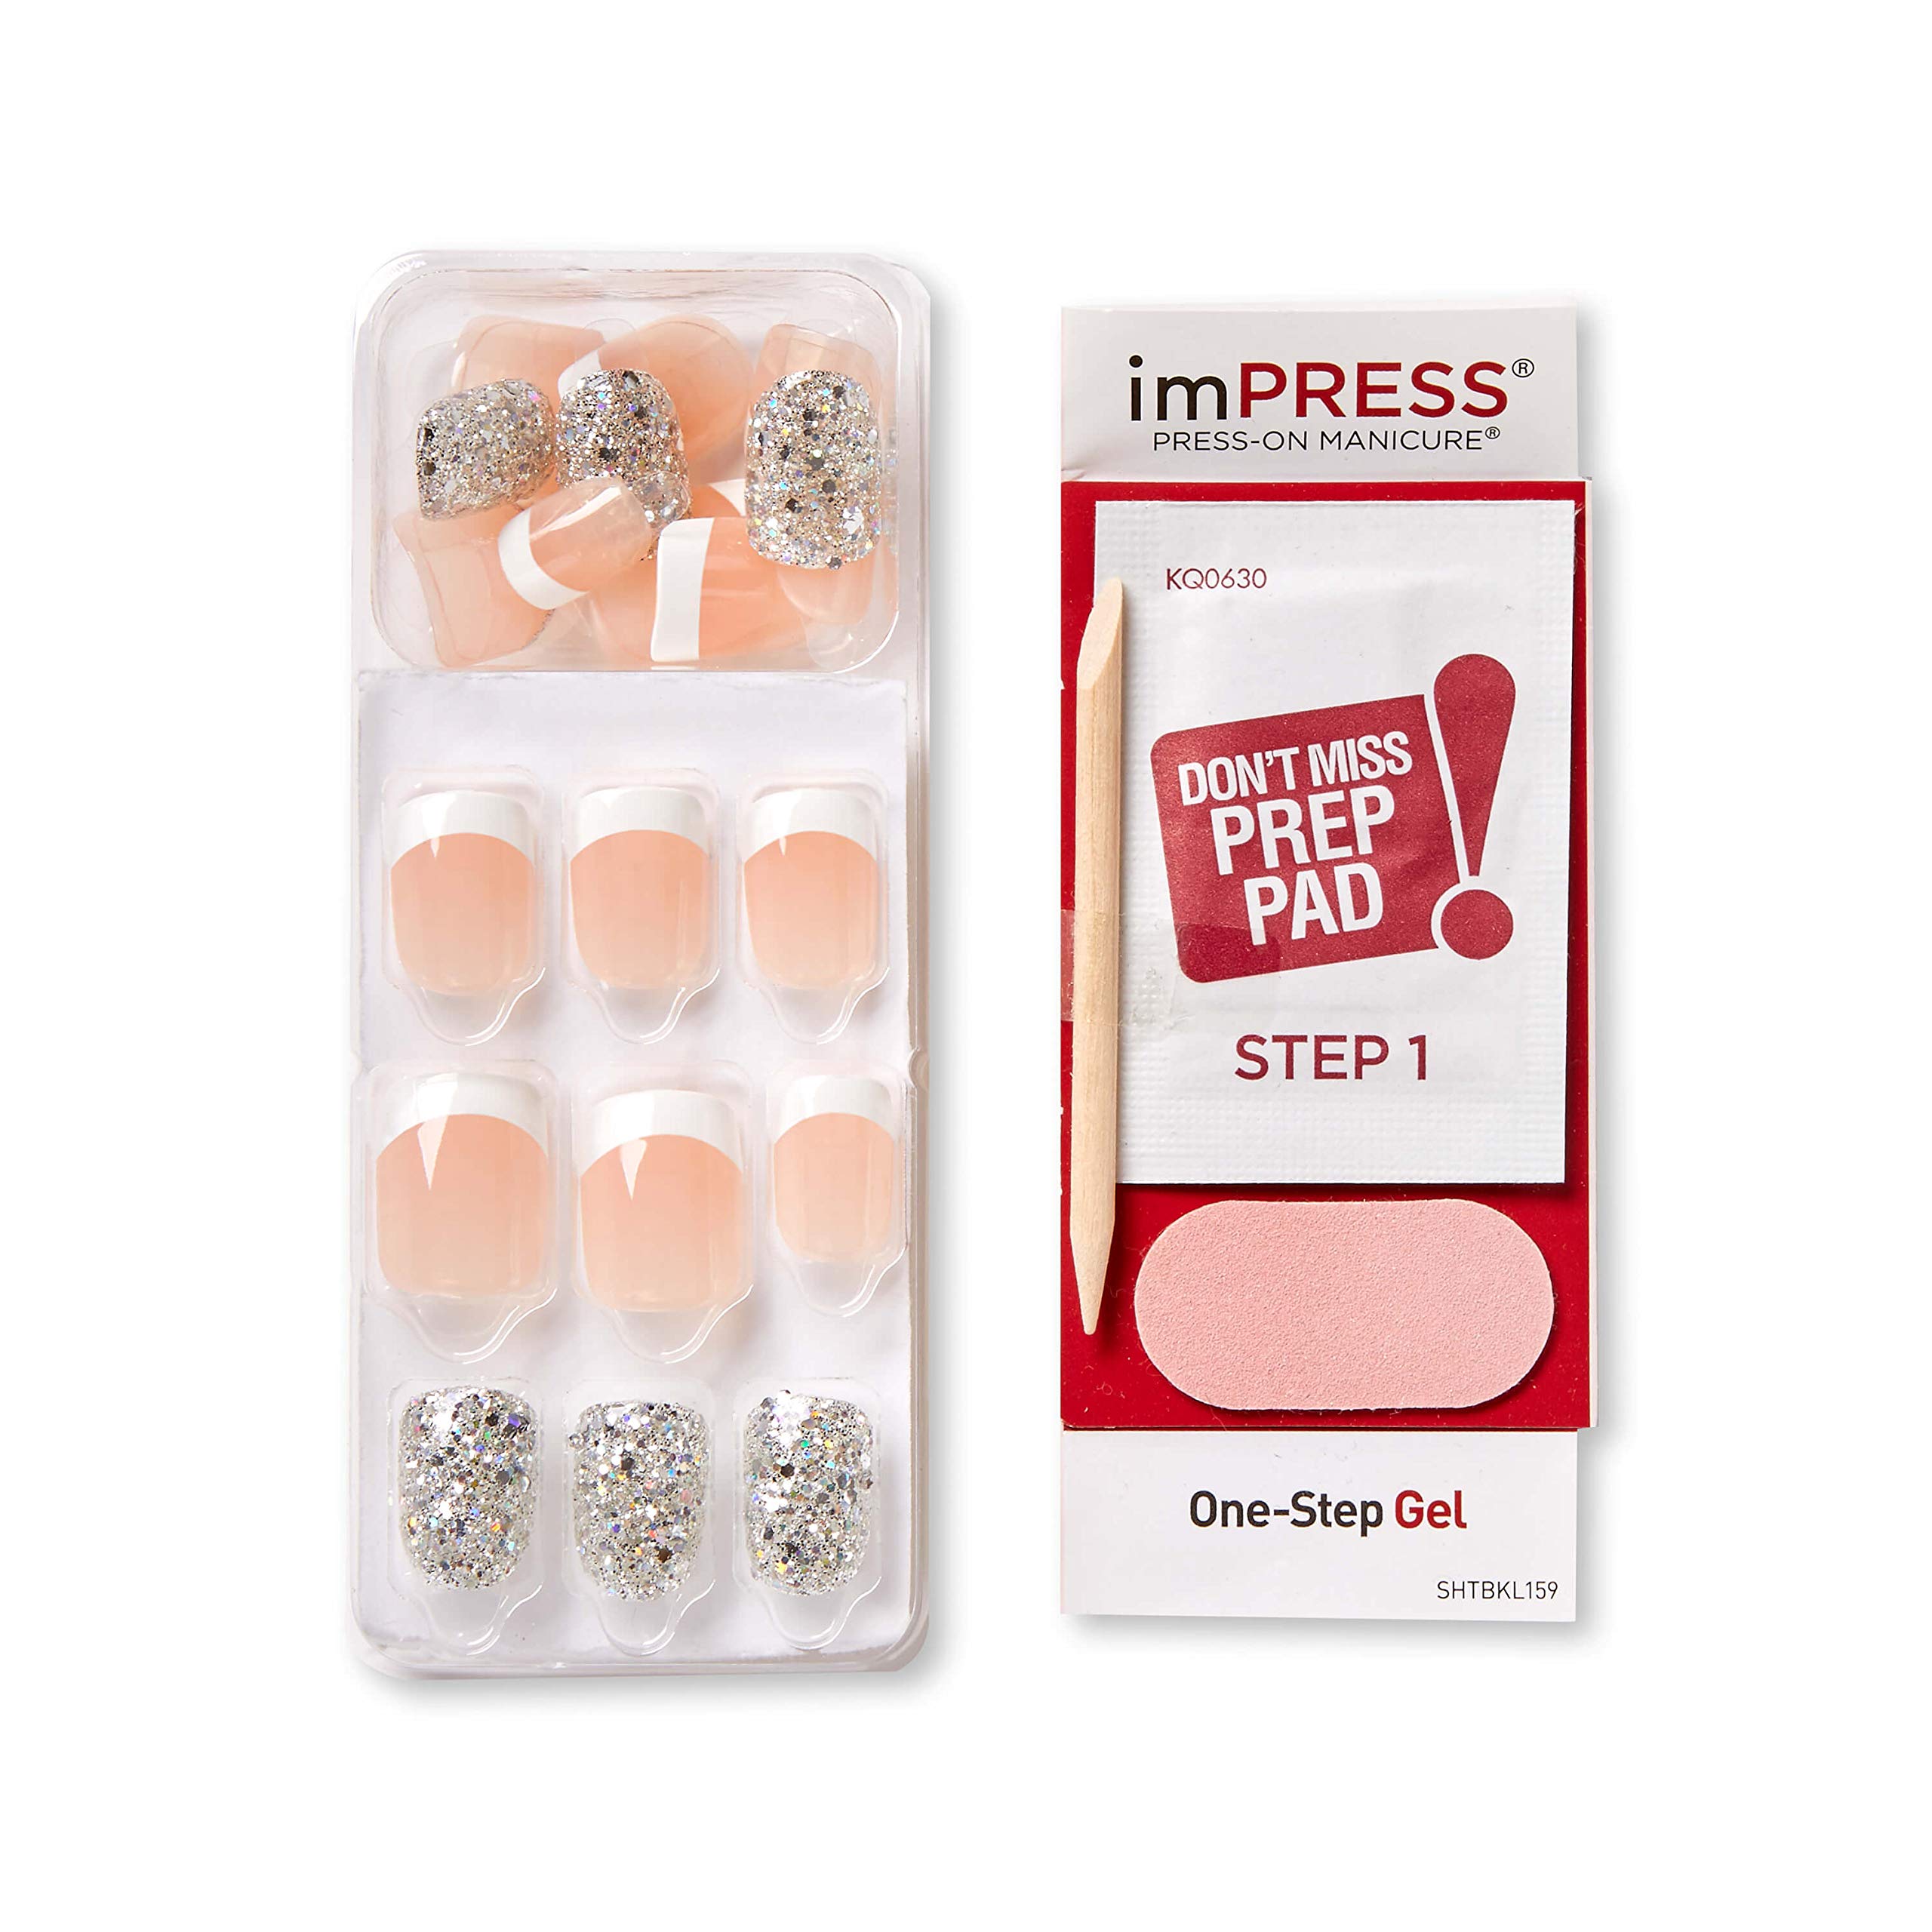


💅 Press, flaunt, repeat — your salon mani, no appointment needed!
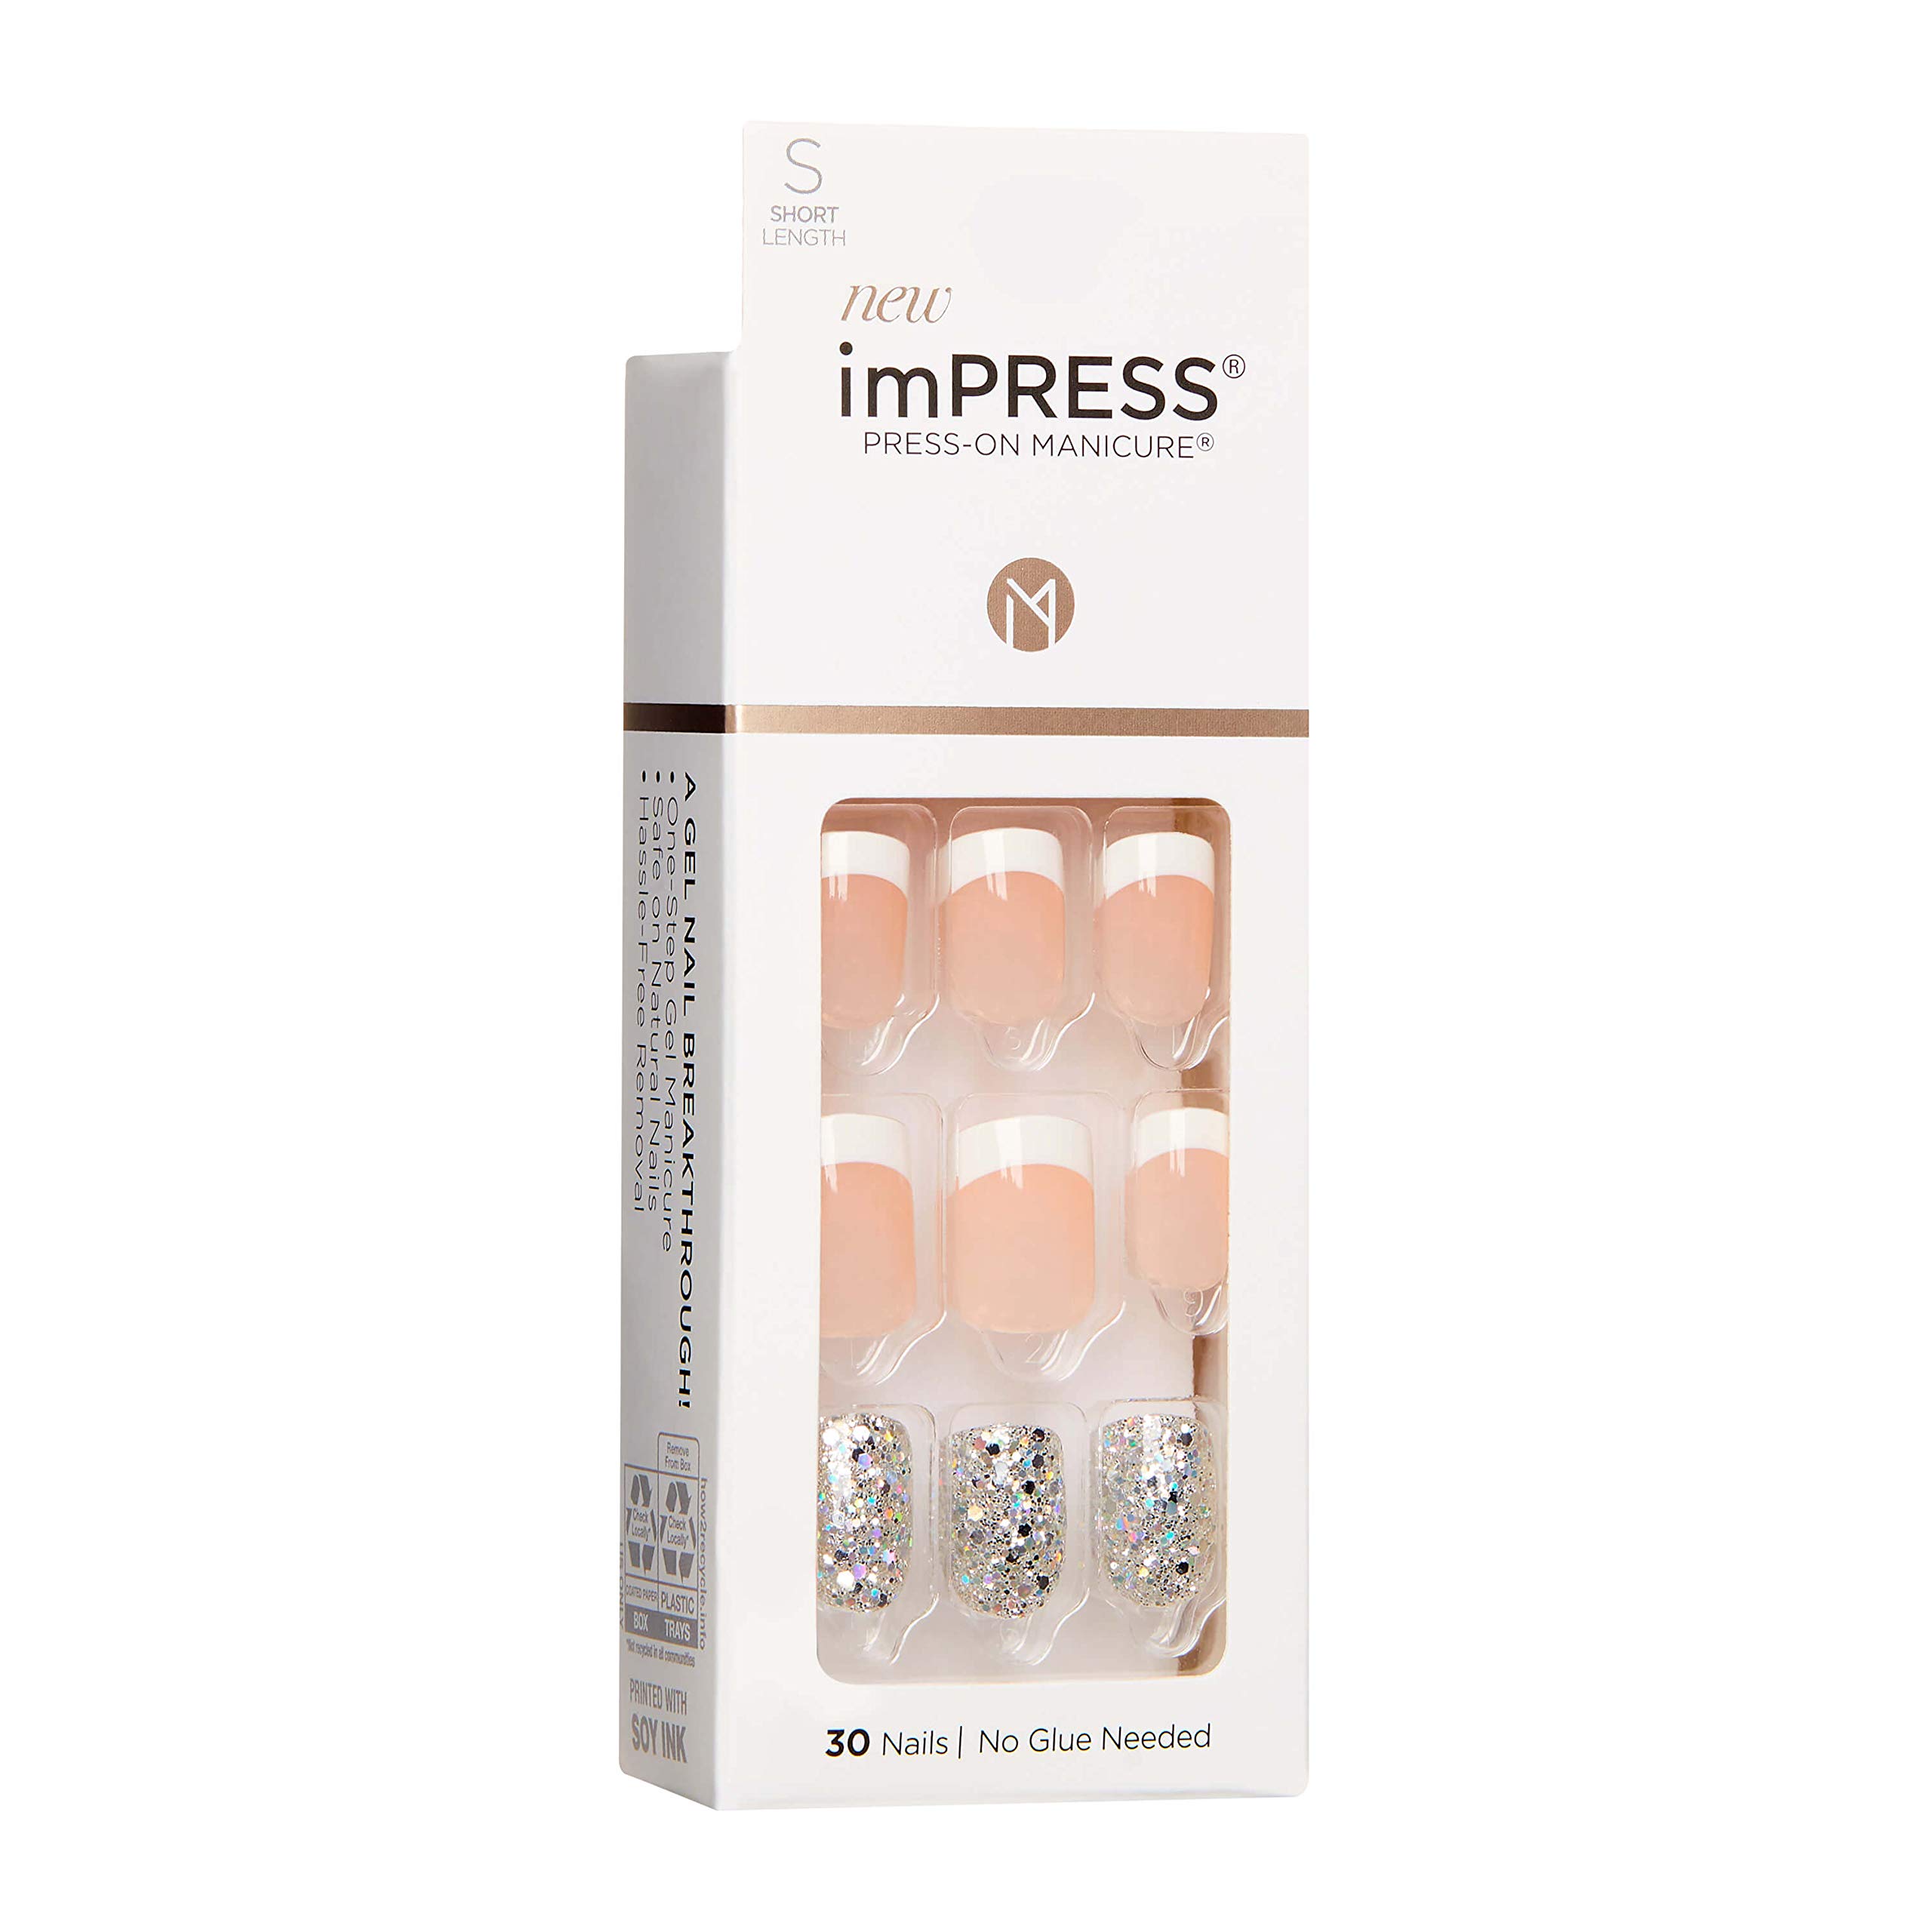
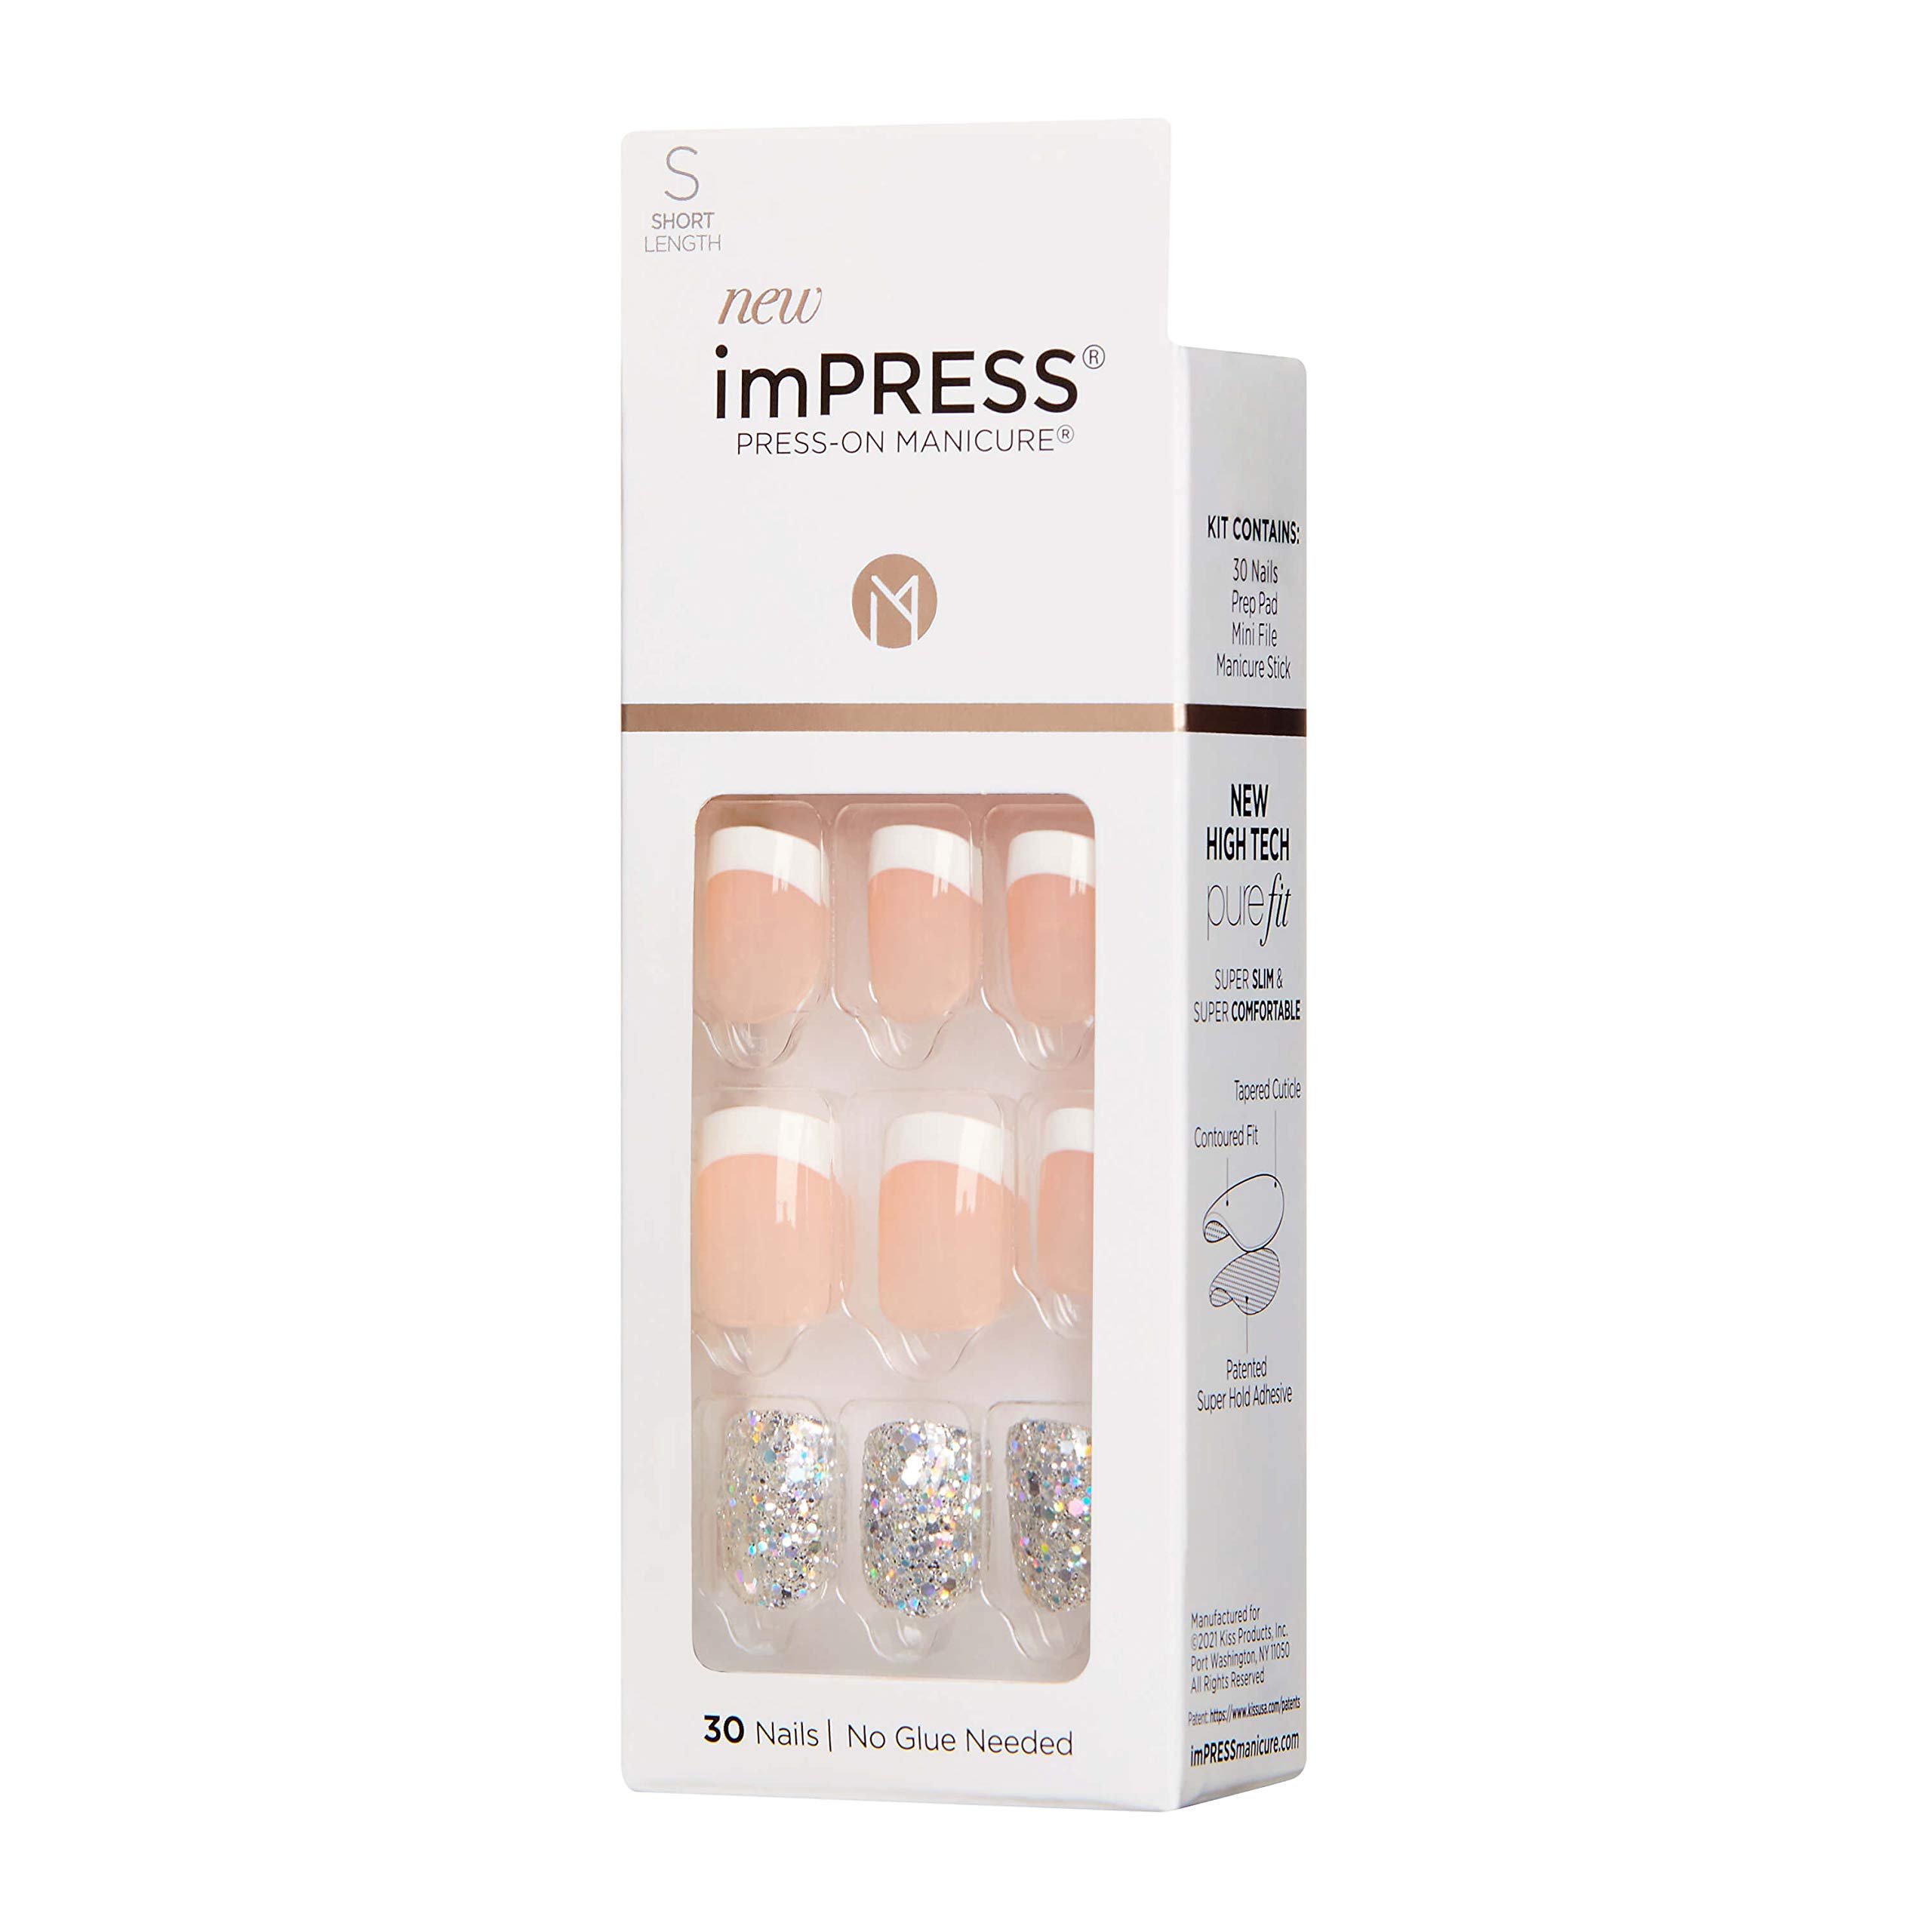
KISS imPRESS Press-On Manicure Kit features 30 short, salon-quality nails with PureFit Technology for a slim, natural fit. Designed for quick, glue-free application with Super Hold adhesive, these chip-proof, waterproof nails come with a prep pad, mini file, and cuticle stick. Perfect for trend-savvy professionals seeking a durable, stylish manicure at home.


| Manufacturer | Kiss |
| Country of Origin | USA |
| Item model number | KIM008C |
| Product Dimensions | 4.5 x 2.44 x 12.12 cm; 19.96 g |
| ASIN | B08QY2VRGH |
R**E
Easy to use
I like how they look. Almost matches my natural nail bed color, easy to use, just had to file down a bit and probably should have filed down the tips more since they look a bit wide on my fingers but didn’t have time. I’d purchase again.Update 3/25/24: these never fail to just make me feel a little more put together and pretty. I order them regularly. I’ve picked up a couple tricks along the way since I first began using these press ons. As a disclaimer I’m just a complete amateur who’s tried out YouTube’s hacks on these press on nails and want to share if it can help out someone who’s interested in experimenting with these fun sticker press ons.1. To avoid your hair getting caught in these press on nails - you have to tuck them under the cuticle skin (idk if that’s the correct term). And to do that you have to push back the skin growing on your nail. Be gentle. If you see in my previous pictures (the first 2 I uploaded from last year) I actually snipped my cuticles thinking it would look neater but then I had a space between the press on nail and my cuticle so my hair would get stuck there —was a total noob move lol.2. If you want the press ons to last longer than a couple days try experimenting with nail glues in addition to the sticky adhesive these press ons already come with. It’s helped my nails last for 2 weeks. What works for me are the glues with a wand (kinda looks like nail polish) vs the nail glue tubes, it’s just easier for me to apply.Nail prep is important to secure the press ons. Some people file down the nail bed to “roughen it up”, I tried that but stop doing that since I felt it thinned my nails too much overtime. Instead I use a nail strengthener as a base (some people use a nail primer too but I opt out of that). I feel having a layer below the glue helps add a tiny bit of protection to my nail rather than applying glue directly on a bare nail. Then I wipe the nail down with alcohol to get rid of oils. I then polish nail glue on. I add full coverage of glue on the nail, making sure the edges are covered in glue too to create a better seal and helps avoid the press on nail from lifting off my real nail. Sometimes I add glue under the press on nail too if I have time. Then I remove the plastic from the press on so that the sticky part is exposed and then I gently push down the press on nail under the cuticle and hold it.3. To avoid getting bubbles from nail glues (that can usually be easily seen with sheer colors like these press ons) it’s important to fully cover the nail with it —I still get air bubbles and I try to push rhe air bubbles out to the sides. As much as possible you’d want to get rid of air bubbles otherwise water can linger in there and may cause bacterial growth.4. If you’re in a bit of a time crunch getting ready to go out and don’t have time for adding glue.Before applying these on, I’ve found it’s best to have already gotten ready/dressed/hair/make up already done, house chores done—basically won’t need to wash my hands or lift anything heavy anymore for at least an hour (usually during a commute is a great way to let them cure).Super basic prep is cutting your nails, make sure the edges are cut too so they don’t stick out. Don’t cut them too short so that there’sstill some nail length for the press on nail to adhere to. Wash your hands to soften up the cuticles a bit, then push them back. Wipe the nails down with alcohol (or you can use the little wipey that comes in the box) then stick them on. Don’t let water get on them for at least an hour. With a quick prep like this I’d probably only get 1-3 days wear and would bring the nail kit for extra nails and carry nail glue in case they fall out.
H**Y
Will likely use occasionally
They are easy to apply and do look good, as long as you don’t look too close, since you see the layer of real nail topped with these impress ones.
A**M
Beautiful
They look great. Much cheaper than going to the salon and easy to apply. The adhesive works great. Mine lasted a week. Would have lasted longer if I wasted messing in aquatics that week. Wear rubber gloves and don't skip cleaning your nails.
M**Y
Say goodbye to expensive nail salons!
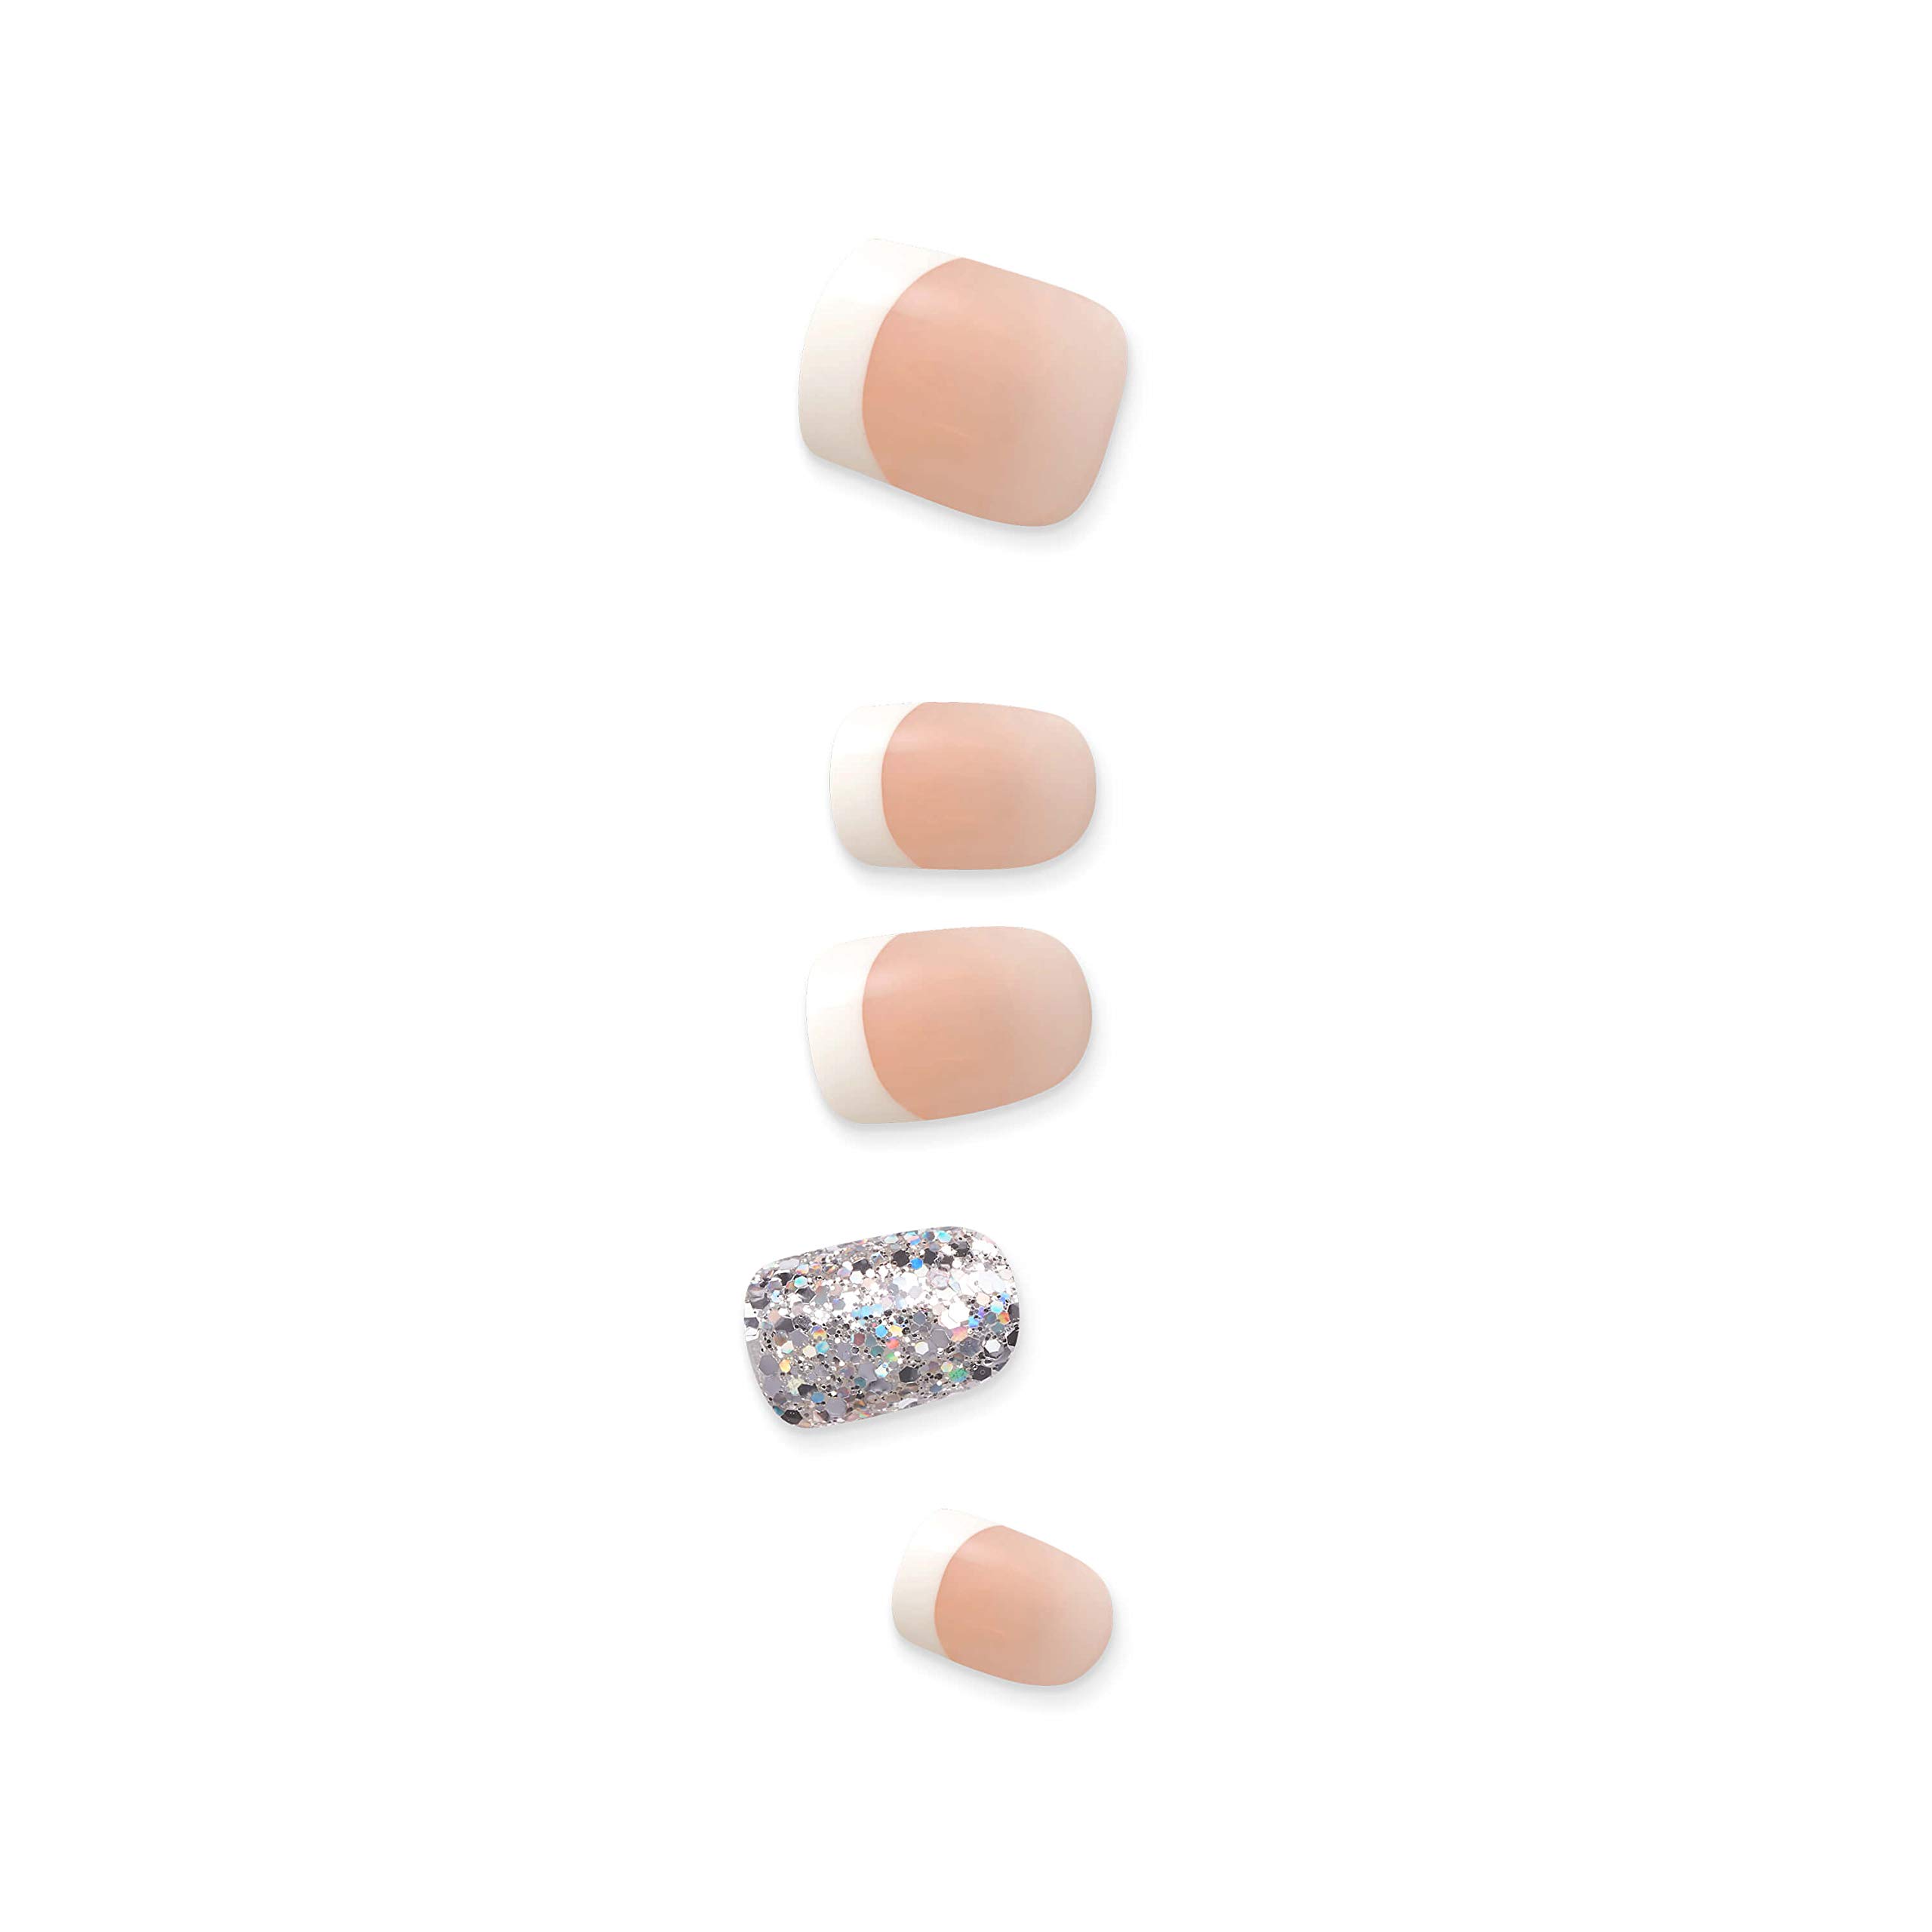
Very impressed with imPRESS! I love the classic french manicure look. They look amazing and last 2-3 weeks! A polished, professional look without breaking the bank. What a blessing to the wallet!
S**S
Nice, but I had to trim to get round look
They are nice, but I prefer rounded edges, and these are a straight cut; therefore, I had to clip the nails before putting them on. They were easy to shape with standard nail clippers. I wore them to a wedding, and they held the Sally Hansen nail polish color well. However, 2 of the press-on nails fell off as I was trying to put them on, and both thumb press on nails came off before the wedding was over. I like them enough to purchase again, I just hope they stay on better. I am not used to wearing press-on nails, and I did use the pad to clean my nails before putting them on. Standard Emory boards worked well when shaping, but so did the little Emory board that came with the nails.
Trustpilot
1 month ago
1 week ago