

🔩 Stick with the best — bond like a pro, drive with confidence!
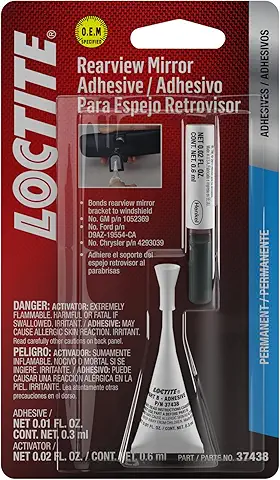
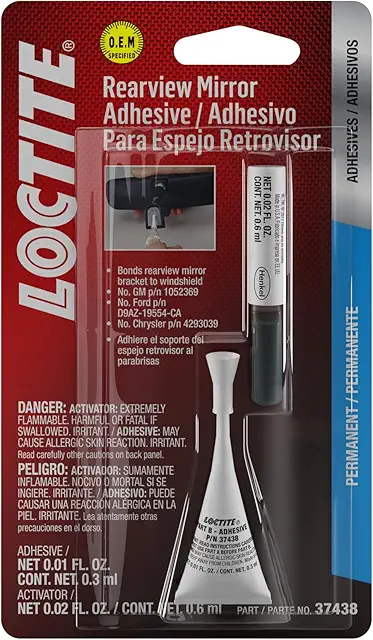
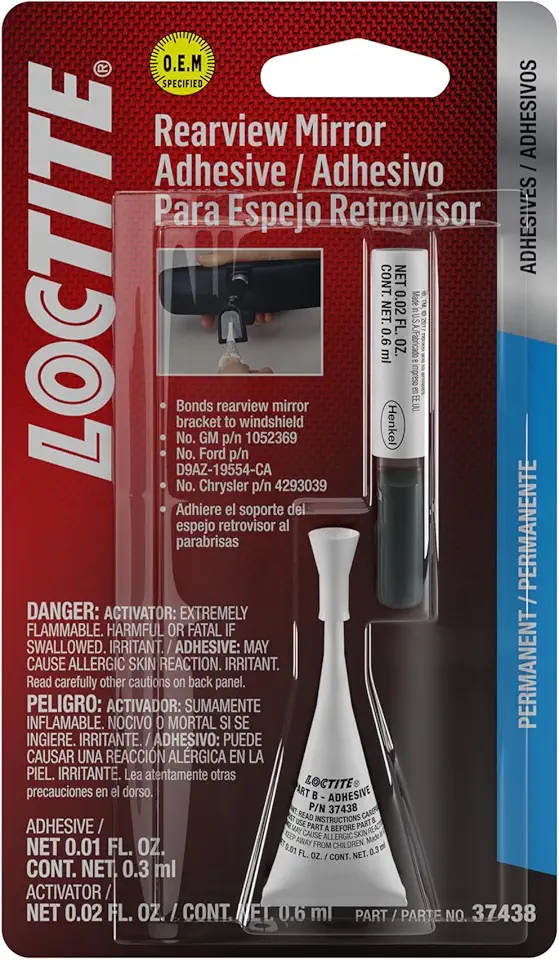
The Loctite 37438 Rearview Mirror Adhesive Kit delivers OEM-approved, fast-curing gel adhesive designed specifically for securely bonding rearview mirror brackets to windshields. Trusted by leading automakers, it offers strong, water-resistant adhesion compatible with glass, ceramic, and metal surfaces, achieving handling strength in seconds and full cure in 15 minutes for professional-grade repairs.
Trustpilot
2 weeks ago
2 months ago
2 weeks ago
1 week ago


