Customer Services
Customer Support

Desert Online General Trading LLC
Warehouse # 7, 4th Street, Umm Ramool, Dubai, 30183, Dubai
Copyright © 2025 Desertcart Holdings Limited


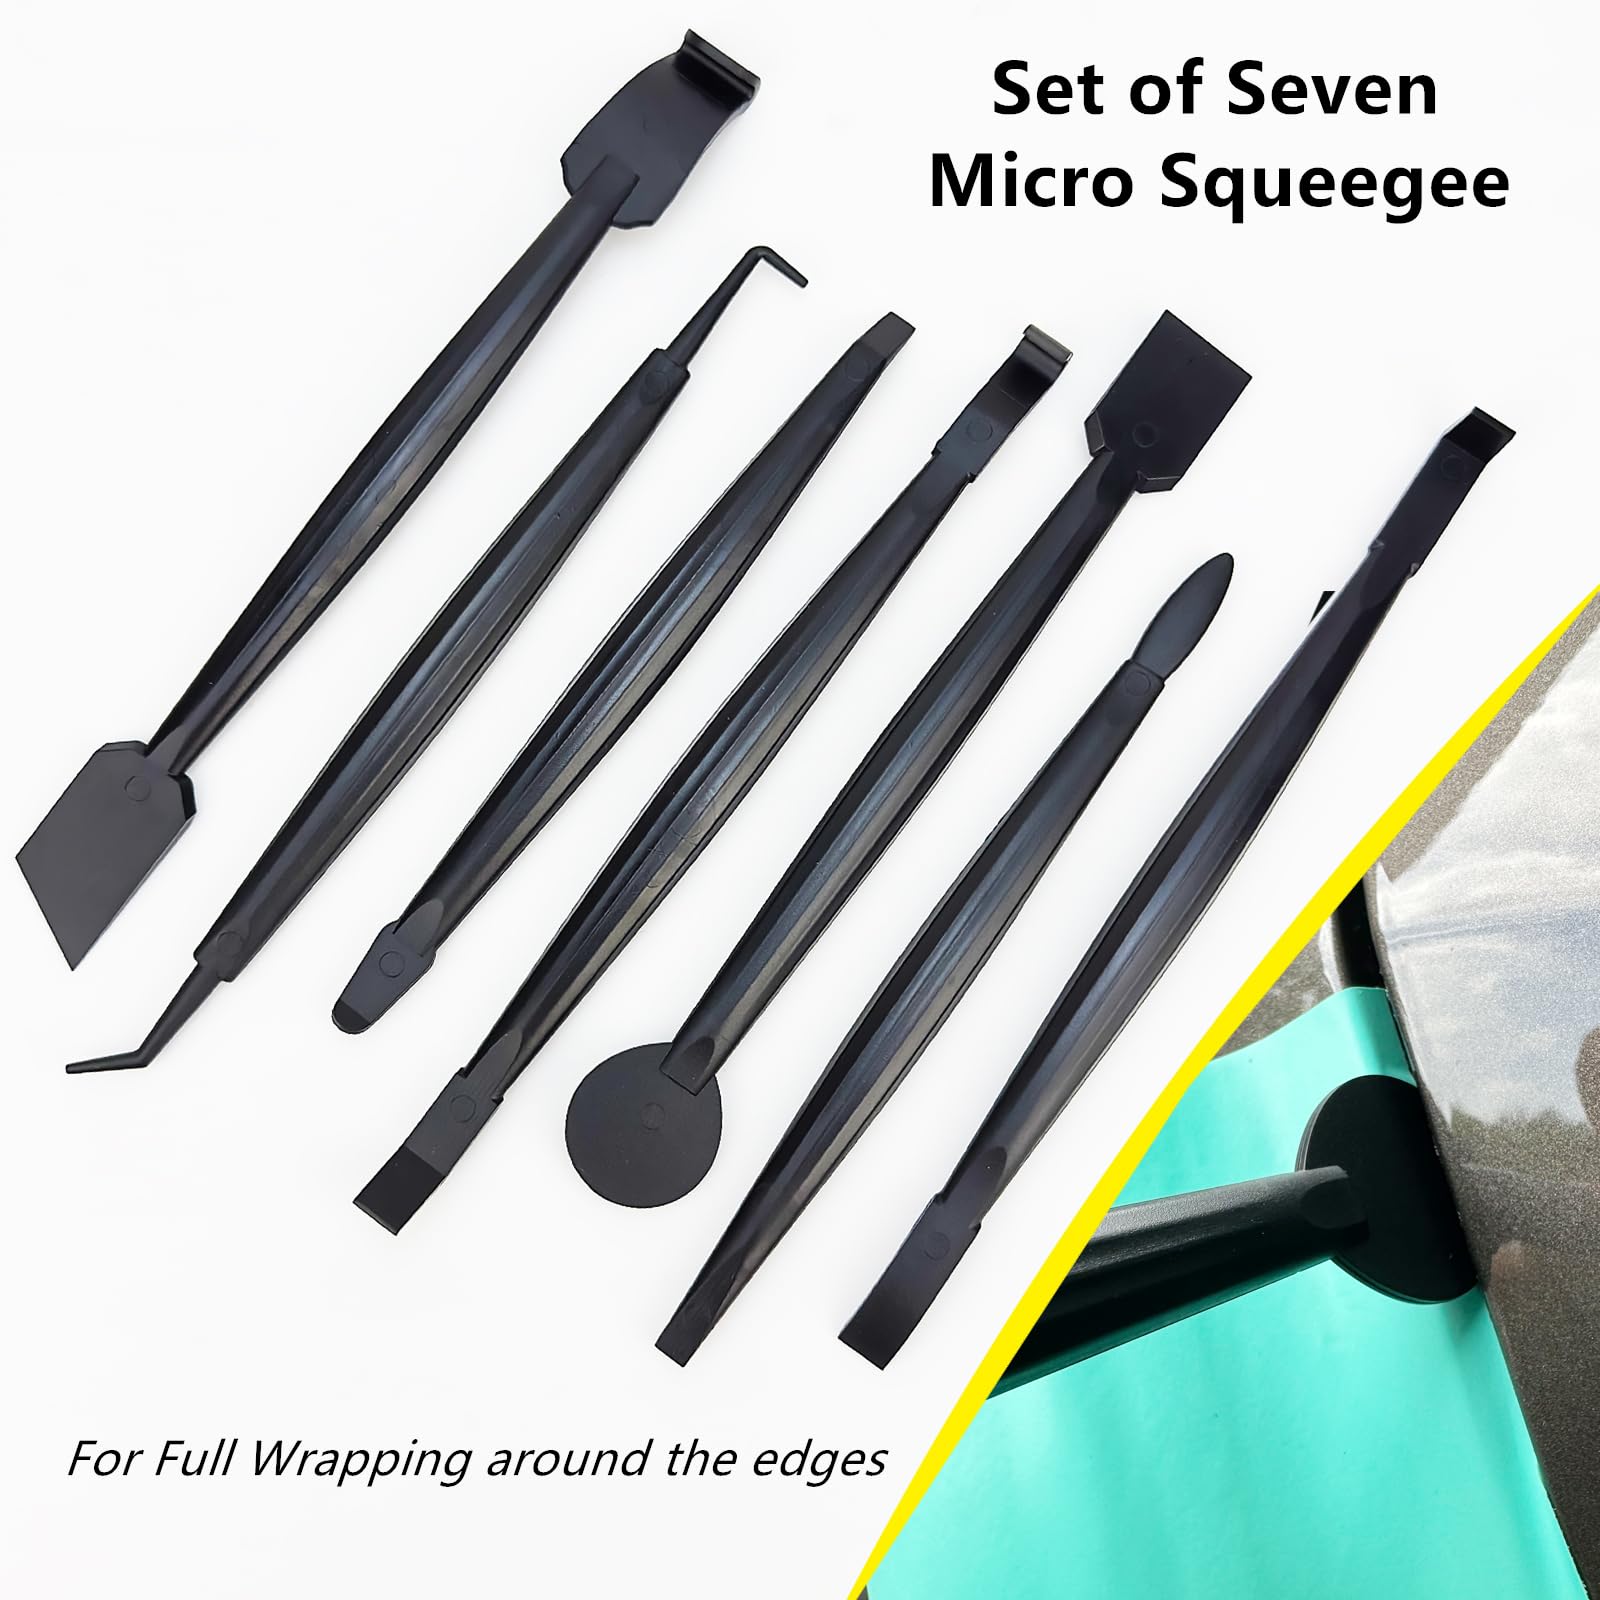
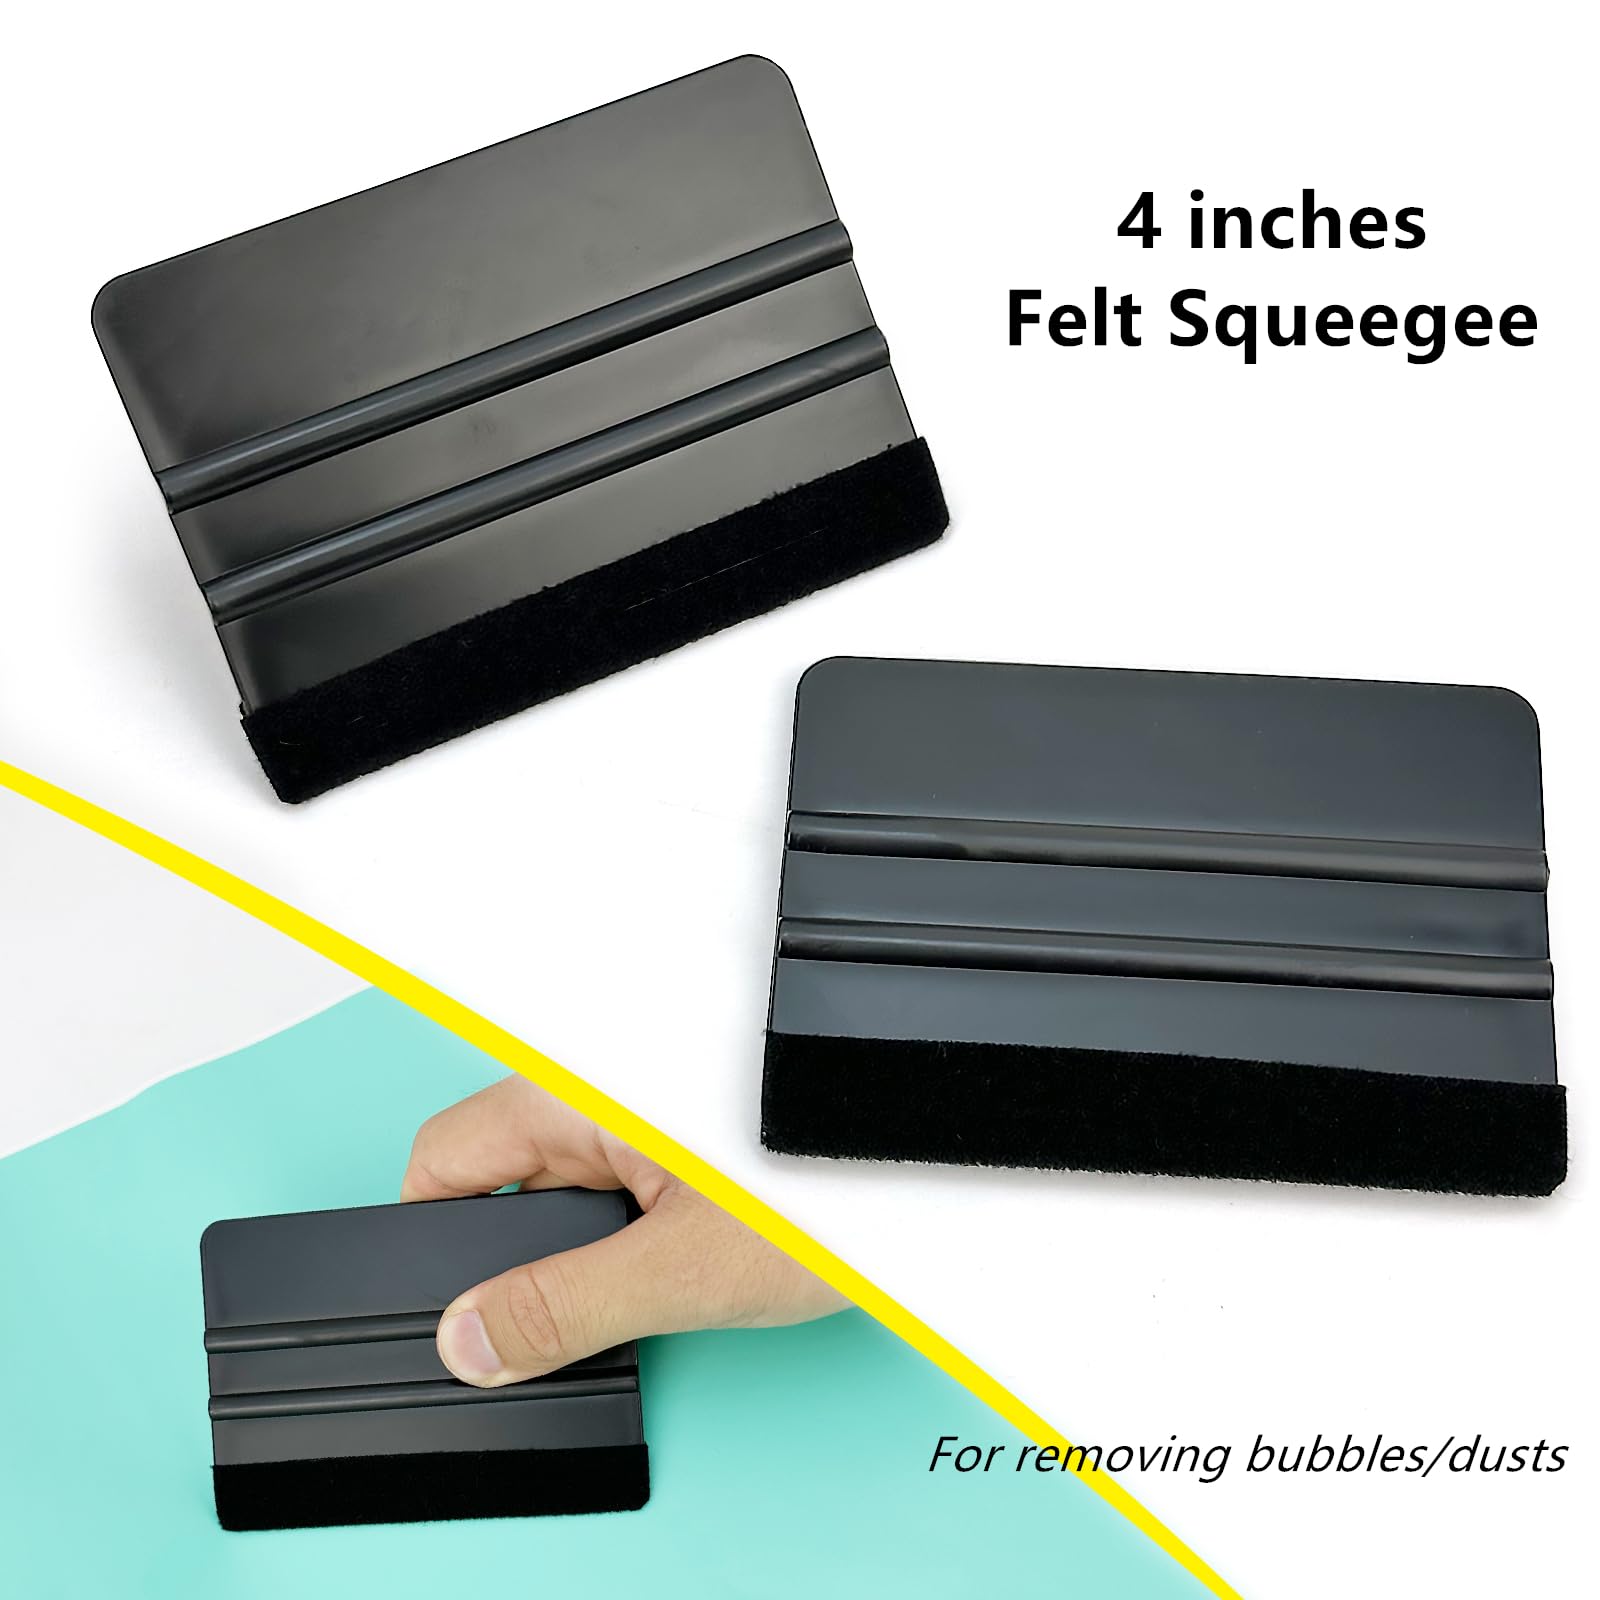
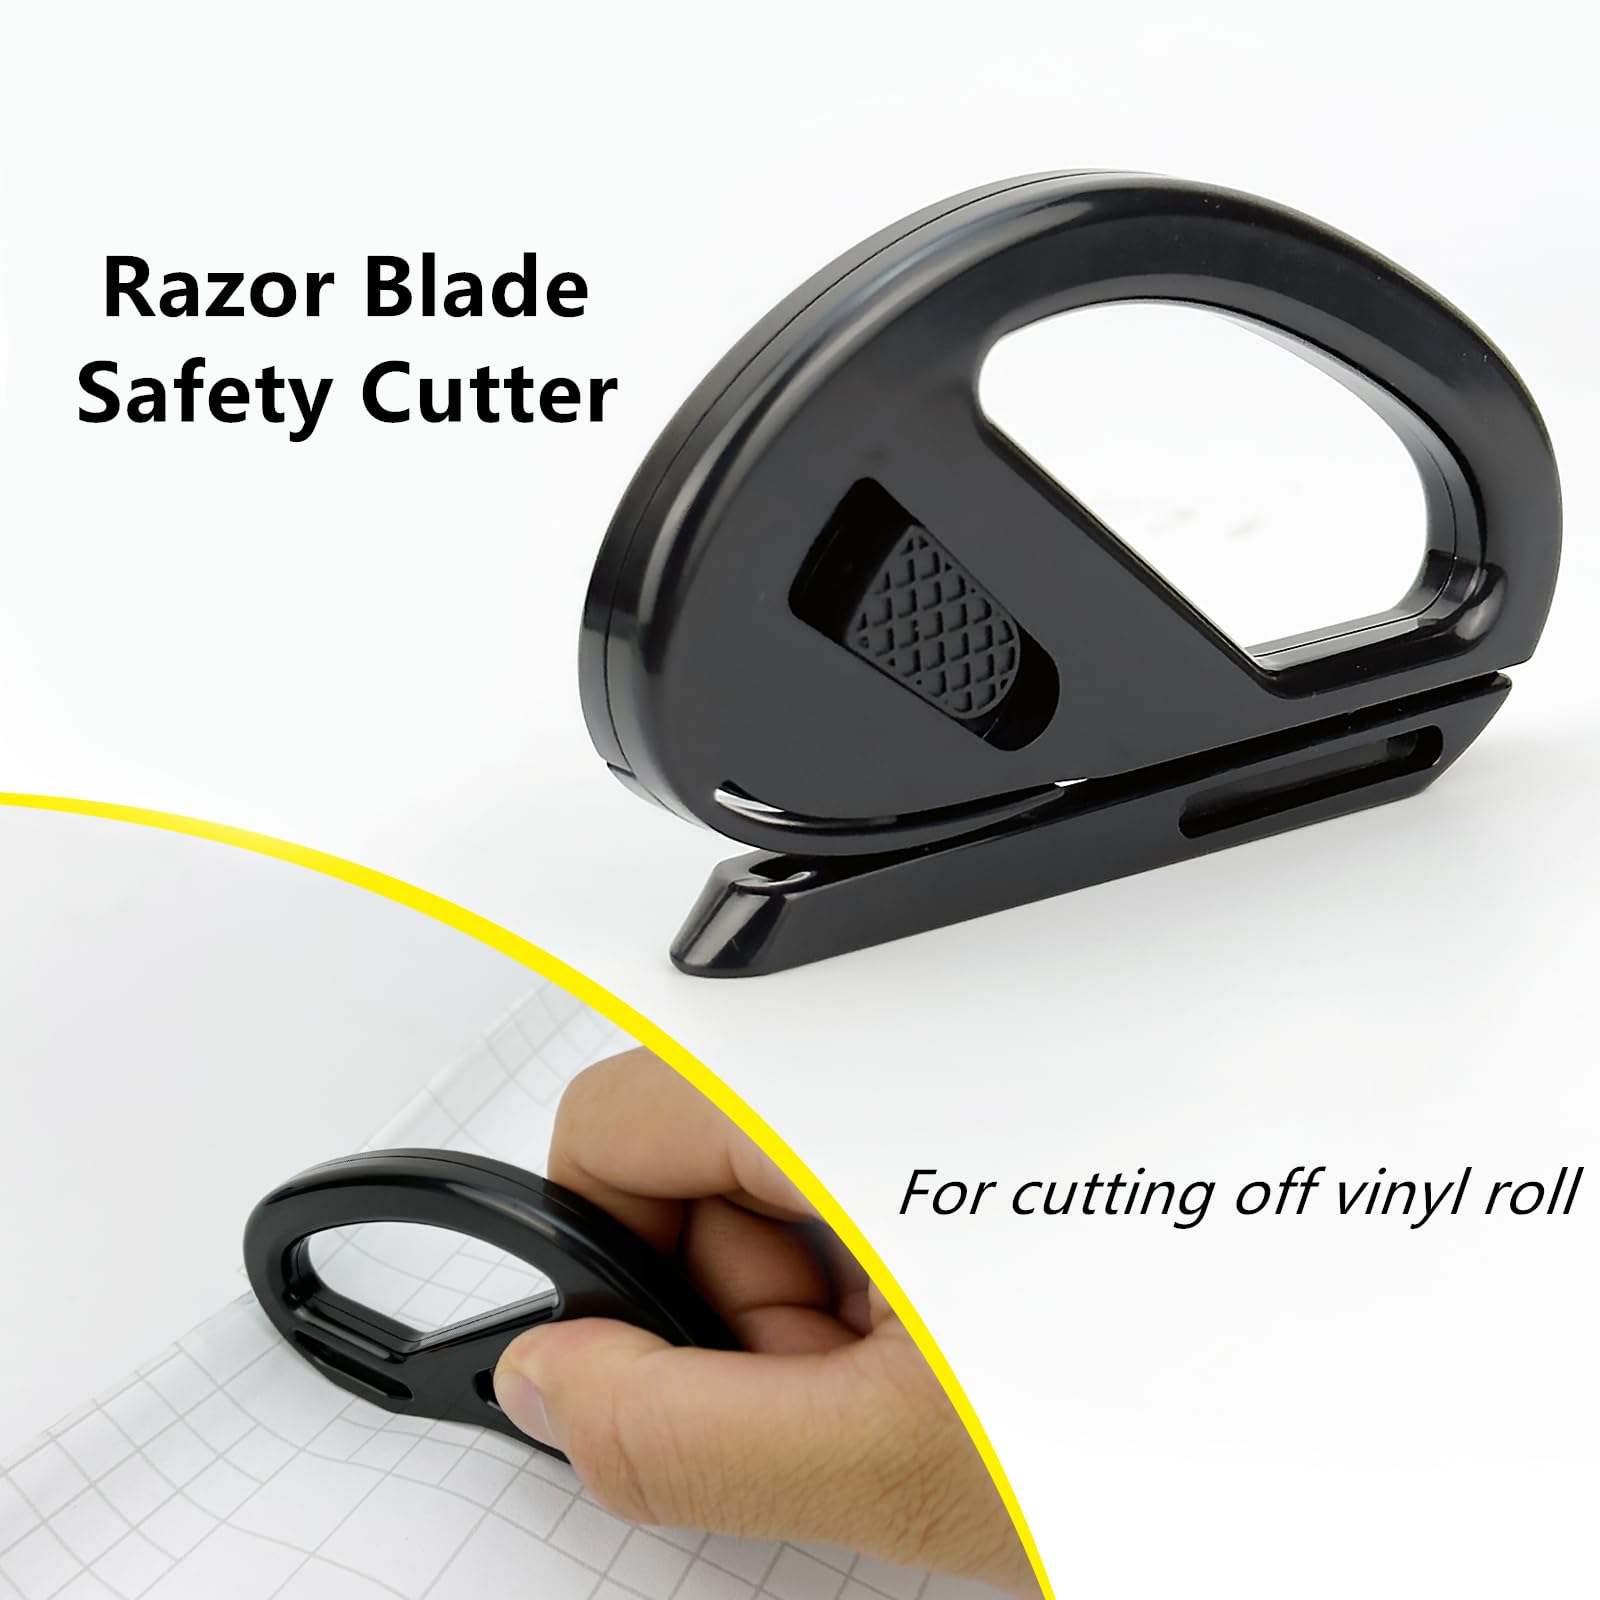
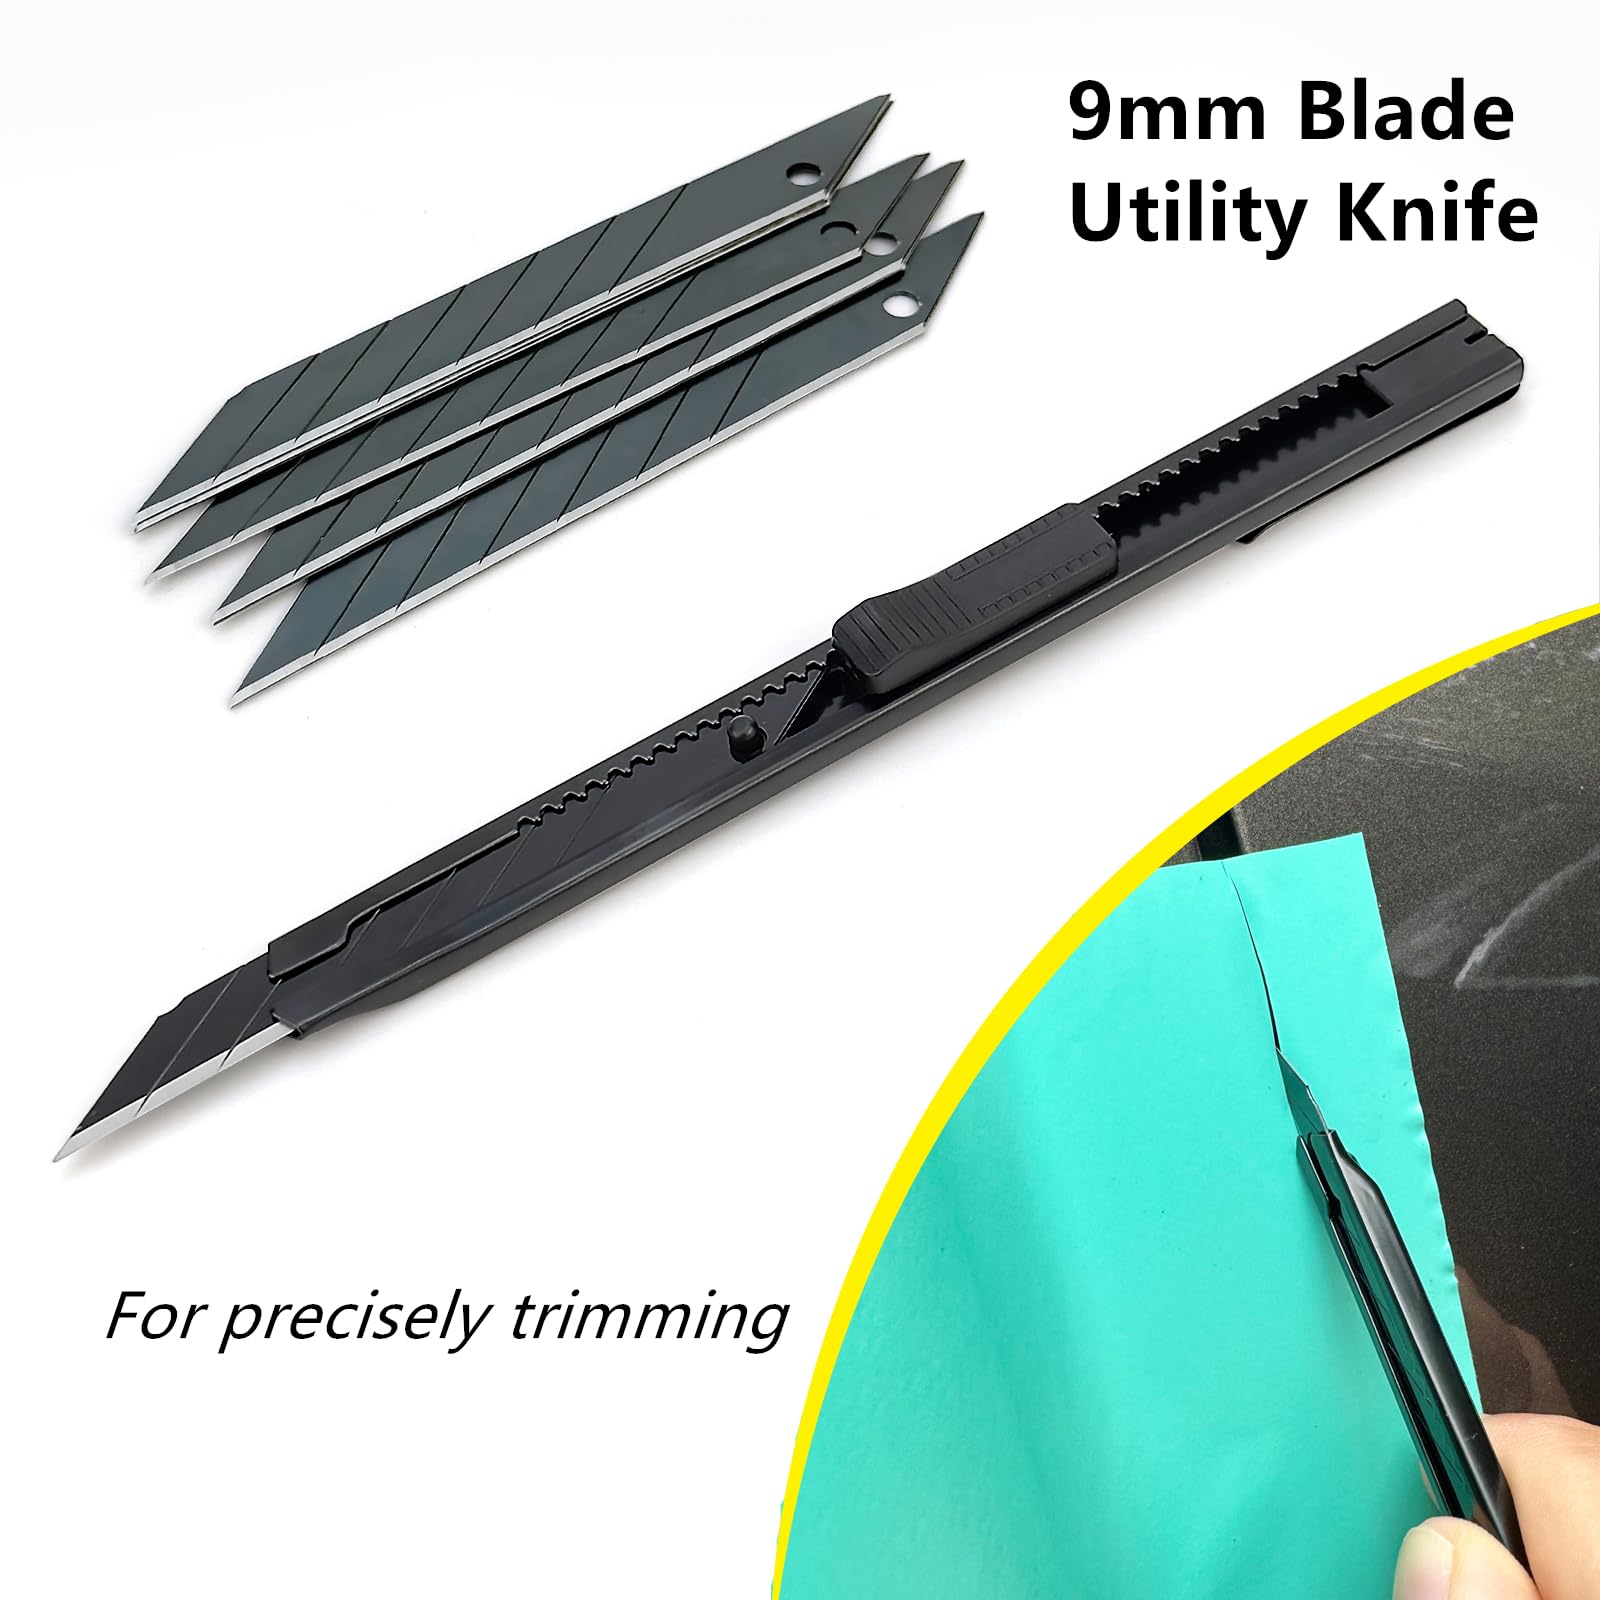
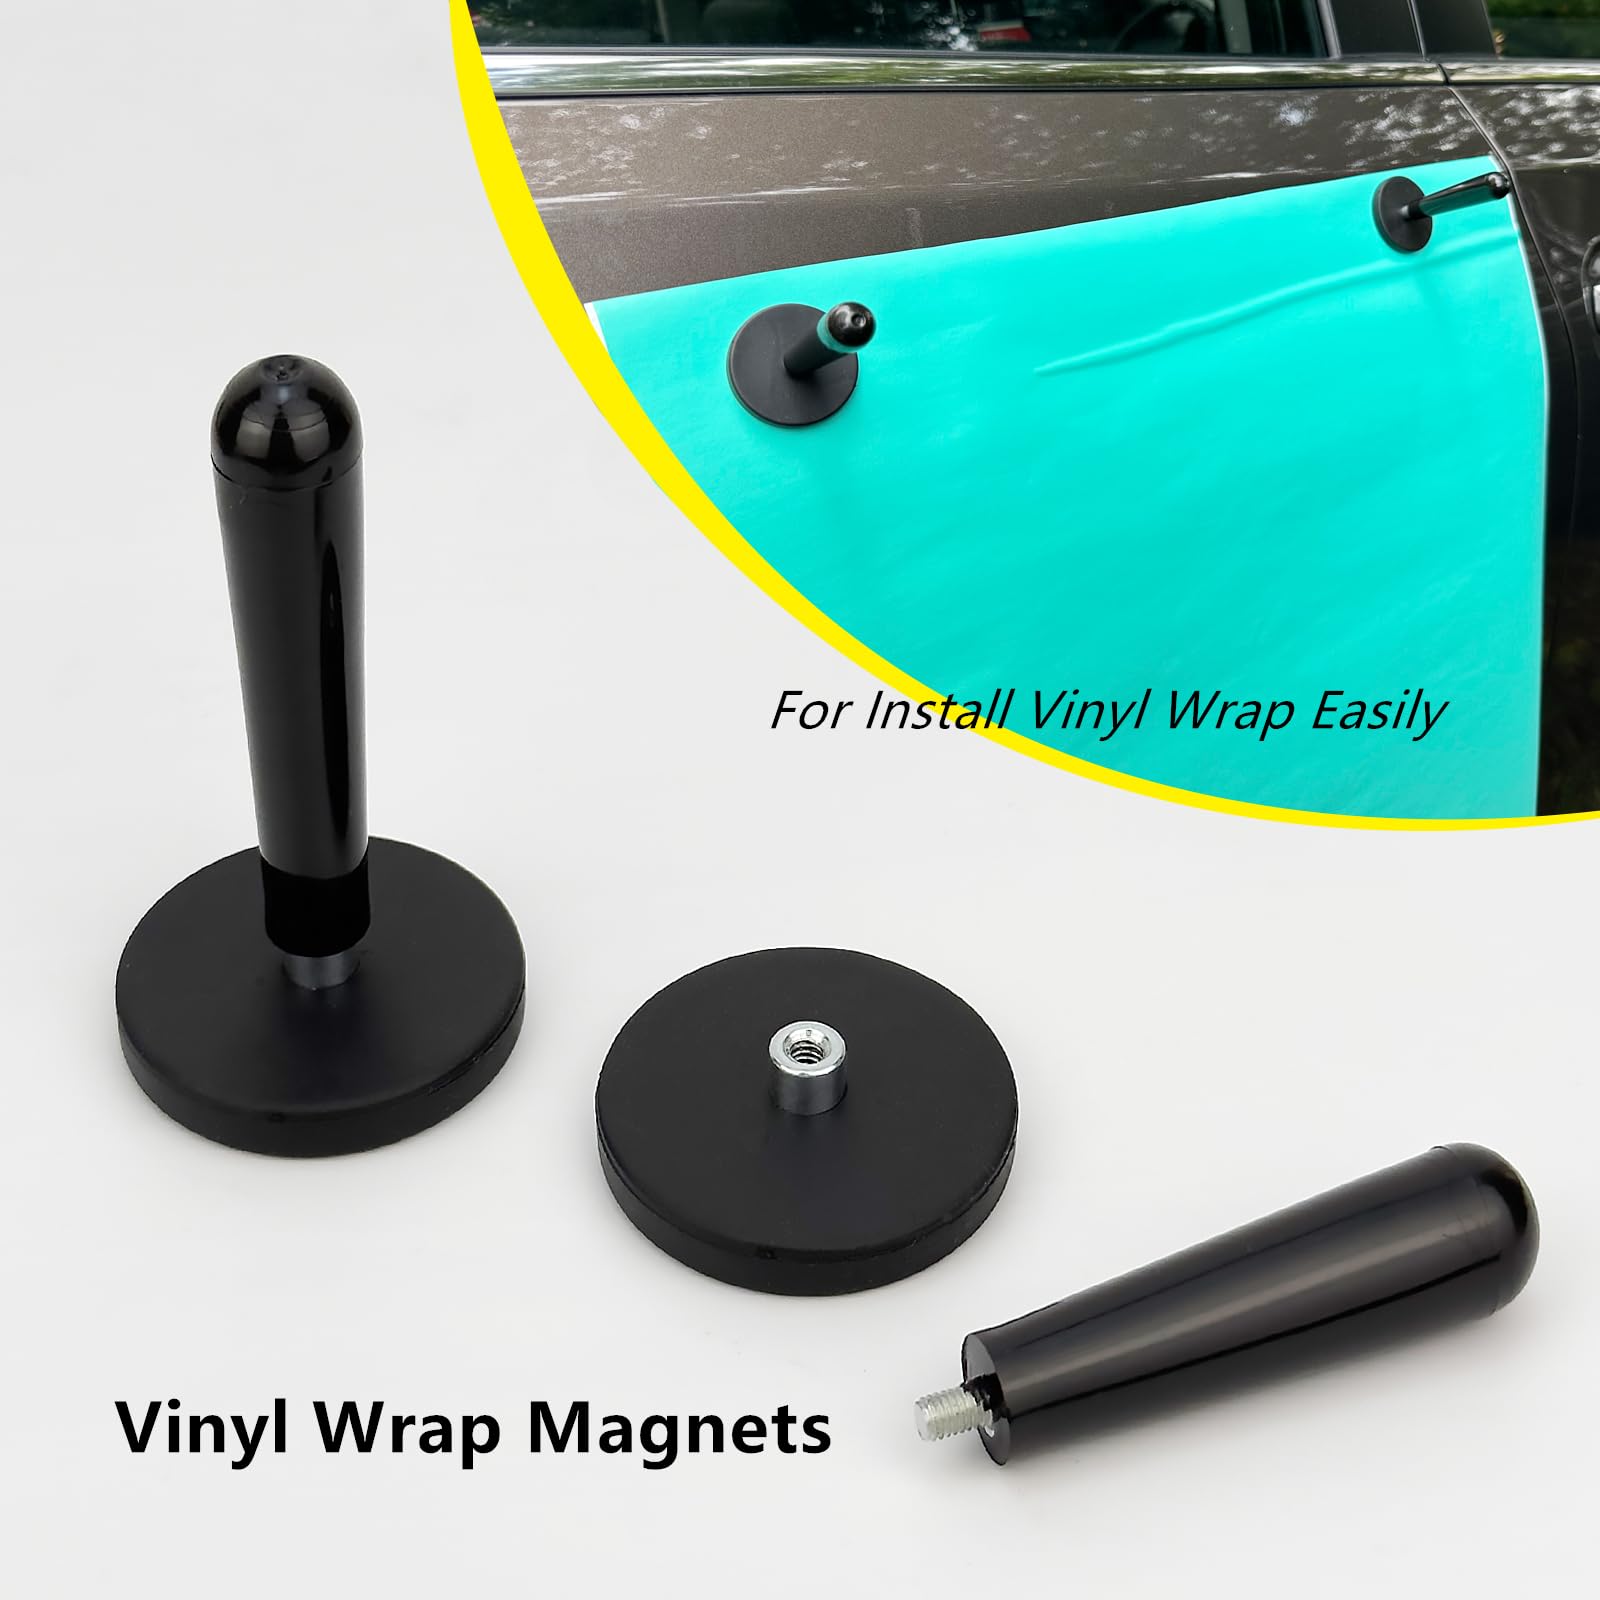
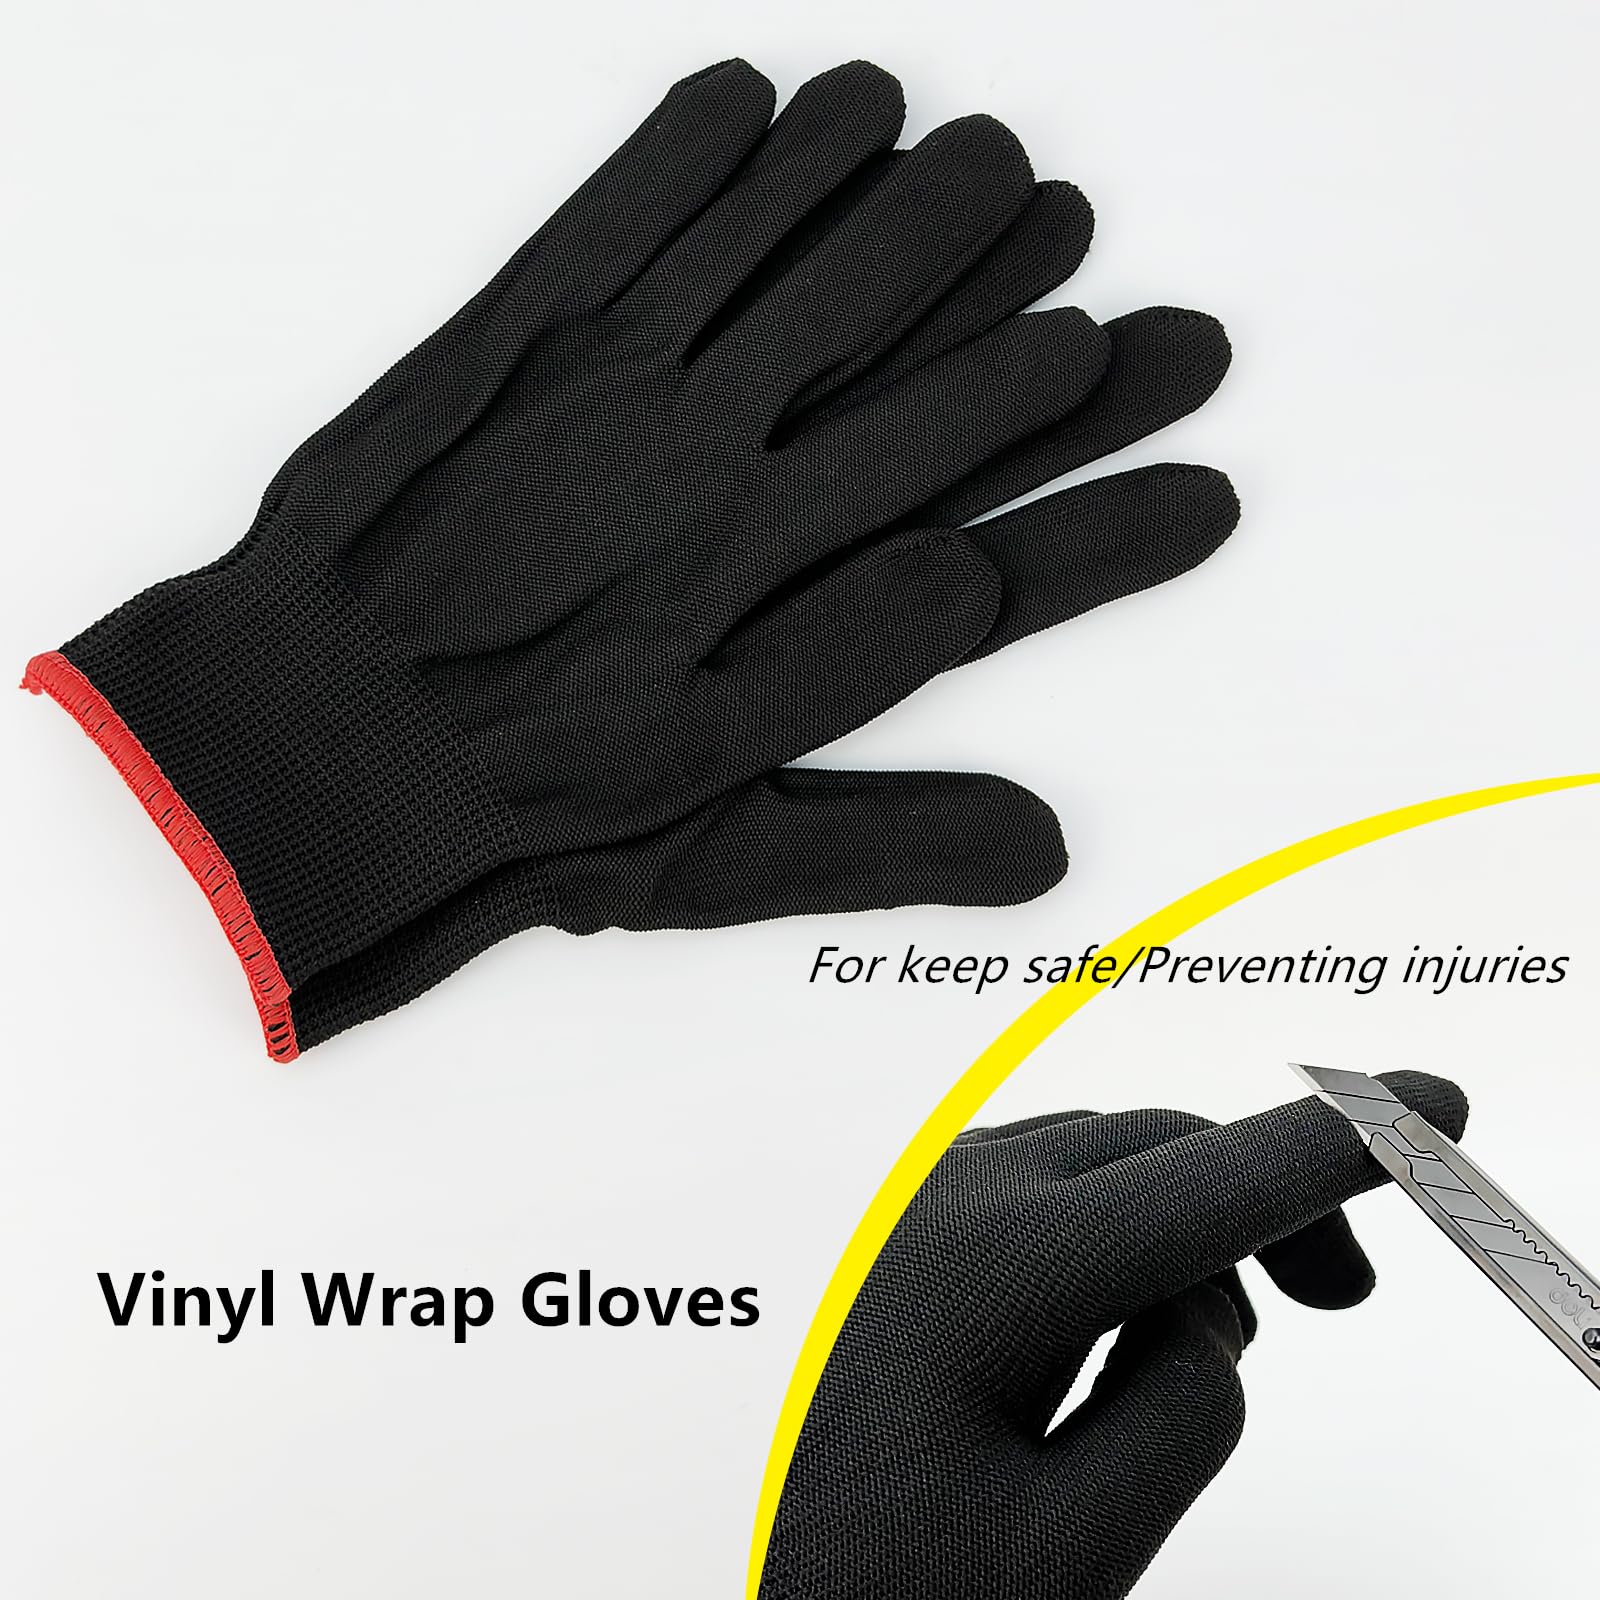
🚗 Wrap it up in style!
The CARTINTS Car Install Tools for Vinyl Wrap is a comprehensive kit designed for vehicle tinting and vinyl film application. It includes a 7-in-1 mini squeegee, felt squeegee, razor blade cutter, 9mm utility knife, vinyl wrap magnets, and work gloves, ensuring a professional finish with safety and efficiency.
| Manufacturer | CARTINTS |
| Brand | CARTINTS |
| Item Weight | 10.6 ounces |
| Package Dimensions | 7.68 x 5.75 x 1.73 inches |
| Manufacturer Part Number | A298H02 |
S**A
Beginner user friendly
Used this to wrap the hood of my car and it worked perfectly. It packs a punch if not careful you can damage the plastic wrap . Use at a distance to avoid welts :)
#**E
5⭐️Update + Great kit for hood wrap install
This is one of the best tool investments made for SO many purposes.Renovating a property from 1900 is a challenge. Questions like, “do I need to remove that to make it better?” Or; “is it a smart idea to remove (xyz fill in the blank) because what remains could make things worst?”I’ve solved many questions with improvements and work arounds to help maintain the integrity of some areas that over a dozen decades previous owners made choices they scared the property for life. There’s areas like the ceiling that would be difficult to repair knowing what’s under the cheap tile, for instance. If you saw the entrance or kitchen you’d understand.Since using real tin for the entrance and kitchen downstairs am keeping the theme through the property tin. This is the room business magic happens. The previous look was sad. Now, even walking by feel happy seeing how nicely it looks, to me. Enjoy creating in the office having touches like the vintage vibe ceiling.I read many reviews of the ceiling and other ‘peel and stick’ attempts. The biggest one star issue is people suck at application. This kit changes the game.If you’re installing peel in stick like mine here’s a few suggestions that’ll change the outcome to 5⭐️ Joy.I cut each tile into singles. The same edge was placed over and over going the same direction. It didn’t matter if they were perfectly aligned. As it helps to at times slightly overlap with the crevice. If not filling in all crevices consider a 1/4 in overlap those places. Peel away along one side a couple inches. Use thumbs to line and press along about a 1/2 inch of the starting side. Then, use the credit card sized tool with fabric side, slowly move to affix. If it isn’t smooth or tiny bubble it’s possible to pull the stick off a bit and smooth again. This won’t ruin the application. Slowly remove the backing as the paper affixes.I ran the smooth side of the applicator along the edges and the fabric side multiple times along the edges, middle, etc.I had zero issues with the tools or application.One tool that was helpful for straight edge cuts. A steal ruler with a corner. Mine is 12 inches with an angle.Align with the tile (these are 20.5 in). Once slice 11 inches, leave the blade in the spot stopped. Move the straight edge steel ruler to the other side flipped to endure straight. While aligning on the blade tip while it’s still in the same spot. This helps to not screw up a straight smooth cut. After a few tries goes quickly the next bunch of tile.This applicator kit has given me a lot of confidence in what I can do. The Jeep decal was a huge surprise. I get so many compliments. People think it’s painted. This inexpensive hit helped me DYI.The tile for the ceiling was such a confidence boost I’m doing another room.With a good ladder. Work table. This kit. And, a steel angle ruler you can install peel and stick, too.Even if it’s only a binder for a student, this kit can make for a handle arsenal of options. With the multiple replacement blades included I should be able to remain all reno projects using materials similar to the vehicle and ceiling applications.Highly recommend this product 💯👆🏼Update /\What I like about this kit is all the tool options for complicated installations to include what’s needed for simple, as well.The hood wrap for my Jeep required a variety of difficult needs. Besides multiple holes and crevice challenges this intricate endeavor could not have been possible without various tools.Plus, have other projects for renovations these tools will help install, too.Worked great for me. I had two hinges, multiple holes and weird curves to content with. This application took care of every need. To include additional fabrics for the smoothing tool. One got a little hot and we had a tip melt a little bit.No worries, add the new fabric and and trek on to how cool is this wrap. It’s a veteran dream of mine to do an eagle with flag. Very happy with the help of this ensemble of devices included⭐️⭐️⭐️⭐️⭐️💯
A**L
Good Overall
Squeegee is a bit rough and scratched my film a little at first. I would recommend softening the edge before use, but otherwise it gets the job done. Magnets and cutting tools worked good and the variety of extra equipment was helpful.
N**L
Vinyl Car Wrapping Tools Set: Affordable Bang for Your Buck!
As someone new to the art of vinyl car wrapping, I recently had the opportunity to try out this wrapping tool set, and I must say, it made the entire process much smoother. In this review, I'll provide a balanced assessment of the key aspects of this tool-set that proved helpful during my first attempt at wrapping my car roof. 1. Sturdy 9mm Knife: The 9mm knife included in this set was noticeably robust and boasted a sharp edge, making it easier to cut and trim the vinyl precisely. As a beginner, having a reliable knife like this instilled confidence in my work, and I felt more in control of the trimming process. 2. Soft Felt Squeegee: One of the standout features of this set was the soft felt squeegee. It was gentle on the vinyl surface, minimizing the risk of scratches or imperfections during application. This squeegee proved to be incredibly useful for smoothing out air bubbles and ensuring a seamless finish. However, I should mention that it's essential to squeegee on top of the plastic film of the vinyl to avoid any potential damage. 3. Effective Magnets: The set also comes with magnets designed to hold the vinyl wrap in place while you work. I found these magnets to be surprisingly strong and reliable in securing the wrap on the car's surface. They definitely played a crucial role in minimizing shifting and misalignment of the vinyl during the application process. 4. Basic Gloves: The gloves provided in the set were, as expected, of a basic quality. They did the job of being gentle on the vinyl wrap, but they weren't anything exceptional. If you're looking for high-quality gloves, you might want to consider purchasing a separate pair.In conclusion, the Vinyl Car Wrapping Tools Set proved to be a valuable product for a beginner like me. The sturdy and sharp 9mm knife, along with the efficient soft felt squeegee, were pivotal in achieving a successful car roof wrap. The magnets provided a helpful assist, ensuring a steady application. Though the gloves were basic, they adequately served their purpose.If you're new to vinyl wrapping and need a basic tool-set to get started, this product is a reasonable choice. It provided me with the necessary tools to complete my project with ease, and I believe it can do the same for others! Good luck with the wraps! :)
J**A
Awesome
These little tools are spot on and very affordable . Highly recommend
S**
This kit was handy
The gloves and magnets were great, the tools are a bit weak not meant for any kind of prying what so ever
Z**C
Vinyl wrap tool kit - everything you need to wrap
These tools have everything you need to start wrapping your car. The magnets are big help if you're doing it by yourself.
F**Y
Fantastic kit
It has everything you need to accomplish your wrap for a great price.
A**Z
Calidad precio
Excelente relación calidad precio
Trustpilot
2 weeks ago
5 days ago