Some deliveries may take a little longer than usual due to regional shipping conditions.

DOWNLOAD THE APP


Customer Services
Copyright © 2025 Desertcart Holdings Limited
DOWNLOAD THE APP


🛠️ Fix it once, fix it right — the vinyl glue pros swear by!
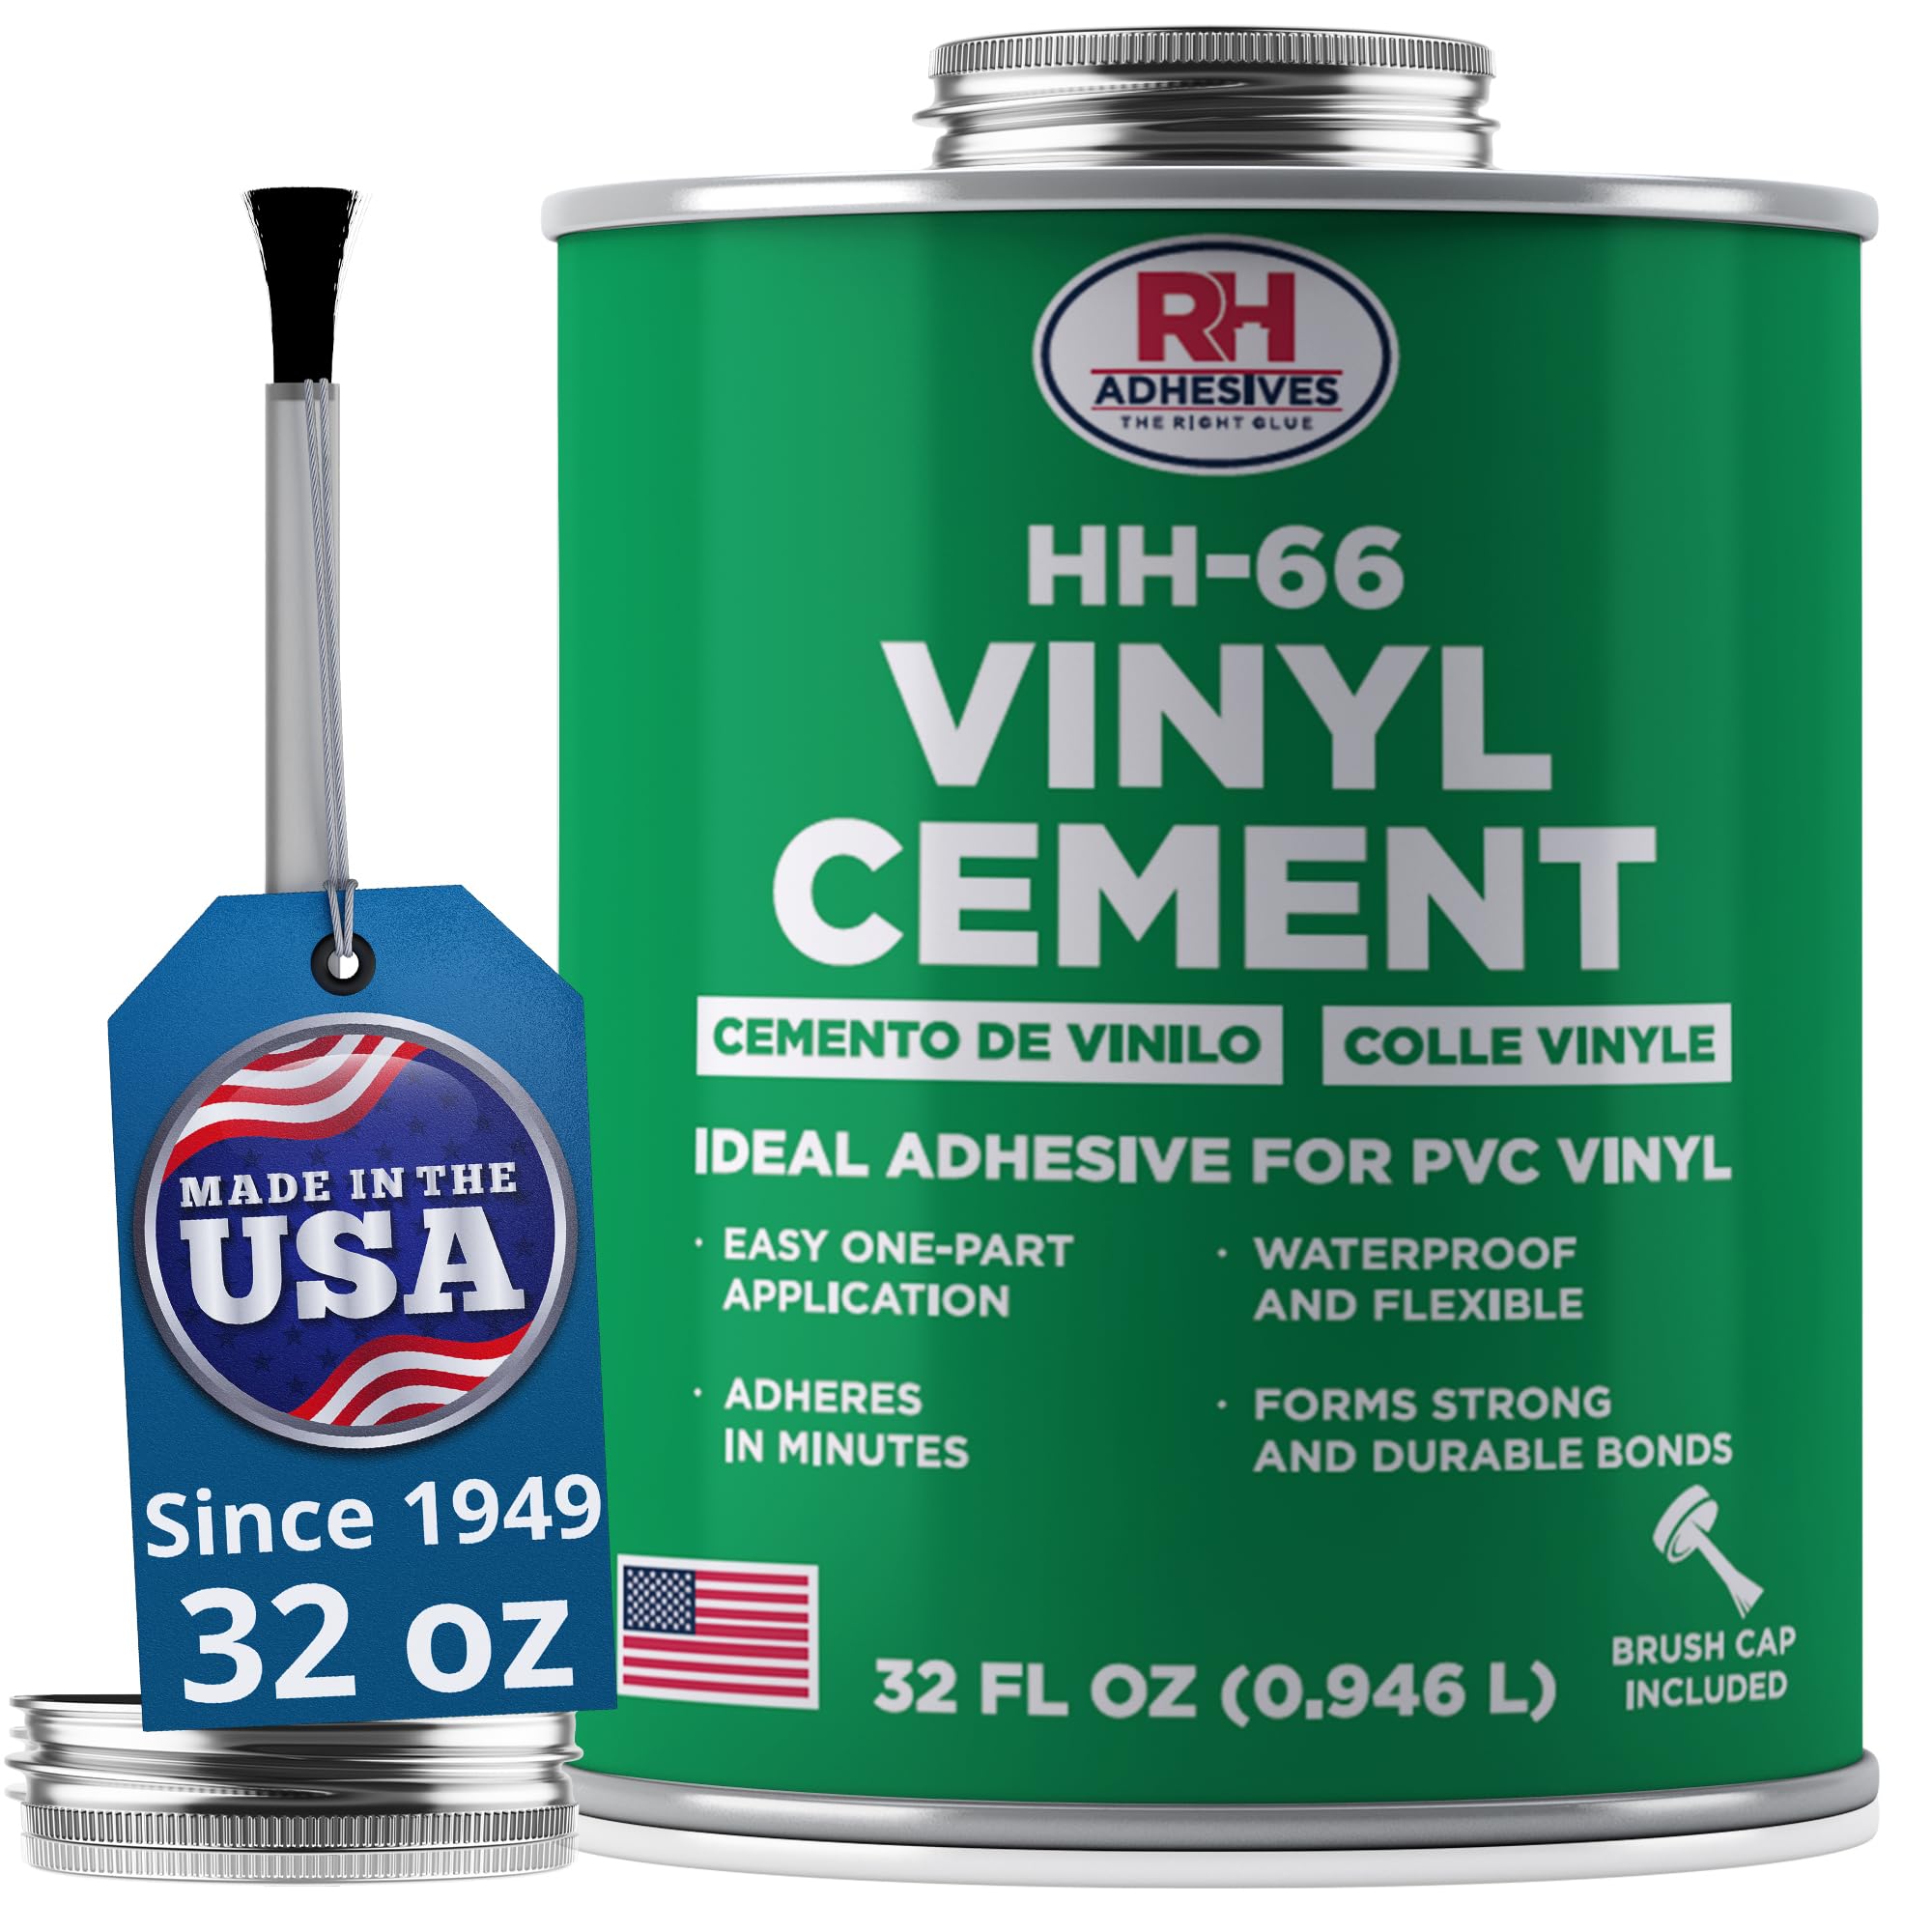
HH-66 Vinyl Cement is a premium, solvent-based adhesive designed for durable, waterproof bonding of vinyl and related materials. It performs reliably in temperatures from 35 to 95°F and even underwater, making it ideal for pool liners, tarps, tents, and inflatables. With a smooth brush-on application and a 24-hour cure time, this American-made adhesive delivers industry-leading strength and flexibility for professional-grade repairs.


| ASIN | B00GIOP83Q |
| Best Sellers Rank | #1,850 in Industrial & Scientific ( See Top 100 in Industrial & Scientific ) #2 in Contact Cements |
| Brand | RH Adhesives |
| Color | Clear |
| Date First Available | November 7, 2013 |
| Full Cure Time | 24 Hours |
| Global Trade Identification Number | 00689407349013 |
| Is Discontinued By Manufacturer | No |
| Item Form | Liquid |
| Item Package Quantity | 1 |
| Item Volume | 32 Fluid Ounces |
| Item Weight | 2 pounds |
| Item model number | HH66-32oz |
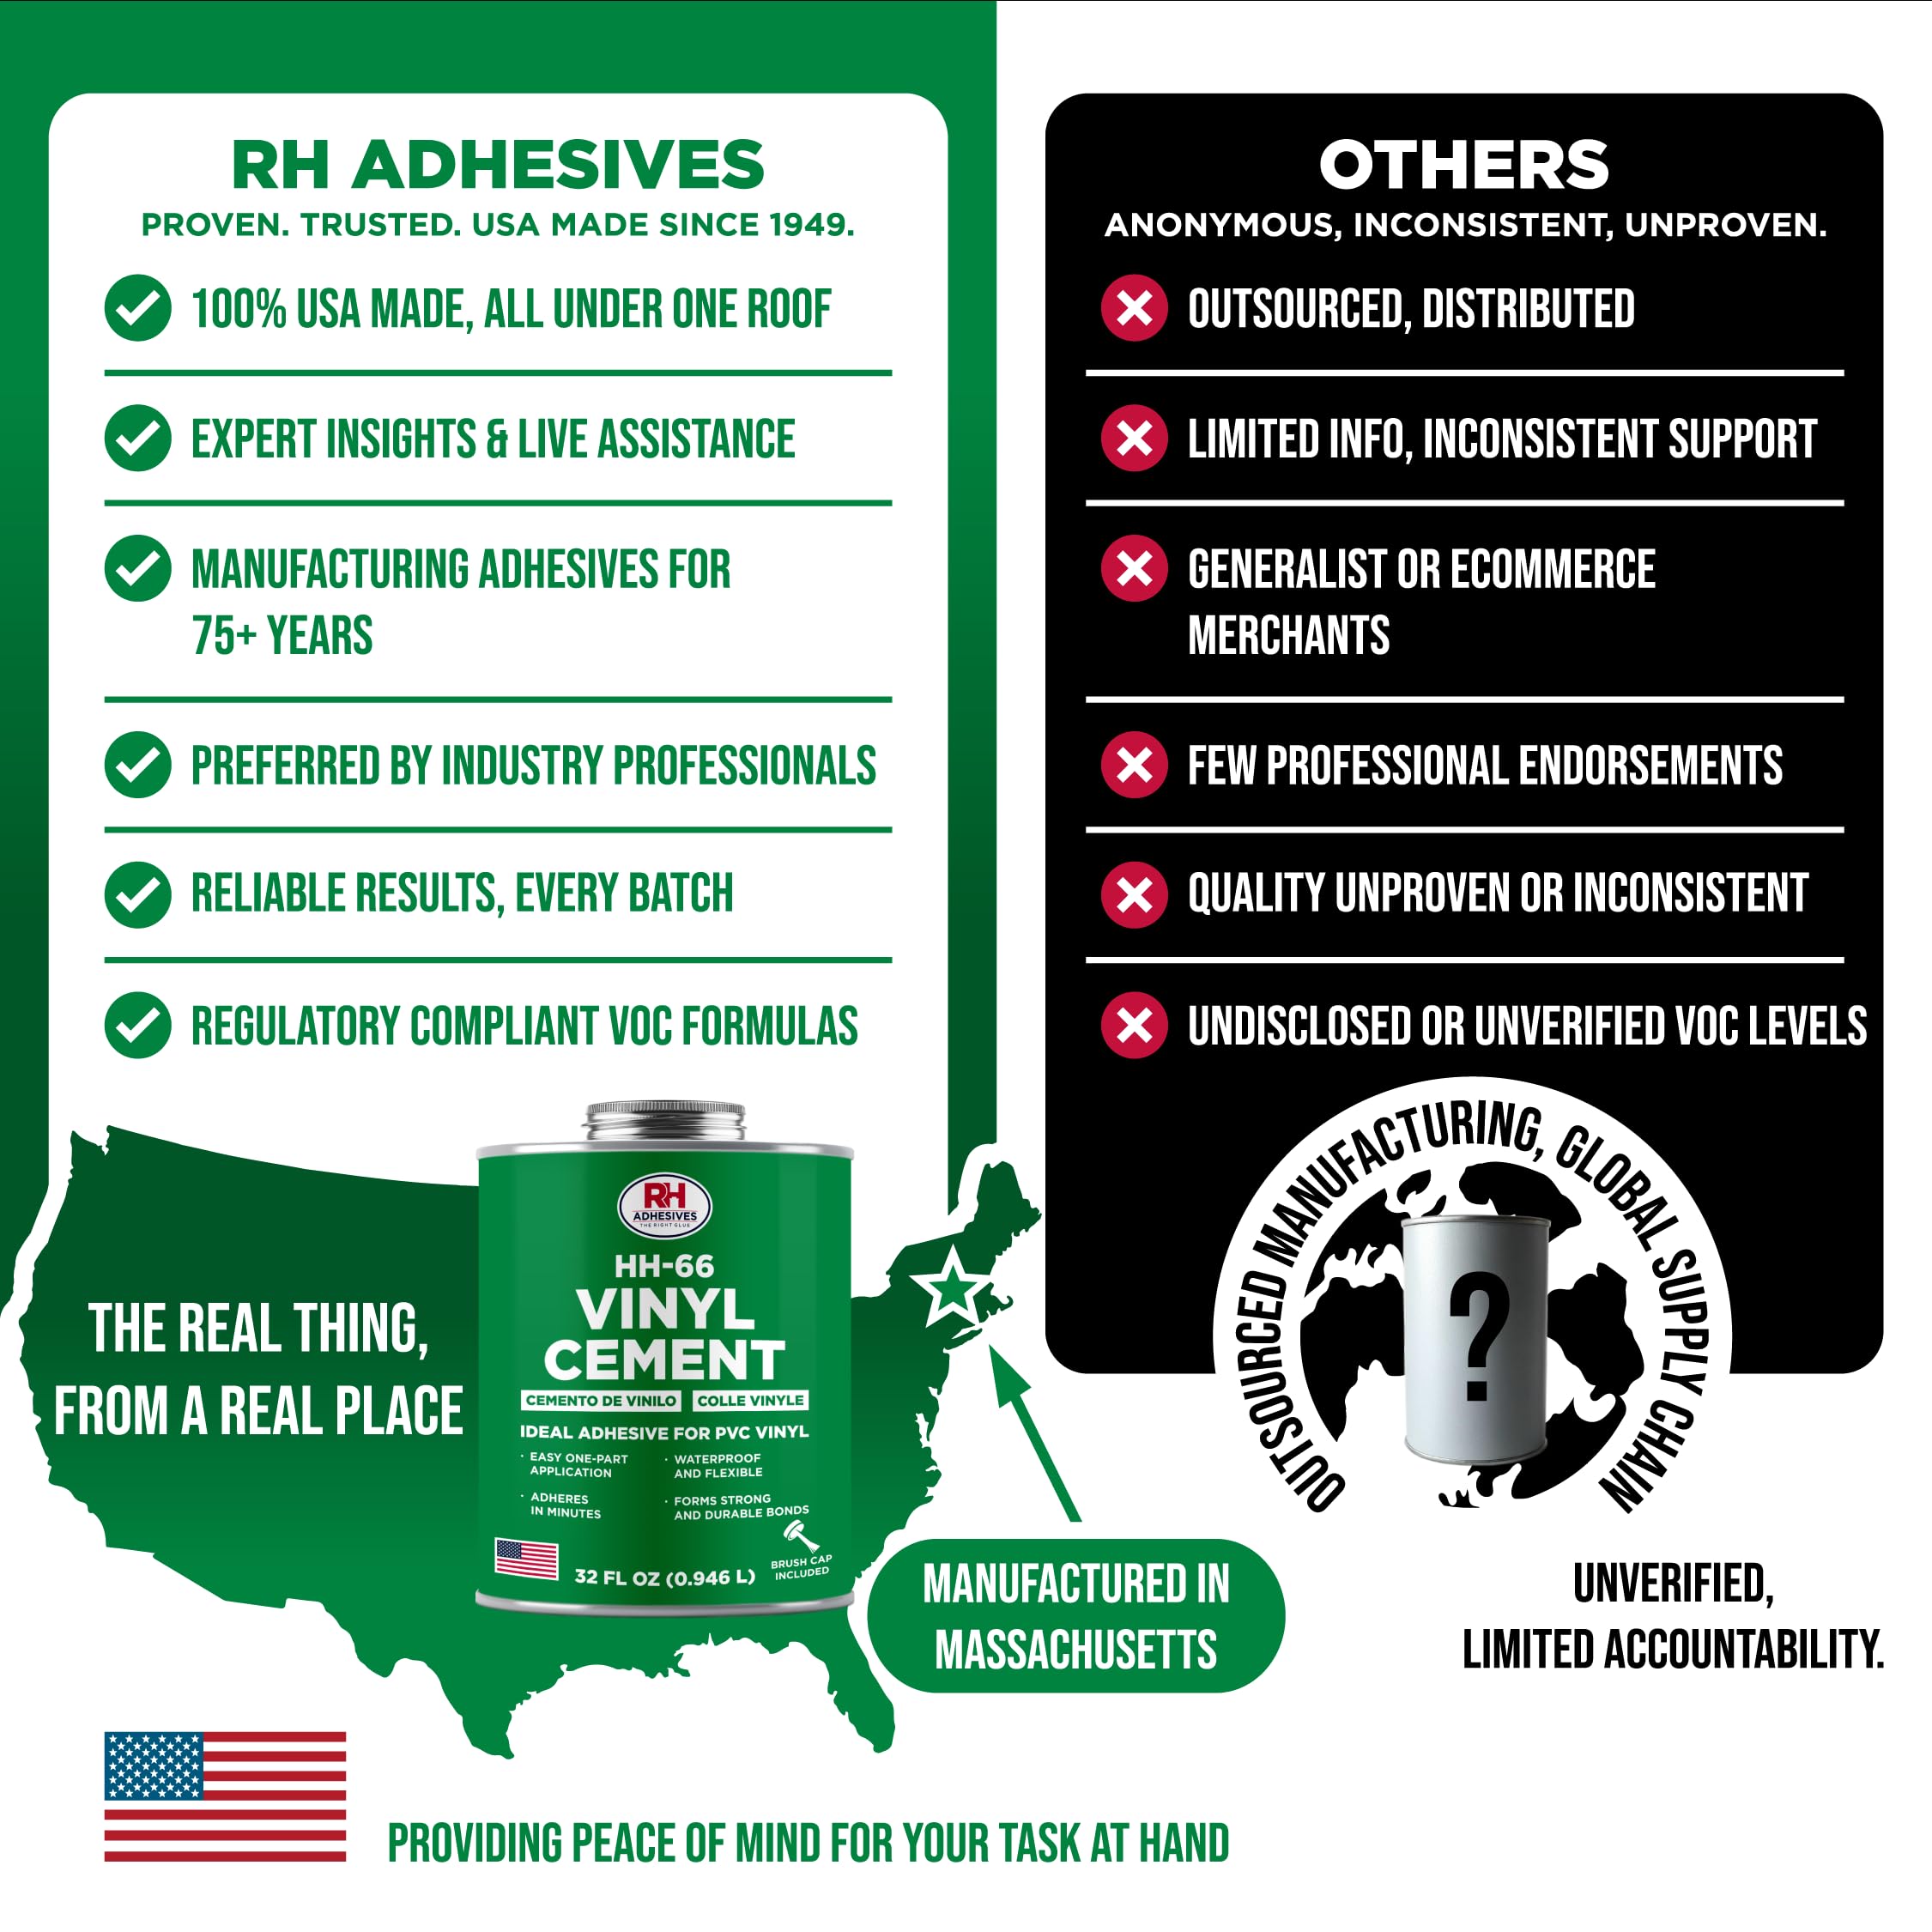
| Manufacturer | RH Adhesives |
| Material | Solvent-Based Adhesive |
| Number of Pieces | 1 |
| Package Information | Can |
| Product Dimensions | 4.3 x 4.3 x 5.4 inches |
| Special Feature | Fast Drying |
| Specific Uses For Product | Manufacturing, Vinyl Pool Liner Repair, Sealing Stiched Seams, Applying PVC Vinyl Decals, Applying Vinyl Patches, Adhering Moldings |
| UPC | 850033177176 689407349013 |
| Unit Count | 32.0 Fluid Ounces |
| Viscosity | Medium |
| Viscosity Level | Medium |
| Water Resistance Level | Waterproof |
R**N
a must for vinyl pool liner repair
This is something that if you make any vinyl repairs to your pool is a must. It behaves a lot like PVC cement but it's not the same thing. I have noticed that many big box places will not have this on the shelf. Best way to use it is clean the area you are applying the patch, pre-cut the patch and then apply the glue liberally to one side of the patch. Don't put the glue on the liner. You can apply this underwater if you want. Do this before the sun hits the area to be patched, before the sun gets it hot or after the sun goes down. If you apply it to a patch and the surface is really hot, you will get poor results. One trick I've discovered this year is how to apply it better. I take a regular old dinner plate, lay the pre-cut patch on it flat and coat it with the glue. This works very well at getting an even coat and the patch doesn't stick or get dirty. And, you have a firm flat surface to apply the glue brush. The last thing you want to have happen is to hold the patch in your hand, try to coat it with this glue and drop it on the ground. You've ruined your patch and used up some glue. Once applying it, it depends on where you're putting it, but if above the waterline, I like to put a clamp over it for a while to make sure it sets the way I want it. Or you can sometimes hold a board or something rigid behind it to press it firmly. When it sets, it's not going anywhere. If it's under the waterline, some people fold it over until they're right at the spot to put the patch. You can put this underwater. Above or below, the real secret to getting a good adhesion is taking a plastic spatula and smoothing it out to get the air bubbles out. If you have a pool that has an inflatable ring that a cat or other animal has clawed, this will patch it but it's really not worth the time to try to do and come back later to see if it'll hold air. this is more designed to hold water back than it is to hold air in. I let it cure for a 24 hour period, came back with soapy water in a squirt bottle to test it. Some patches held and others had one leak making it very difficult try a second time. I finally decided to go another route. The best way to fix that is cut a slit(s) on the outer part of the ring away from the waterline just big enough for an empty two-liter soda bottle (with cap on) to slip in. You may want to make around four slits around the pool and insert these empty soda bottles. You want to pack them in but not so tight that it stretches the ring. If you stretch it taut, the sun will crack the vinyl. After getting the soda bottles the way you want, cutting a strip of a vinyl patch and using this glue will solve your problem. I've never had any problem with this method and it holds up the pool, keeping the water in. You can add the noodles inside with the soda bottles and it'll work just fine. The sun will not degrade either inside the ring. The sun will degrade a noodle left in the pool but not the plastic soda bottle. One can is likely going to be enough to last you for your needs. But, like PVC cement, don't expect the unused portion to still be liquid the next season. So, use it liberally. This is the best type of glue for vinyl pool patches that I've found. Now that you have the best glue, pair that with quality patches. Cheaper, thin patches will pucker up with this glue and you will get poor results. One thought on the patches, pre-make your patches so that you can apply them one right after the other. Match it to the hole and make it bigger. You can center the patch area on the liner and mark it very lightly with a felt marker, just enough so that you know where it goes. When you make your patches, always make them rounded. Don't make corners that can catch on something. The goal is to get the glue on the patch and vinyl liner but not coating the patch with glue on the edges outside the patch. To clean the vinyl liner, soapy water will work followed by rubbing alcohol or just rubbing alcohol. Any stronger chemical I would would do a test patch as it could dissolve the patch or liner. If it starts to get gummy, you don't want to apply that cleaner on either the patch or liner.
E**A
Impressive product.
Great for quick repairs and a strong hold. Dries clear.
J**S
Perfect vinyl welding solution
Super vinyl cement. Perfect for patching pool covers. Be sure to clean the surface to be patched with a suitable solvent. MEK works very well, but is toxic as heck. However, it does a great job prepping surface. Just be sure not to breath the vapors or get the MEK or this cement on skin, as the solvents are absorbed by skin. Once the area around the hole is cleaned, follow the directions on the can and use a good reinforced vinyl patch material and you'll be set. Bonding is almost instantaneous.
D**F
Great vinyl adhesive.
Works great. Excellent adhesive. Be sure to use in a well ventilated area due to the potential smell. I also wore nitrile gloves (vinyl gloves may melt!!). A little hard to get the last of the cans content out.
T**N
Works well for RV holding tank heater pad and kneeling pad foam
It is holding up -literally- my TOy Hauler holding tank heater pads. My factory installed heater pads started to peel from my tanks, especially the front gray tank flapping under the trailer. Not good!! I used this vinyl cemnt on a a warm day according to instructions, and after pressing my heater pad back in place it stayed put, so I also added Gorilla Outdoor tape to the edges of the three pads. It has stayed put for over 6 months so I am satisfied it works. I also have used this cement to glue a foam kneeling pad onto a PLA 3D printed support stand I created for a motorcycle hitch carrier, and the foam pad has not migrated, so this is successful too.
C**.
Love It!
This has worked well for our bounce houses. It is easy to use, dries quickly and has held up for over 6 months of usage.
J**A
Glue Vinyl to leather seats
Works great. Used to glue vinyl cover to leather seat. It did a great job and looks to hold great after a few months.
T**A
This stuff is Awesome
I purchase this adhesive for my Tonno pro LR-2020 that I purchased on July 2017. In 2020 I had to get it repaired at an upholstery shop because the stitching came undone under the AZ sun they sew everything back up and I was able to use it for another three years. That repair cost me a little over one hundred dollars. Again, now in 2023, the stitching failed, this time in Texas, and repairing it would cost a little more than the first time almost $200. I don’t have the money to get a new one nor the money to pay for such an expensive repair. I’ve been scouring the internet to find a cheaper venue to get my tarp fixed. I first tried re-sewing it myself. That did not work and ended up injuring my finger with the needle. I was about to give up when I decided to look if there was a glue out there that was flexible and strong when it dried. I had tried using epoxy and other glues on other vinyl pieces, but they were too hard, and they cracked when I would roll them up. I came across this glue. Decided to give it a try. So, $50, and 3 days later I get the product. I laid my tarp down, cleaned off all the thread, and used alcohol to clean up all the dirt where I was going to apply this glue. If you are doing a large area you might want to do it in sections. I tried doing the whole side at once and it became difficult to brush in the glue after I got halfway, that is because after a couple of minutes, the glue starts becoming tacky and hard to brush in the rest of the way So, I had to do half first, give it another, minute or so then mate both sides together, I then had to repeat the process for the Velcro which at first I thought I’m might not work because it is not vinyl. I did both sides and after about 30 minutes of letting my tarp sit there, I could tell that this was going to work. Everything had sort of cured to the point where I could not pull the vinyl or the Velcro apart. So, to be safe I let it sit there for a full 24hrs like the manufacturer states. The next day after inspecting it I felt confident that it was good to go back on the truck. I put it on and gave it a few rolls for testing and man this glue is awesome. Everything is holding nice and strong; nothing is coming apart and it was so much easier than anything I’ve tried. If you have the same issue with your truck cover, I recommend you give this adhesive a try. Remember though. Preparation of the work area and material is key, and remember… let the glue get tacky before mating (you must). Don’t throw your truck tarp away or buy a new one. Try this first. I don’t regret spending the money on HH-66 adhesive. I bought a 32oz can and I used half a little less than half a can. My truck is a 2017 RAM 1500 with a 5' 7" bed. so, I glued a total of (L x W) 11’ X 1” of tarp with almost half of a can of 32oz of this stuff. BTW, the glue dries clear to slightly white depending on the amount you put on. I spilled al little on the tarp and as you can see in one of the pictures it dried clear. ****** Update 04/26/23****** It's been a little over a month since I glued my tarp using this cement/glue. everything was looking good but I have noticed now that the velcro material did not adhere to the tarp as I thought it was going to. it held well for the first couple of weeks or so but then it just become unglued. The glue/cement did great bonding tarp to tarp but not so good velcro to tarp. I have to now find a different solution or glue to bond the velcro to the tarp. If anyone has any suggestions I am open to hearing them. Thanks.
C**N
Excelente pegamento duper rápido funcionó a la perfección
Y**I
منتج ممتاز للغاية ولكن وصل مفتوح وتسرب اللاسق للكرتون وتم ارجاع المبلغ اشكر التاجر على المصداقية
J**E
Jai réparé le tapis de mon paddle board. Tres efficace, la réparation a durée.
J**N
Best adhesive for Mercedes car interior leather bonding
W**Y
Excelente pegamento para usar en mi Paddle Board inflable. Es un poco caro pero fue la mejor solución!
Trustpilot
3 weeks ago
1 month ago